- What is Nextcloud and why are updates important?
- Preparation – backup before every Nextcloud server update
- Possible backup options
- Updating Nextcloud via Web Updater
- Step by step – Web Updater
- Updating Nextcloud via CLI (Command Line Updater and occ)
- 1. Change to the Nextcloud directory
- 2. Start the CLI Updater
- 3. Update the database
- 4. Disable maintenance mode
- 5. Clean up database and storage
- Web Updater or CLI – which option should you use?
- Comparison – Web Updater vs CLI
- Updating the PHP version for your Nextcloud server
- Important occ commands for Nextcloud server updates
What is Nextcloud and why are updates important?
Nextcloud is a self hosted cloud platform for files, calendars, contacts, notes, tasks and much more. You can run Nextcloud on your own server, in a VM, inside an LXC container or at a hosting provider and keep full control over your data.
Regular Nextcloud updates are important because they
- close security holes
- add new features and improvements
- fix bugs and incompatibilities
- keep your setup compatible with current PHP versions and databases
In this guide I show you how to update your Nextcloud server, which commands you should know and when it is better to use the Web Updater or the command line.
Preparation – backup before every Nextcloud server update
Before you update your Nextcloud server you should always have a current backup. An update that fails halfway is rare, but it can break your installation. With a backup you are on the safe side.
Possible backup options
- Snapshot of the VM or LXC container in your hypervisor, for example Proxmox
- Full backup of the container or VM
- Manual backup of:
- Nextcloud installation directory, for example
/var/www/htmlor/var/www/nextcloud - data directory (
dataor an external storage / NAS) - database (MariaDB, MySQL or PostgreSQL)
- Nextcloud installation directory, for example
A simple MySQL or MariaDB backup could look like this:
mysqldump -u nextcloud -p nextcloud > /root/nextcloud.sql
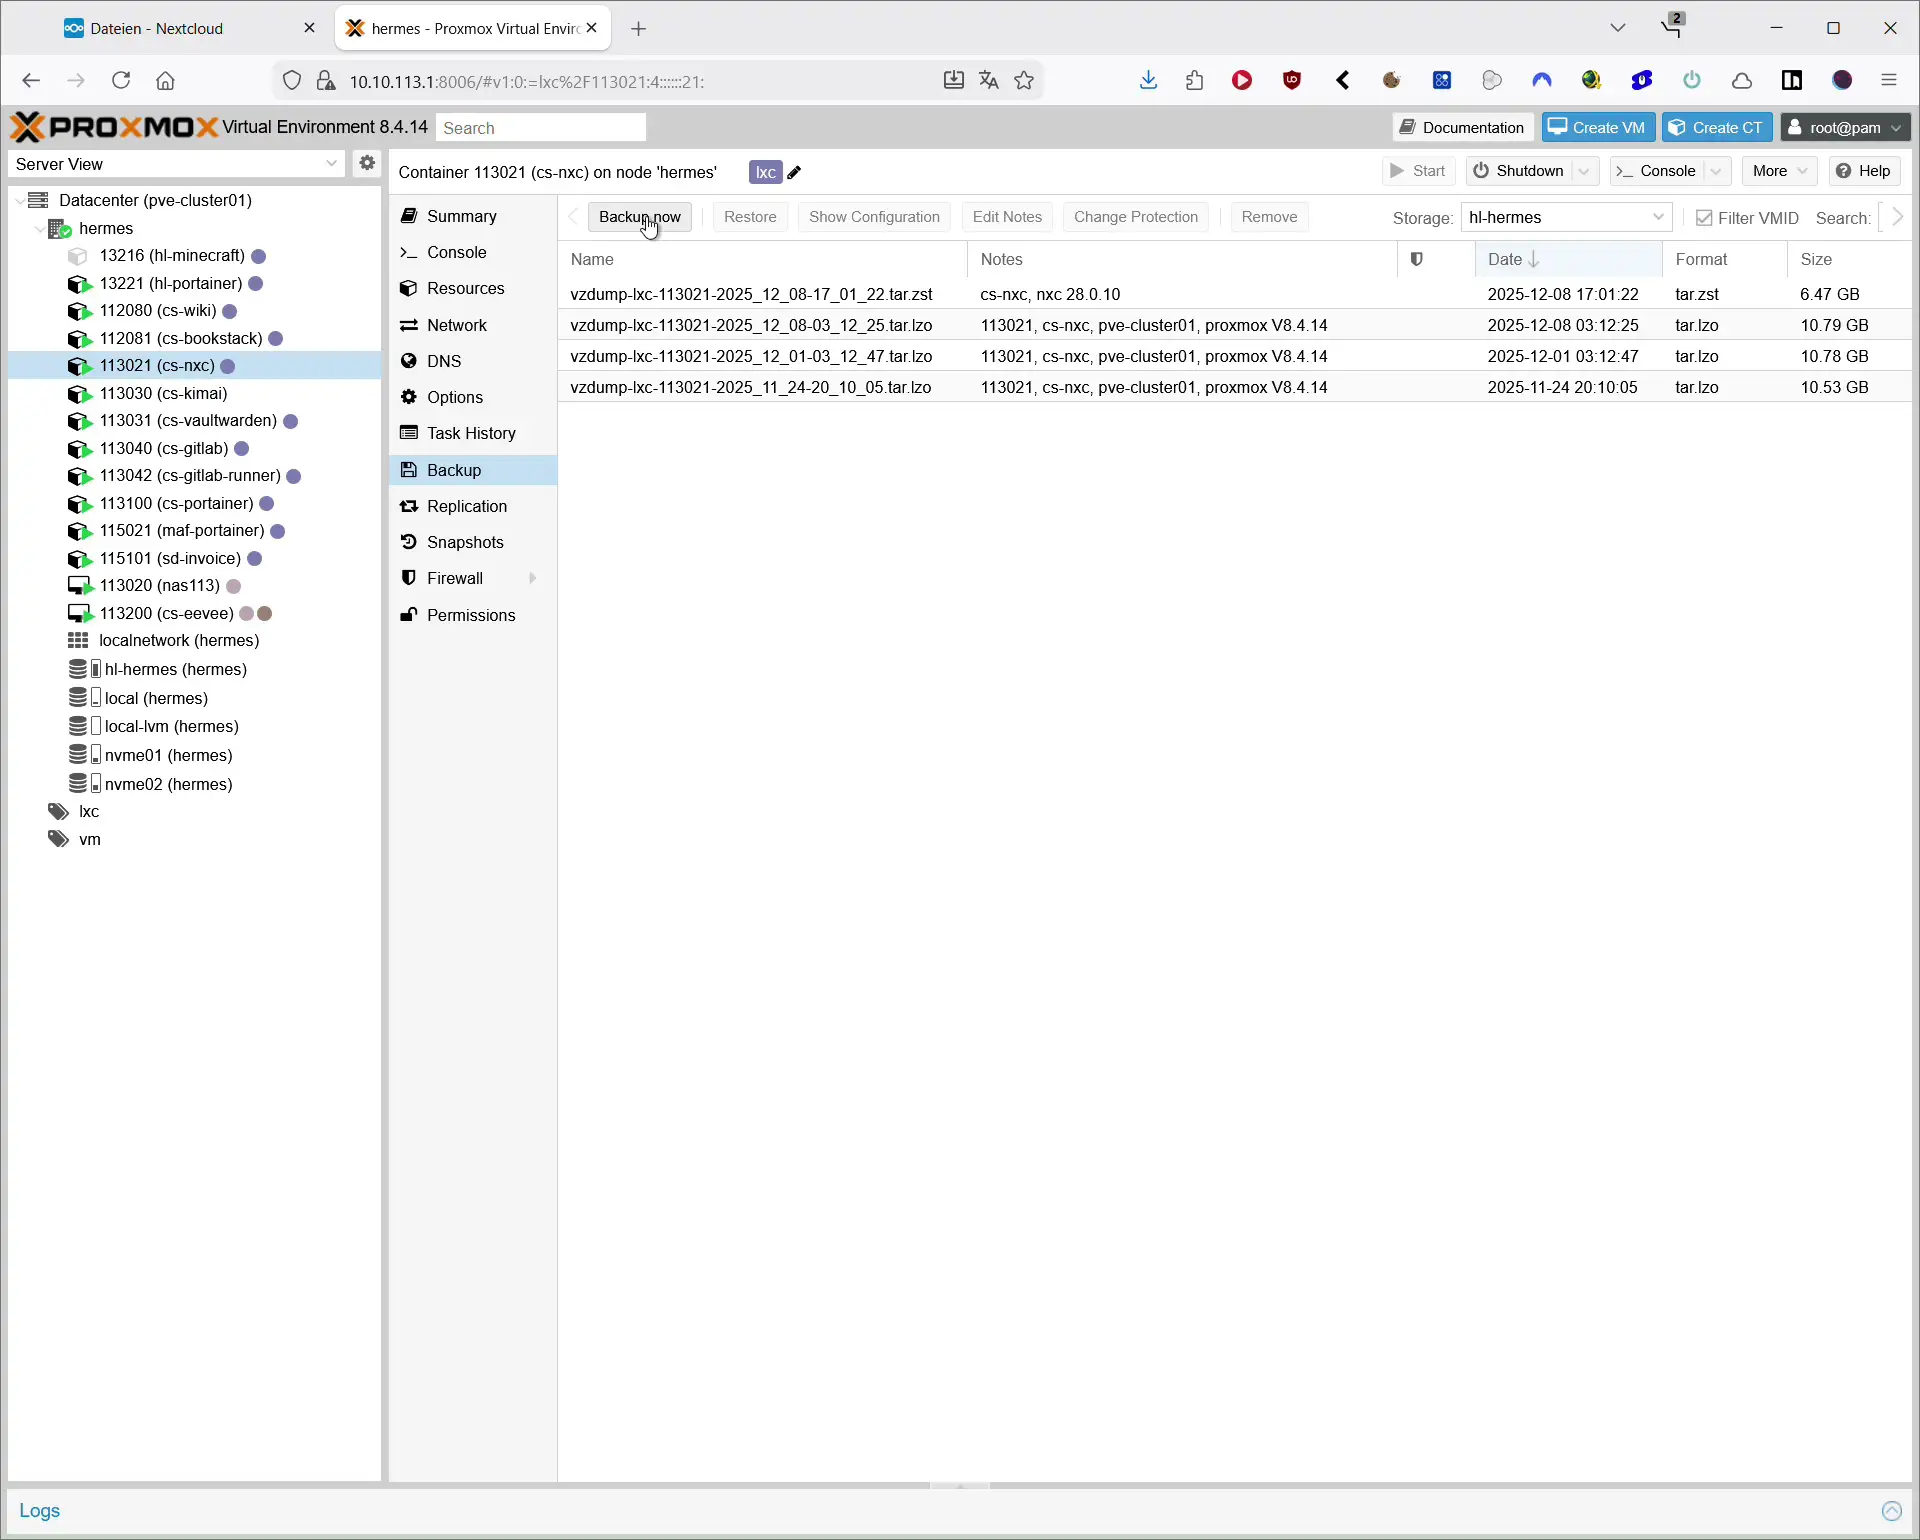
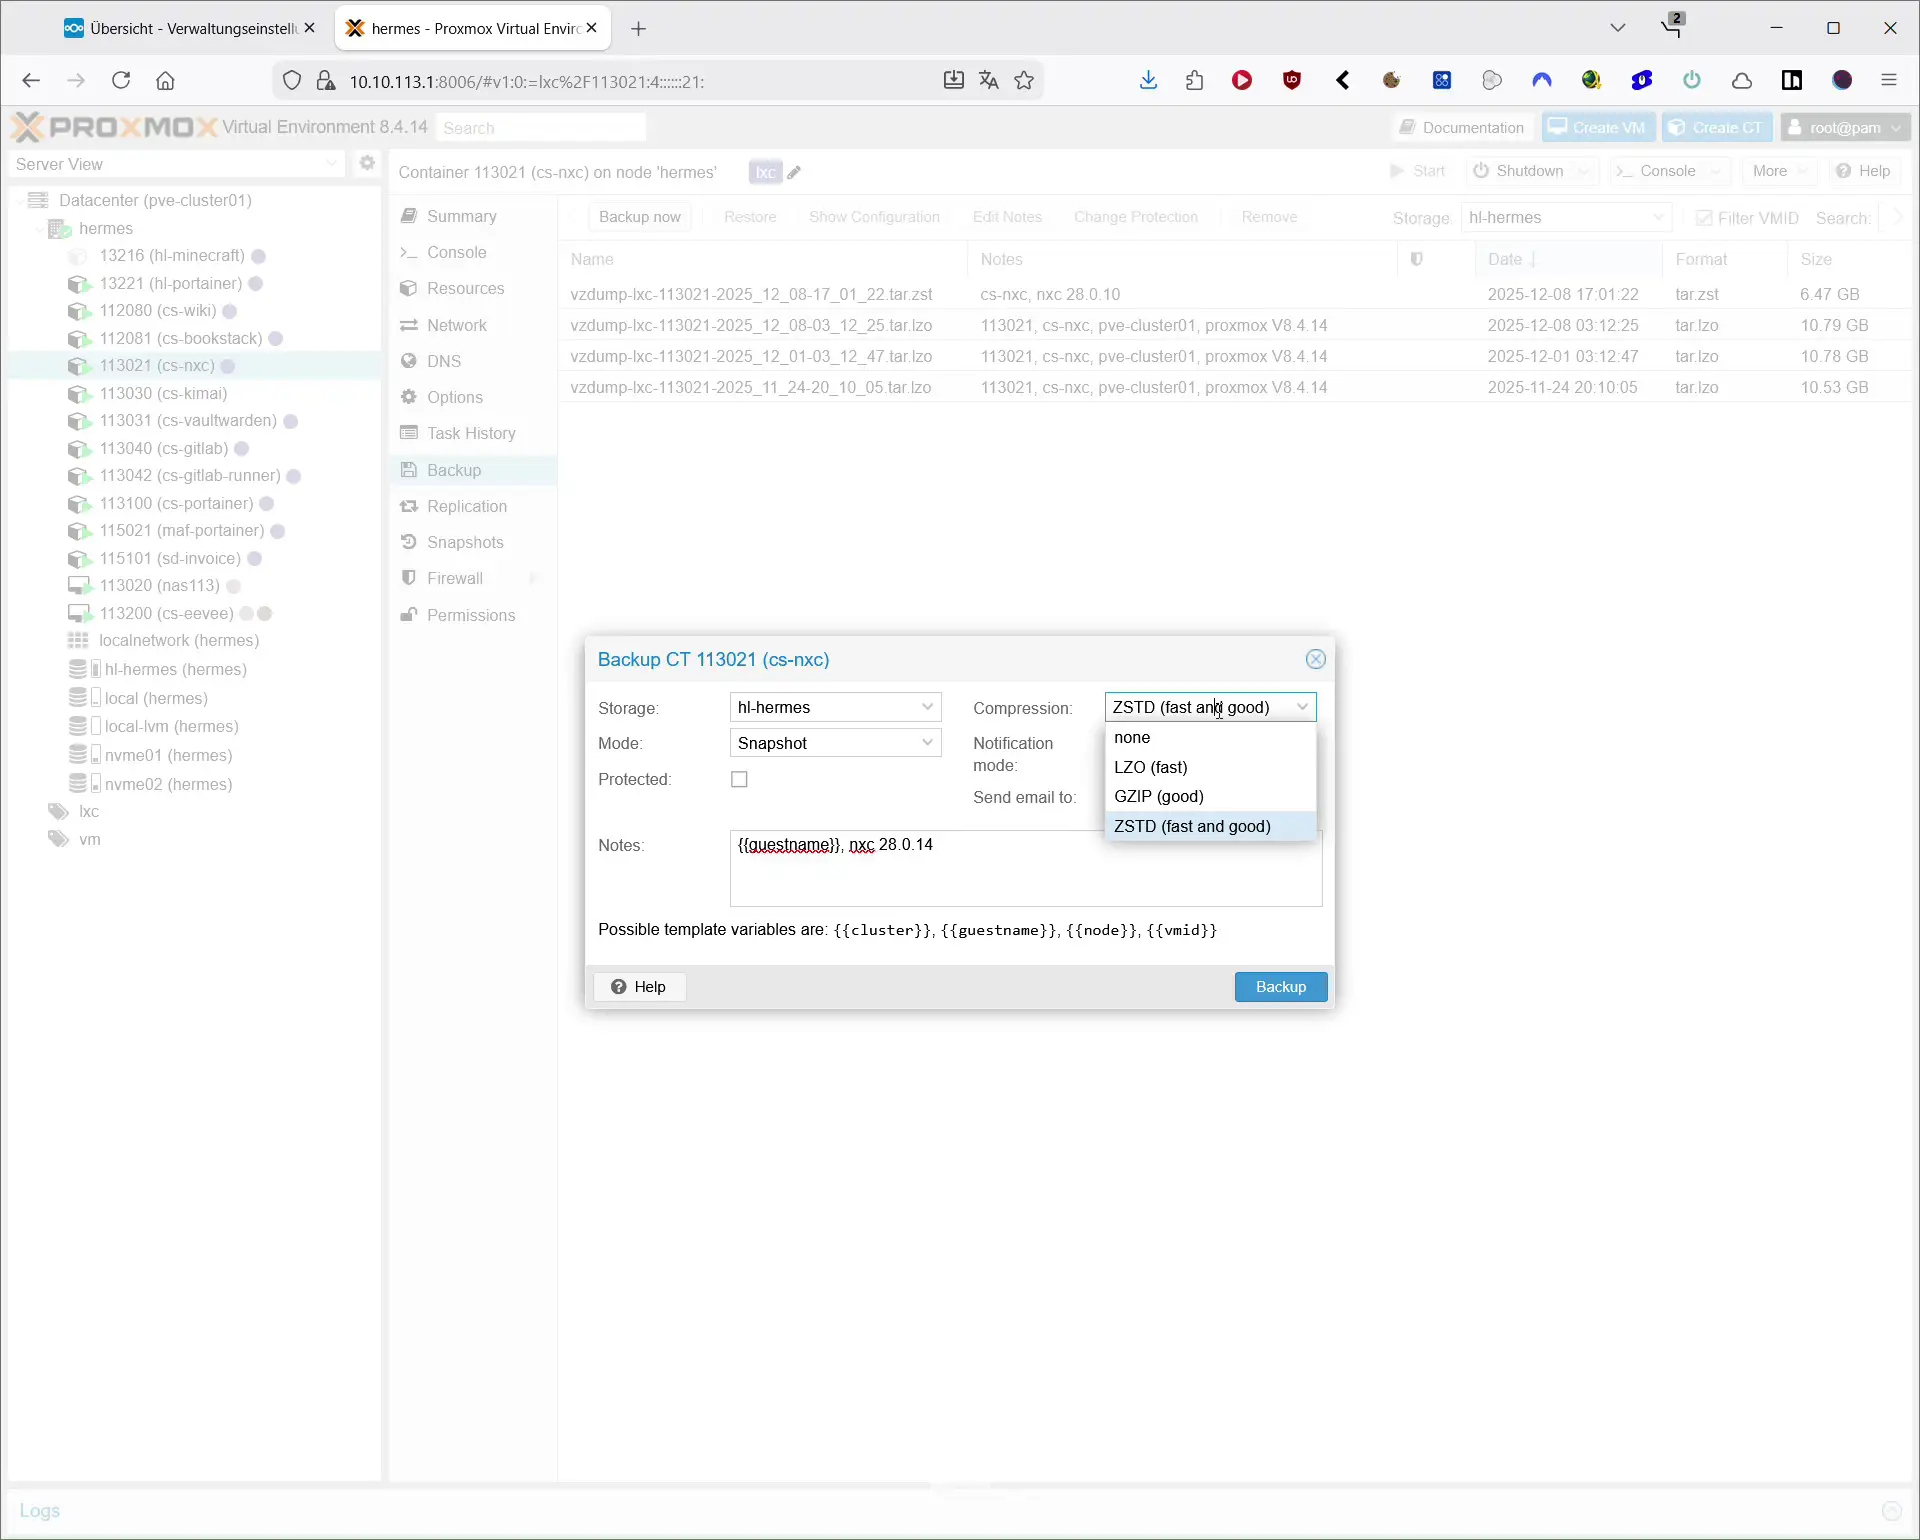
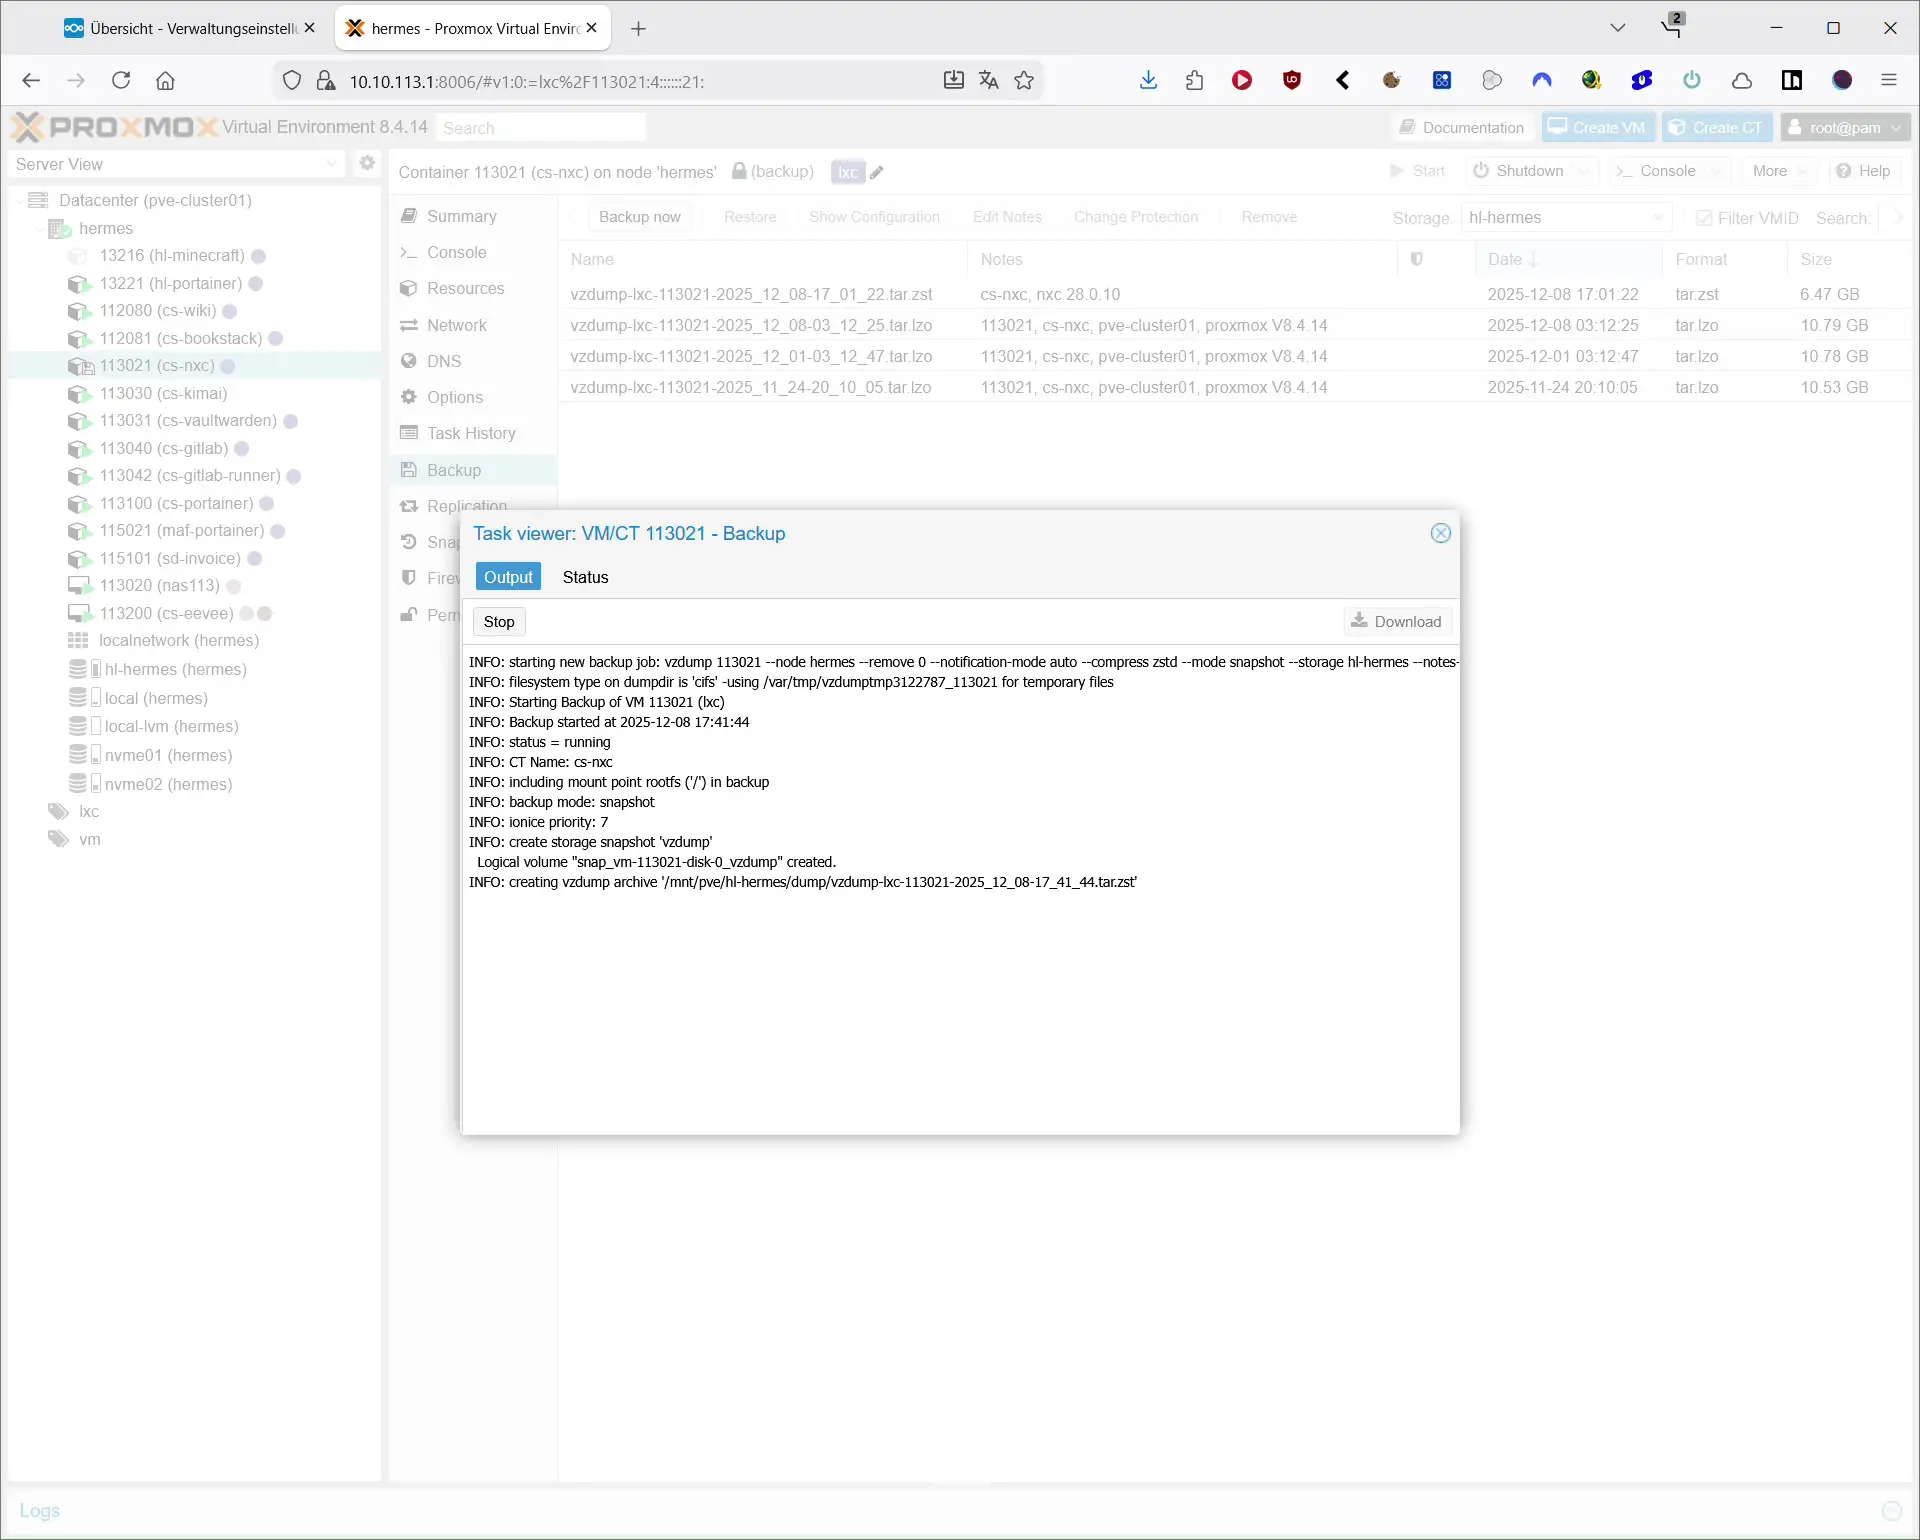
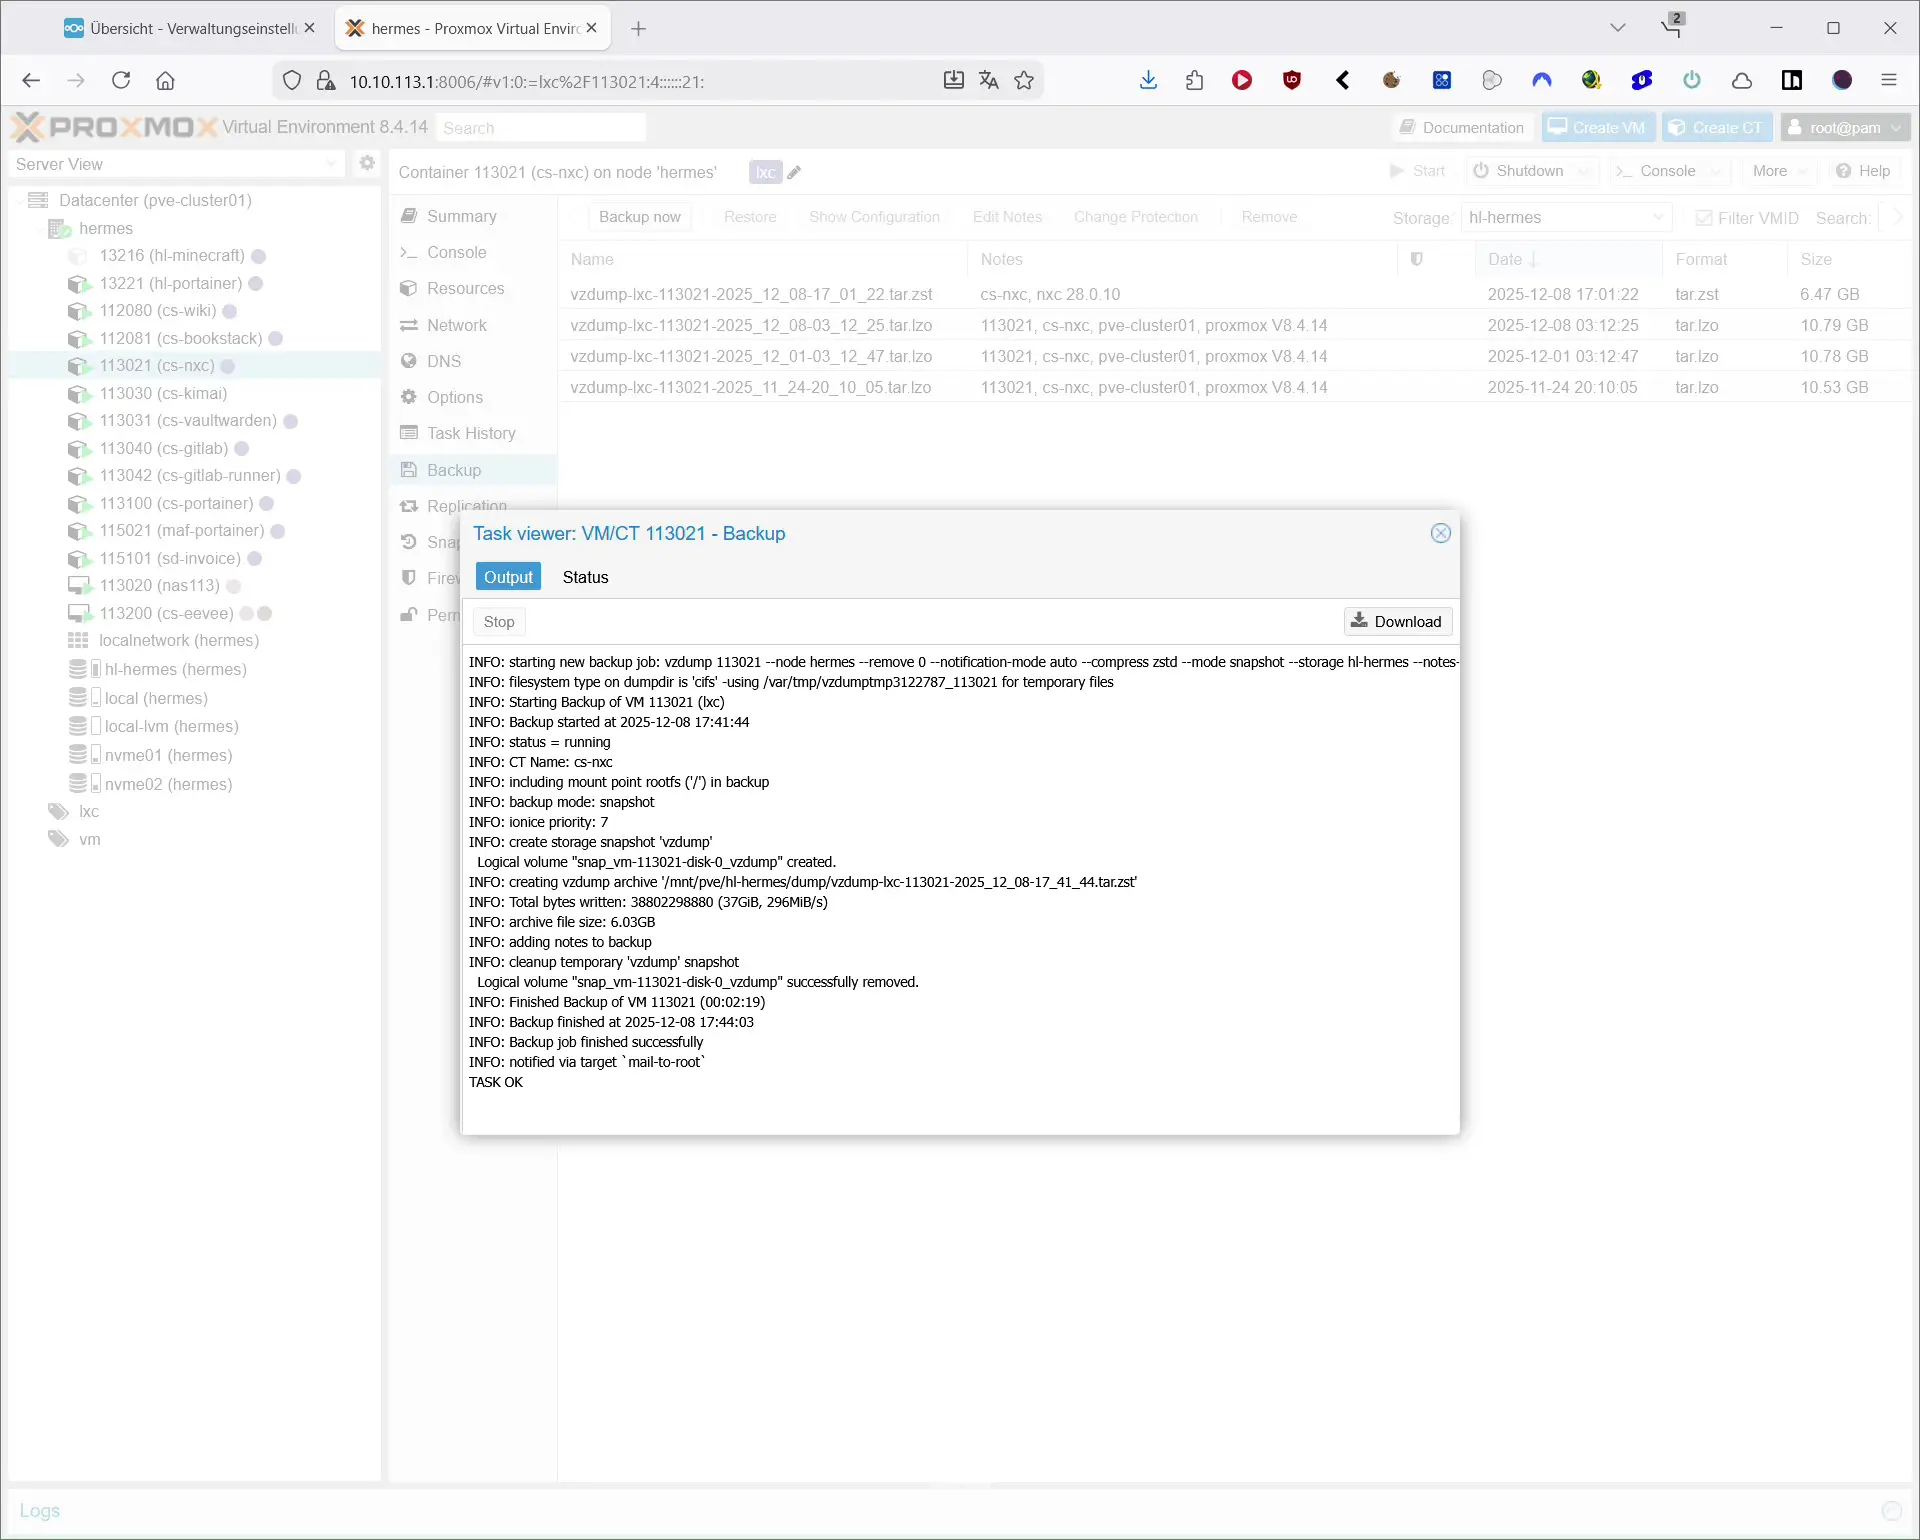
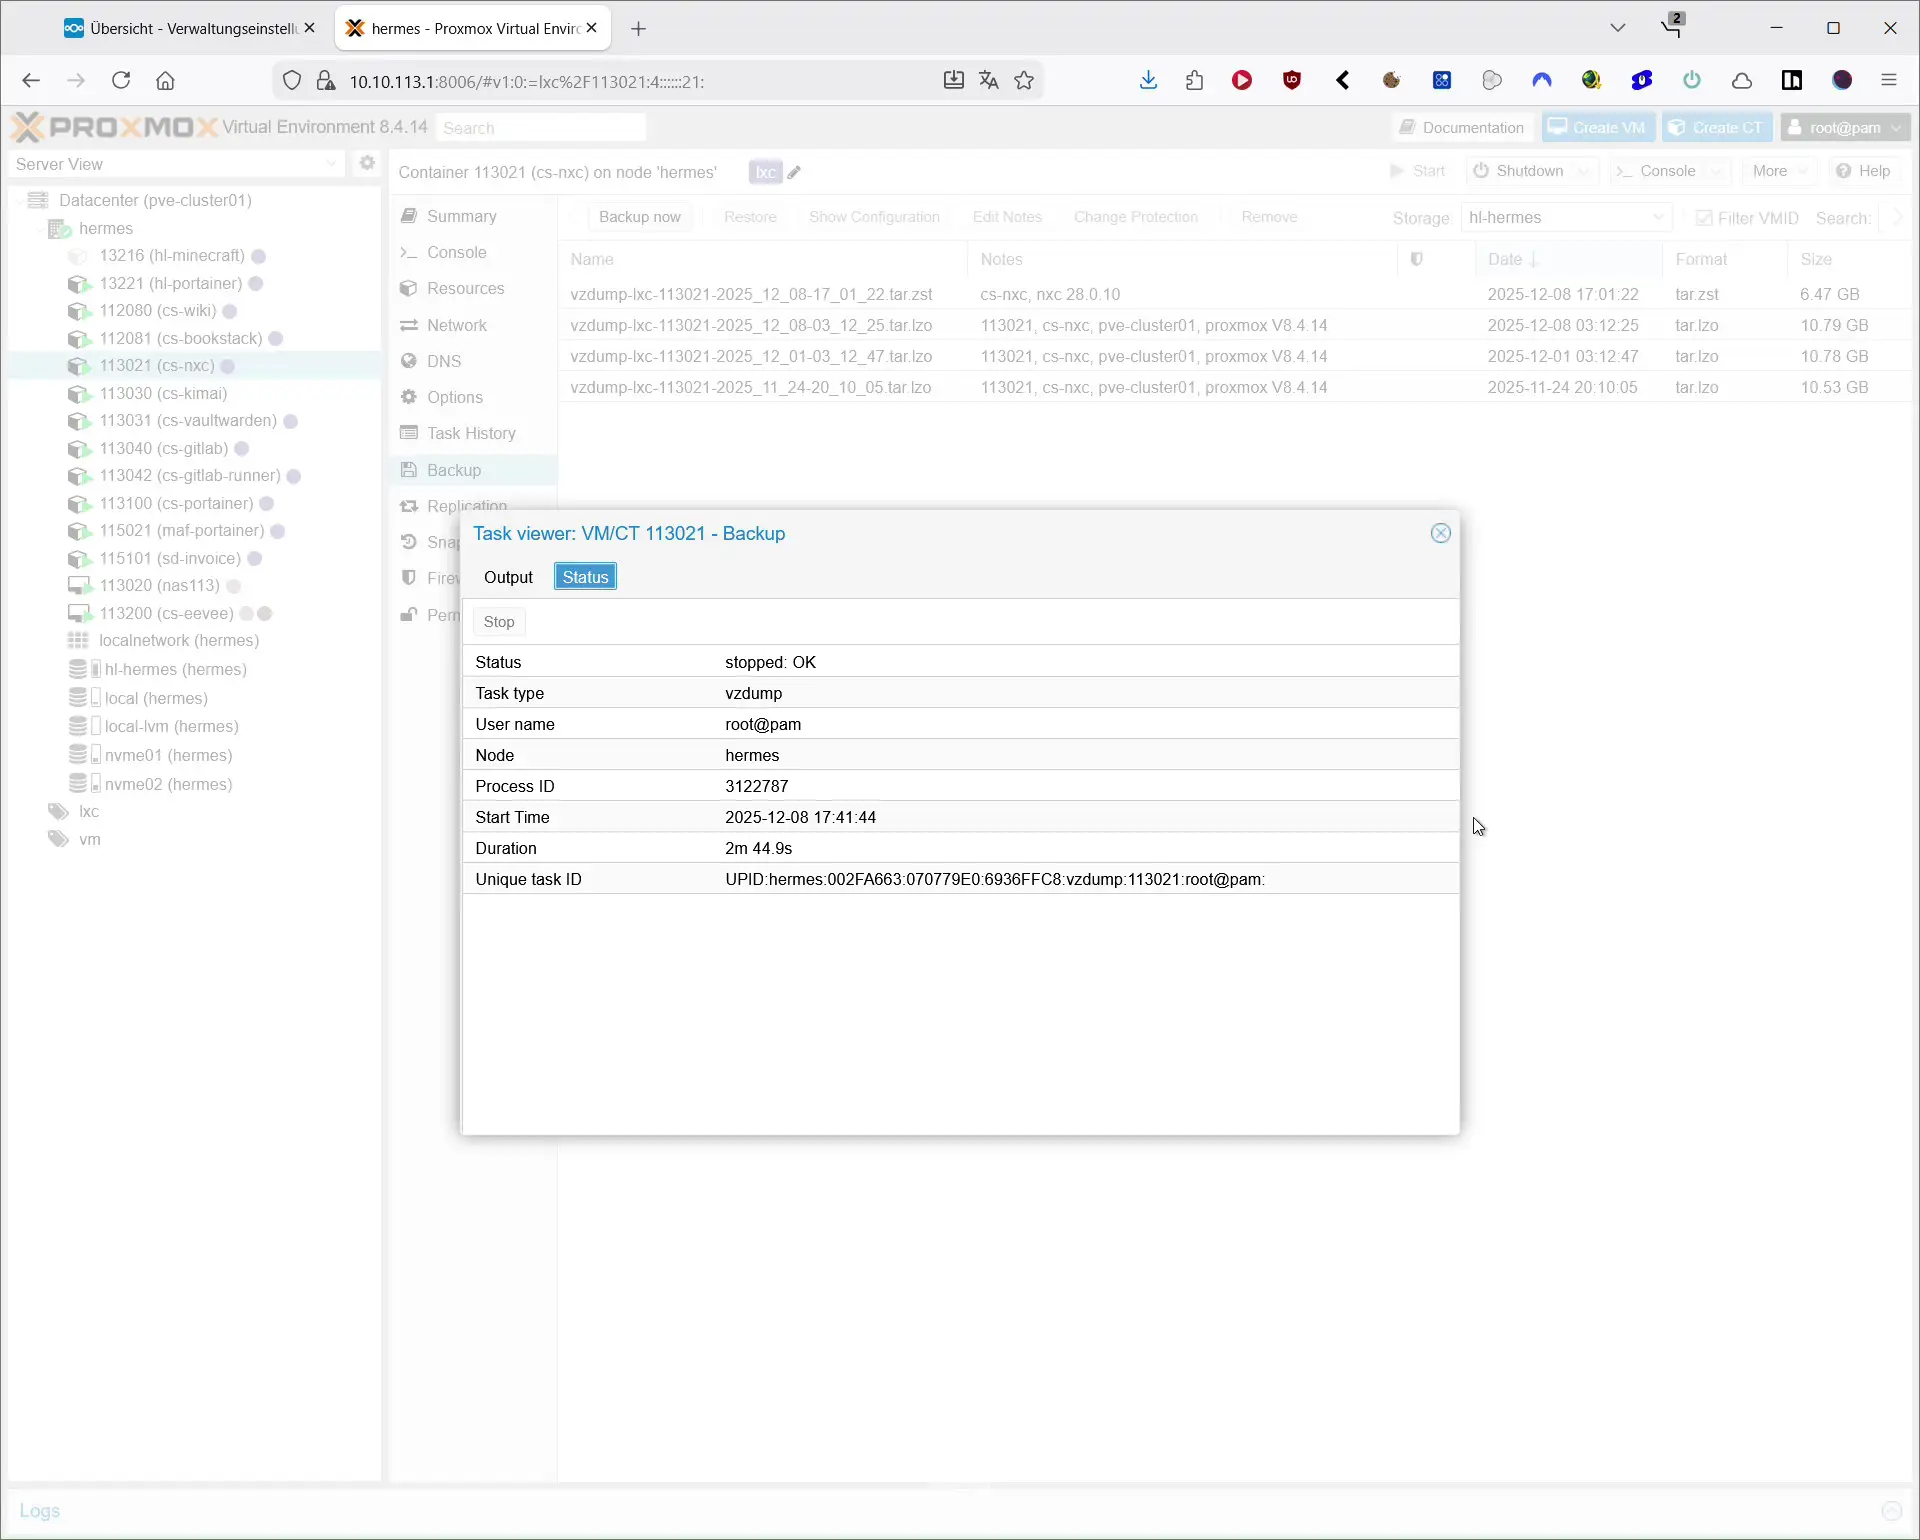
If you are using Proxmox, a snapshot or full backup of the container before every Nextcloud server update is usually the most convenient option.
Updating Nextcloud via Web Updater
The Web Updater is the easiest way to update your Nextcloud server. You only need a browser and admin access to Nextcloud.
Step by step – Web Updater

- Log in to Nextcloud as admin user.
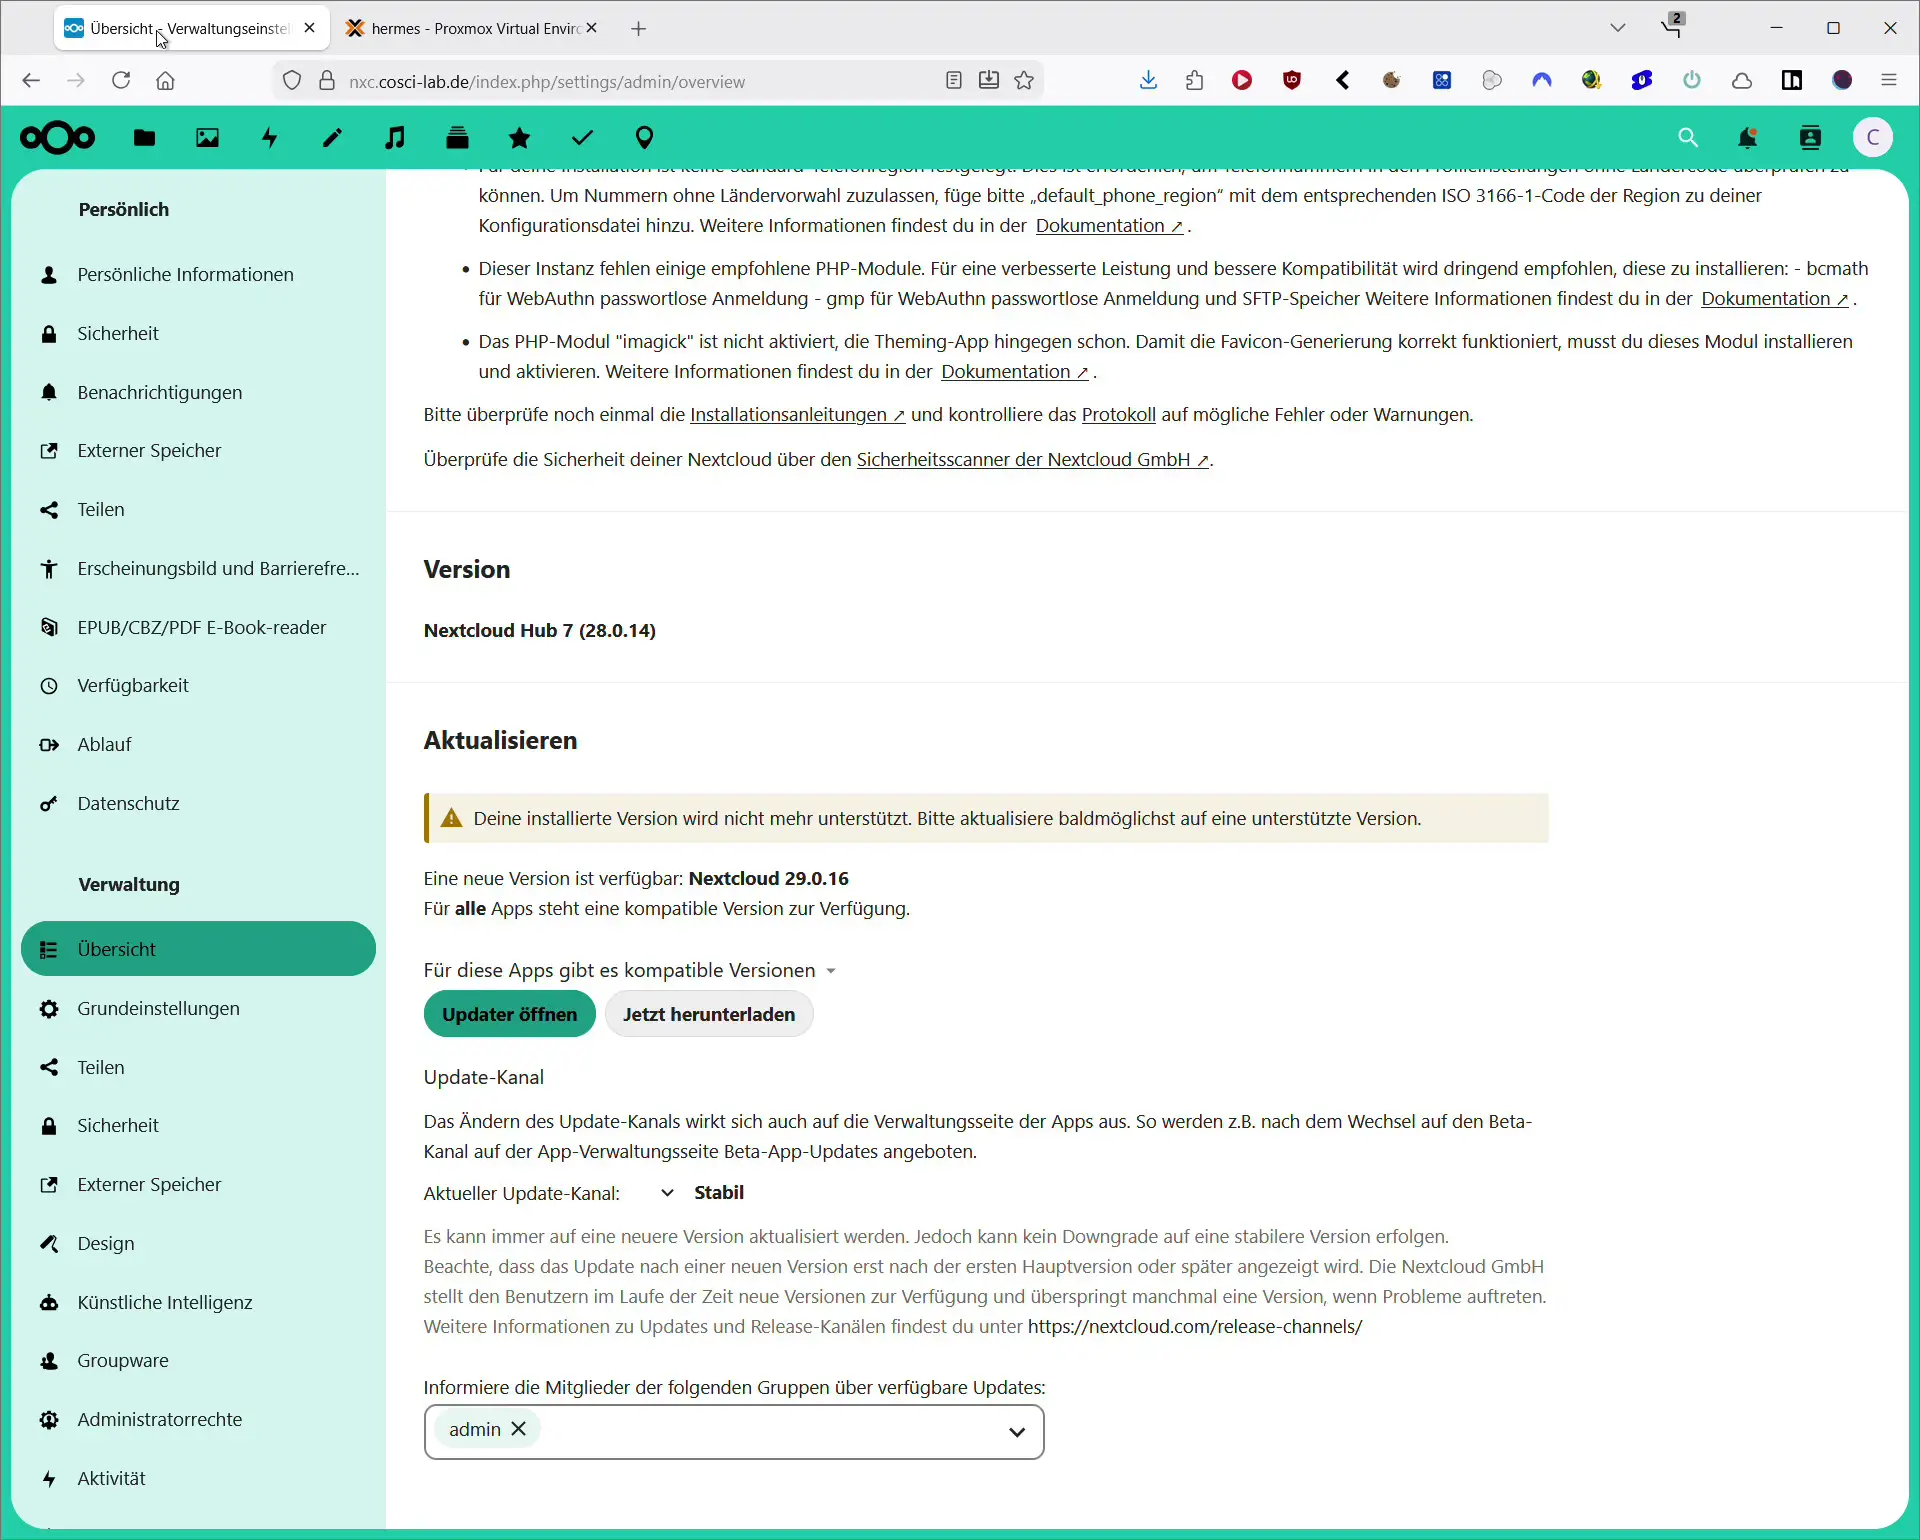
- In the left sidebar go to Administration and then Overview.
- If a new version is available you will see a notice. Click the Open updater button.
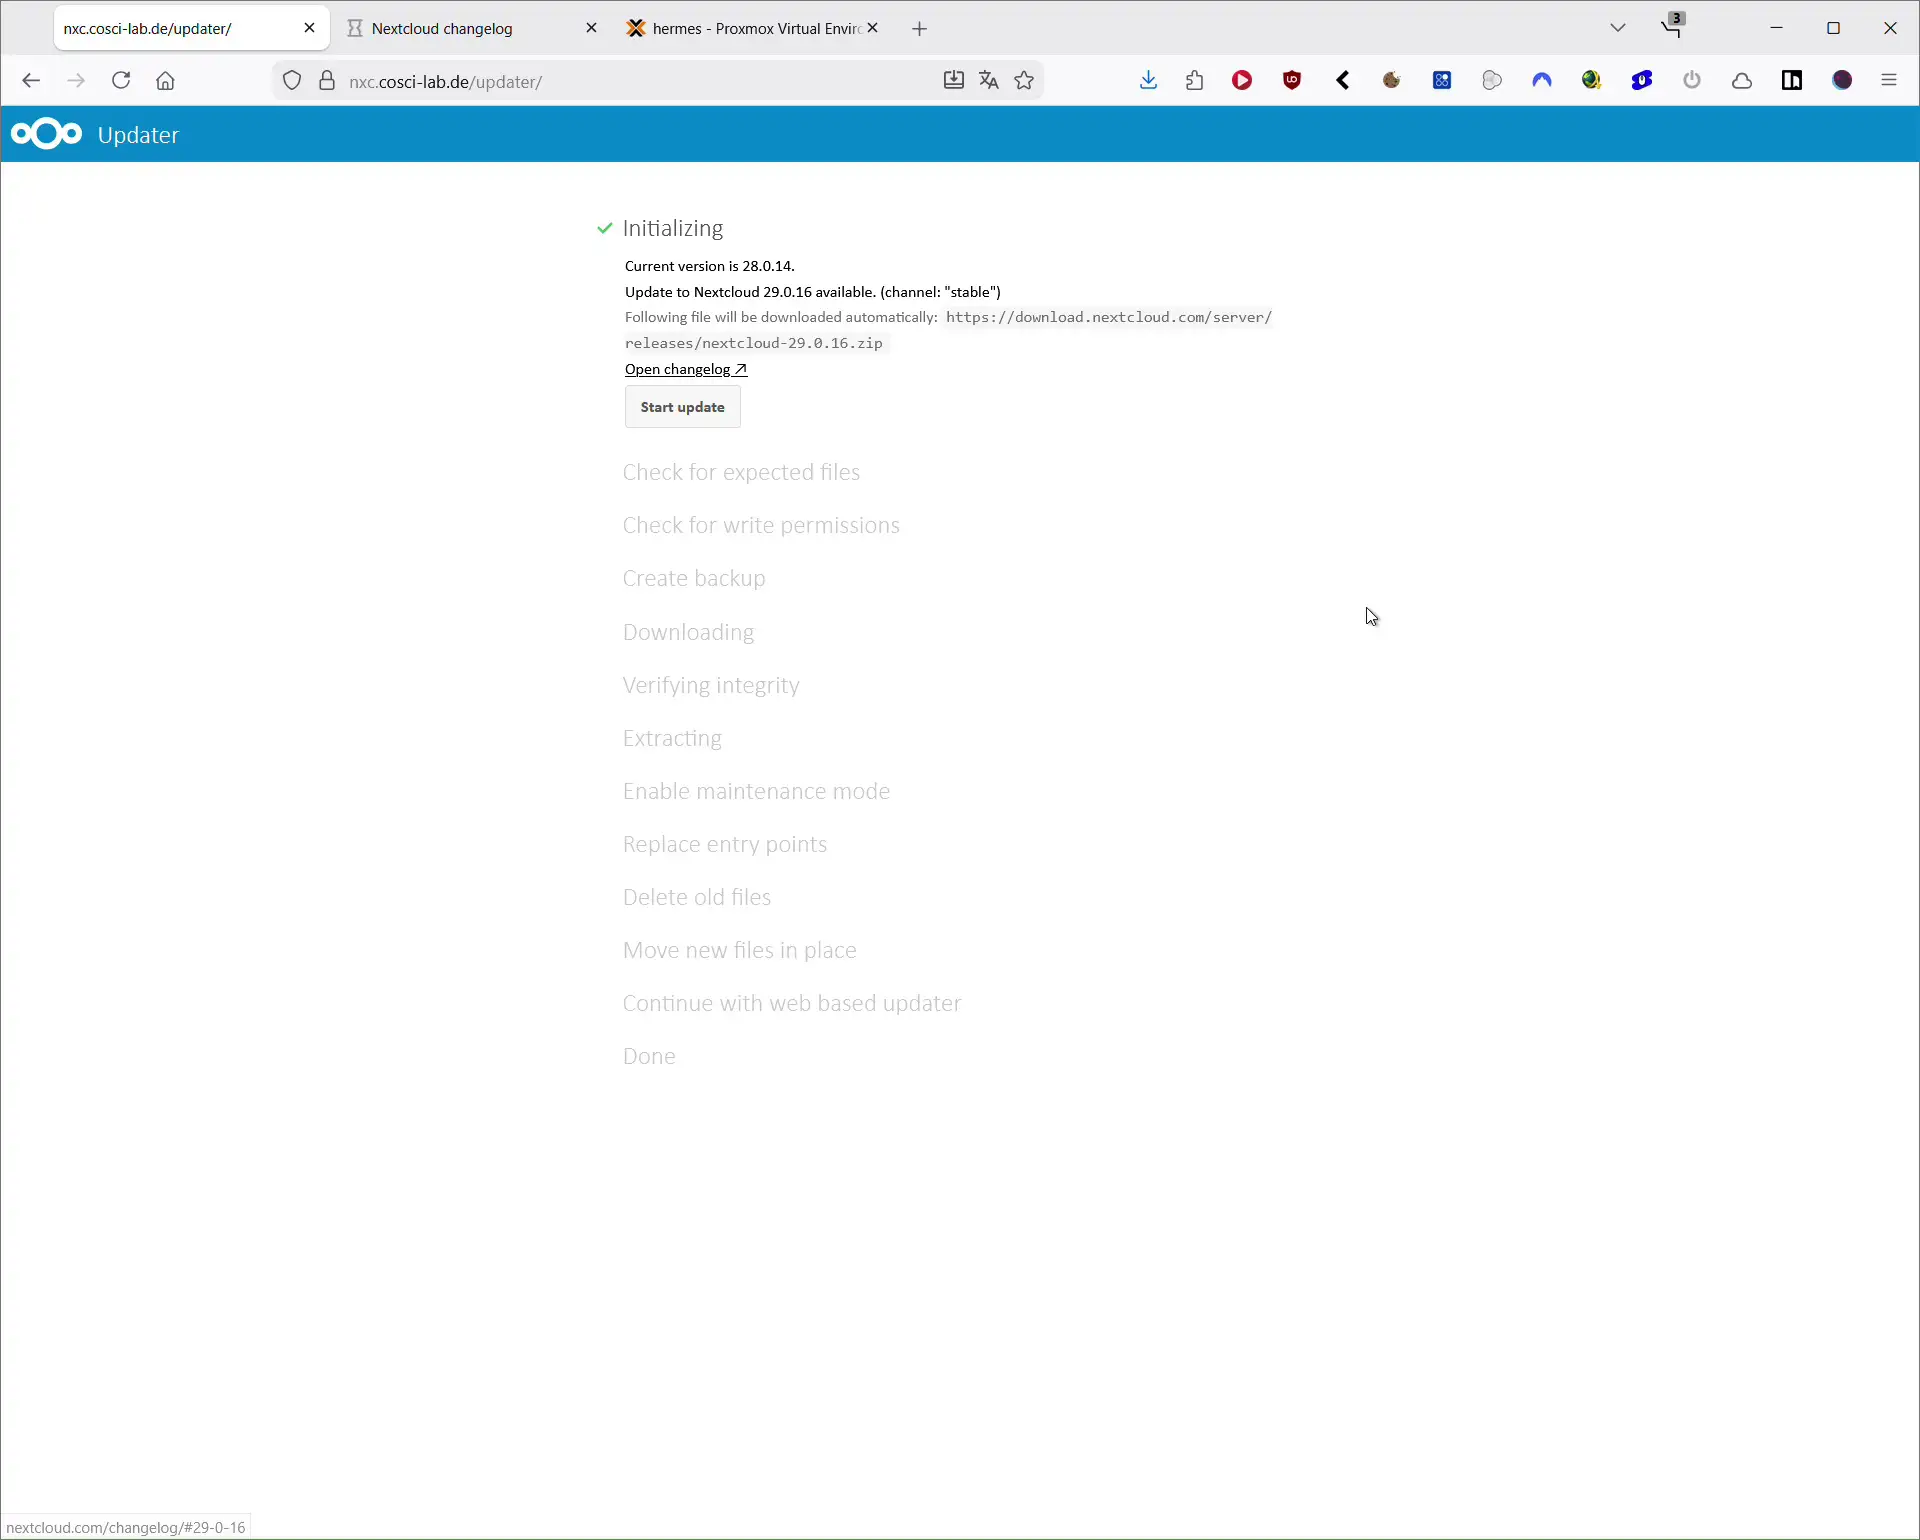
- The Web Updater opens and shows a list of the planned steps.
- Click Start update.
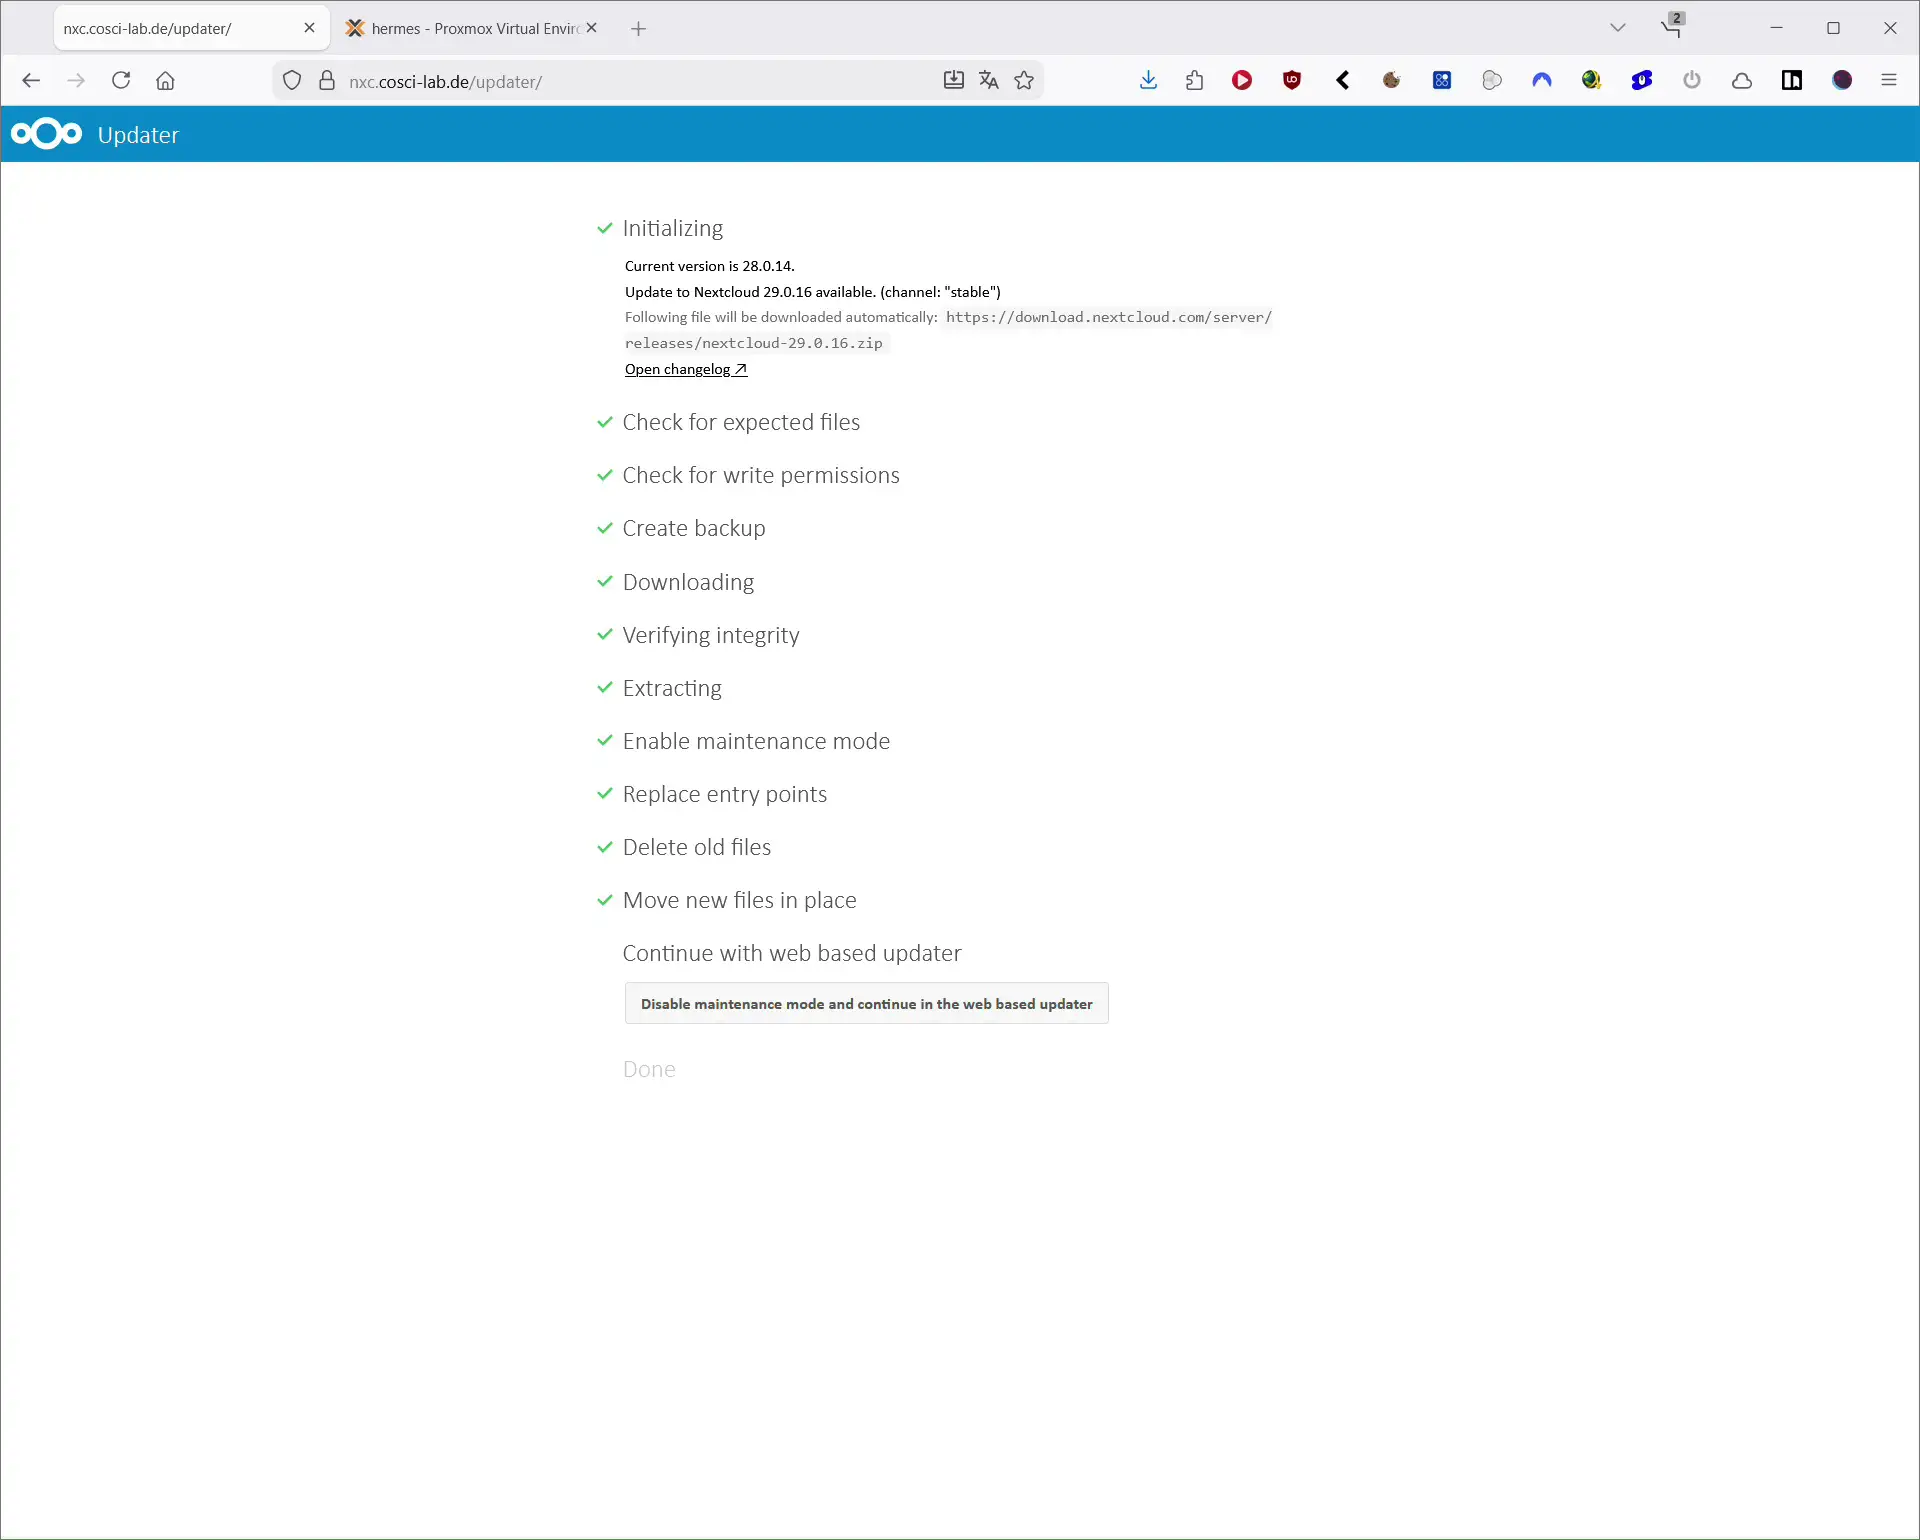
- The updater downloads the new version, checks the files, creates a backup and installs the new version.
- At the end you will see a button like Disable maintenance mode and continue in the web based updater. Click it to disable maintenance mode.
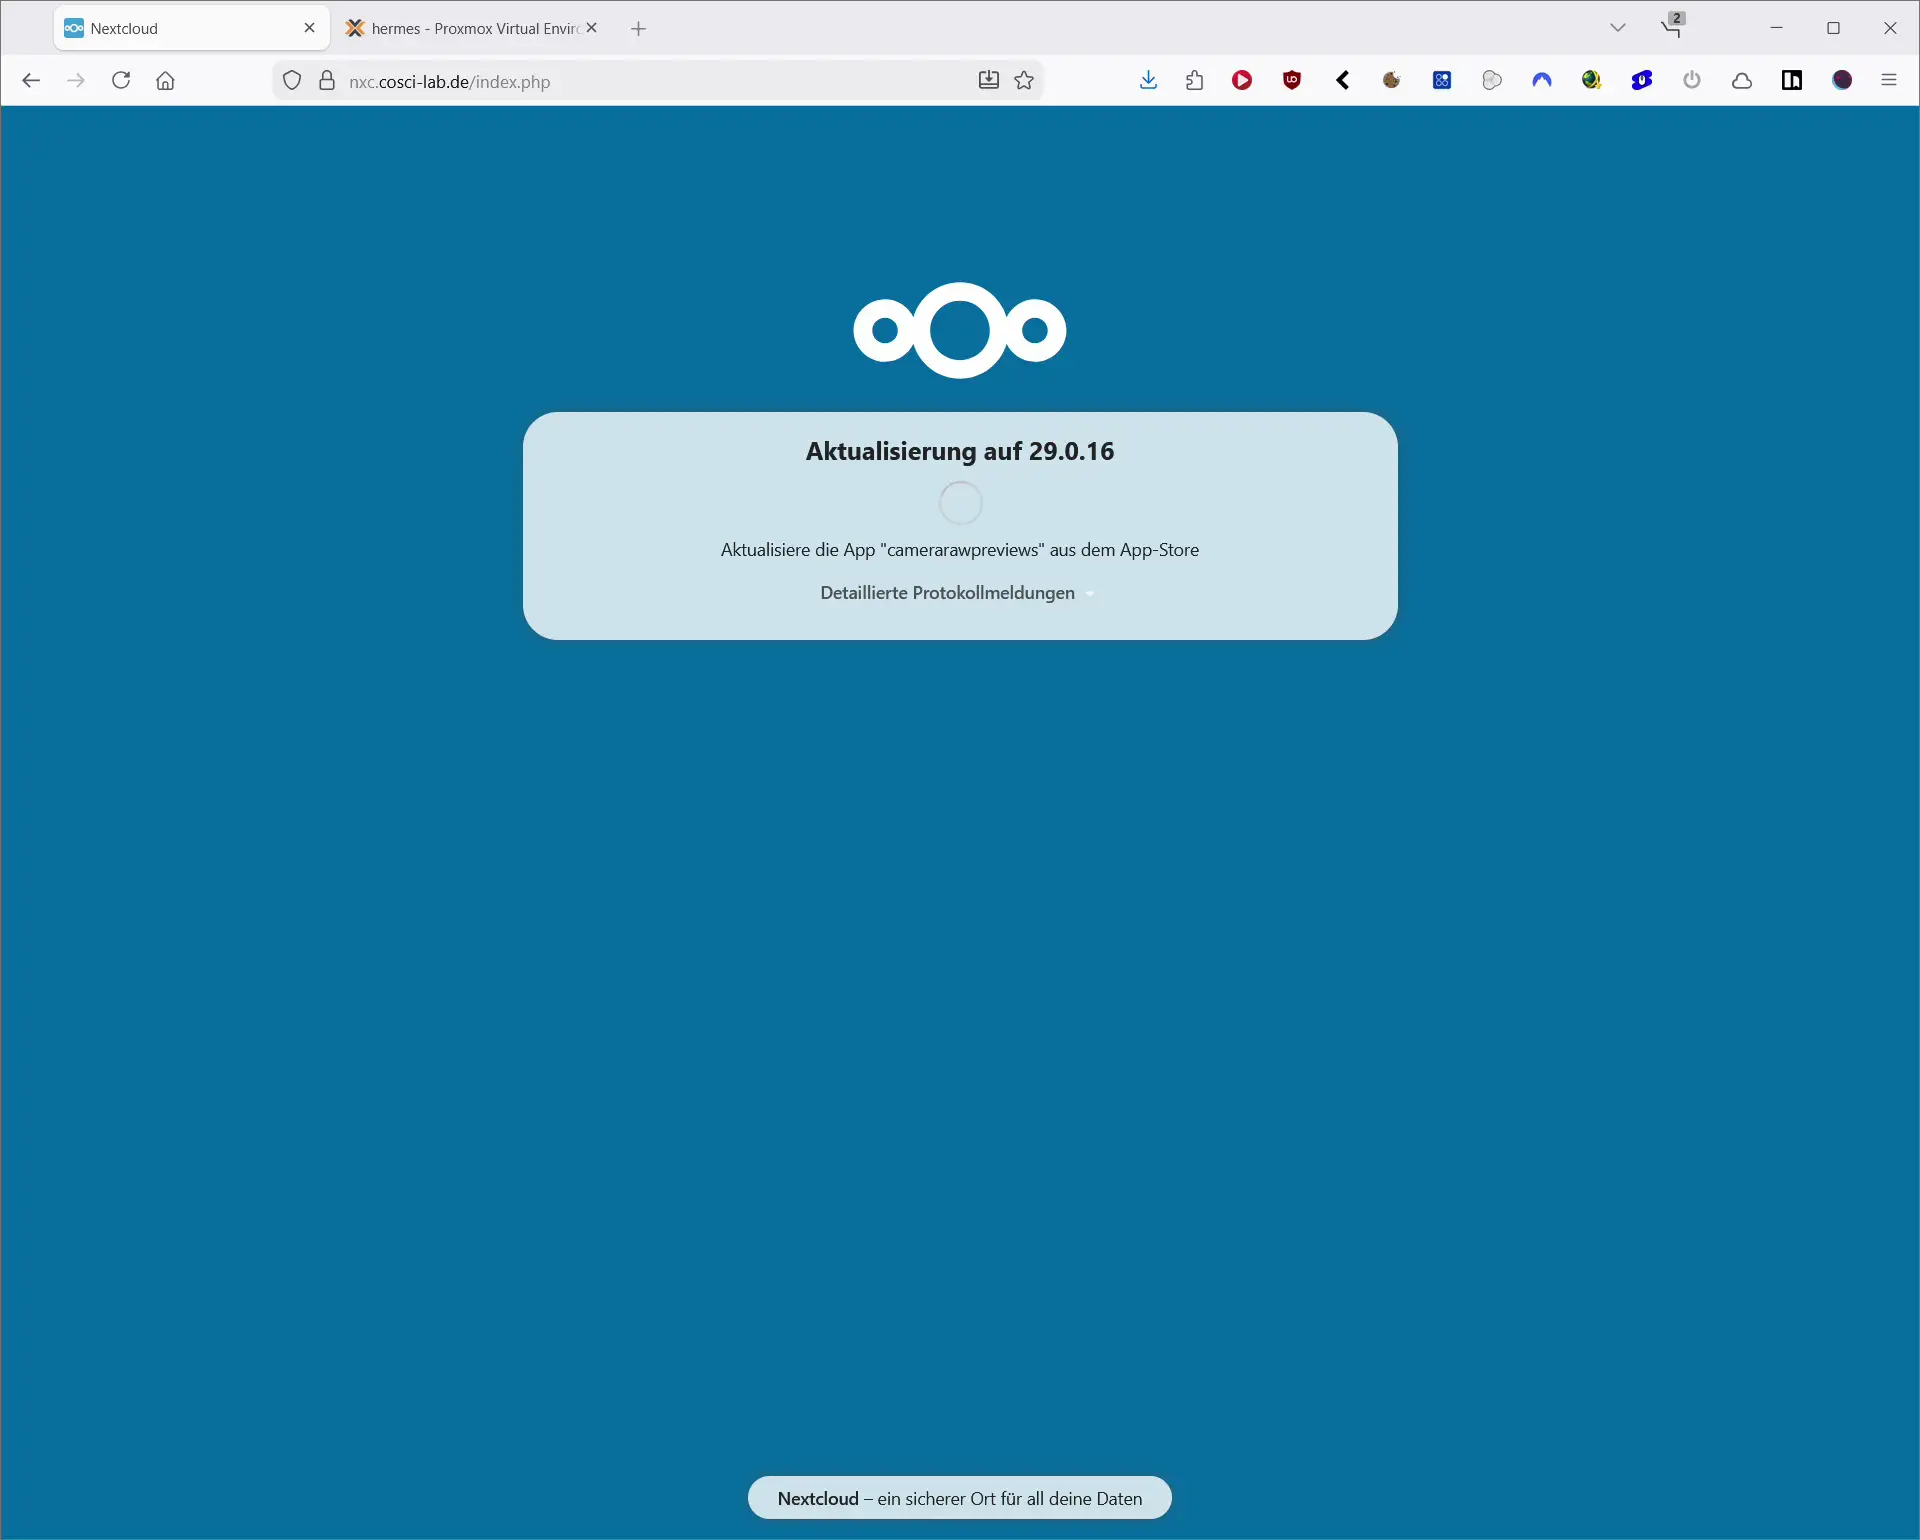
- Log in to Nextcloud again and check if everything works.
- Open the Apps section and install all available app updates.
The Web Updater is ideal for small private installations with only a few users and a manageable amount of data. On large instances you might run into PHP timeouts or slow disks – in this case the CLI is usually more reliable.
Updating Nextcloud via CLI (Command Line Updater and occ)
Updating your Nextcloud server from the command line is a bit more technical, but much more robust and better suited for larger installations.
1. Change to the Nextcloud directory
In most setups the installation is located under /var/www/html or /var/www/nextcloud:
cd /var/www/html
Adjust the path to your environment.
2. Start the CLI Updater
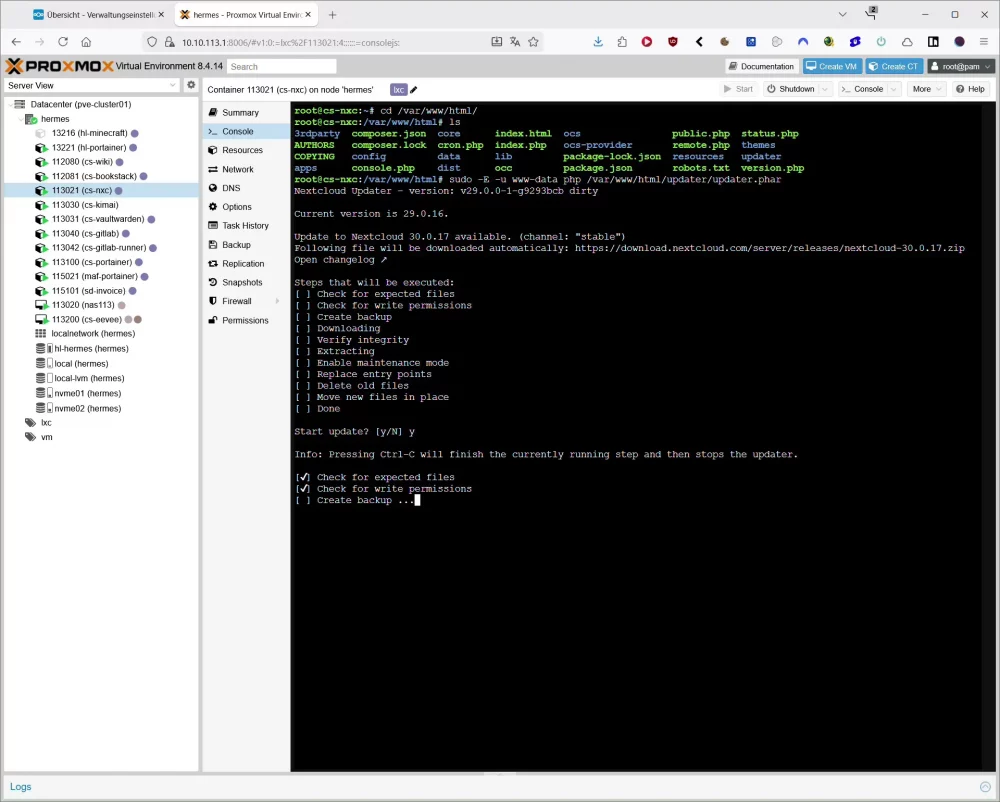
On Debian or Ubuntu the web server usually runs as www-data. With the following command you start the updater on the CLI:
sudo -E -u www-data php updater/updater.phar
If you want to skip the internal backup of the updater because you already created a snapshot in your hypervisor, you can use the --no-backup option:
sudo -E -u www-data php updater/updater.phar --no-backup
The updater asks if you want to run the Nextcloud server update, downloads the new version, verifies it and replaces the files. At the end it usually suggests running the occ upgrade command.
3. Update the database
After the files have been replaced the database has to be upgraded to the new version. This is done with occ upgrade:
sudo -E -u www-data php --define apc.enable_cli=1 occ upgrade
The apc.enable_cli=1 option enables APCu caching for CLI commands which speeds up some operations.
4. Disable maintenance mode
If Nextcloud is still in maintenance mode after the update you can switch it off like this:
sudo -E -u www-data php --define apc.enable_cli=1 occ maintenance:mode --off
After that you should be able to log in to the web interface again.
5. Clean up database and storage
After major updates it is a good idea to do a bit of cleanup:
# add missing indices
sudo -E -u www-data php --define apc.enable_cli=1 occ db:add-missing-indices

# clean up trashbin and file versions for a user, example user "cosci"
sudo -u www-data php --define apc.enable_cli=1 occ trashbin:cleanup cosci
sudo -u www-data php --define apc.enable_cli=1 occ versions:cleanup cosci
You can also update all apps directly via CLI:
sudo -E -u www-data php occ app:update --all
Web Updater or CLI – which option should you use?
Both methods technically update your Nextcloud server in the same way. Still there are differences that help you to decide which method to use.
Comparison – Web Updater vs CLI
| Method | Advantages | Disadvantages | Recommendation |
|---|---|---|---|
| Web Updater | very simple, all in the browser, no shell knowledge needed | prone to PHP timeouts, less detailed error messages | good for small private installations |
CLI with updater.phar | stable, fast, easy to script, clear log output | requires SSH access and basic shell knowledge | recommended for production and larger setups |
| manual update | full control over files and workflow | more complex, easier to make mistakes | only if the updater does not work at all |
For homelab setups, company clouds or Nextcloud servers with many users the CLI update is usually much less stressful. For a small private Nextcloud the Web Updater is often enough.
Updating the PHP version for your Nextcloud server
Sooner or later you will not only run a Nextcloud server update but also a PHP upgrade. Which PHP version is supported depends on your Nextcloud version. Before you change the PHP version always check in the admin overview which version is recommended.
In general:
- a current PHP 8.x version is usually a good choice
- older PHP versions will eventually lose support
- new PHP versions should only be used once they are officially supported by Nextcloud
A typical switch from PHP 8.3 to PHP 8.4 on an Ubuntu server with Apache could look like this:
sudo apt update
sudo apt upgrade -y

sudo apt install -y \
  php8.4-cli php8.4-common php8.4-curl php8.4-gd php8.4-mbstring \
  php8.4-xml php8.4-zip php8.4-intl php8.4-bcmath php8.4-gmp \
  php8.4-apcu php8.4-redis php8.4-imagick \
  php8.4-mysql

sudo apt install -y libapache2-mod-php8.4

sudo a2dismod php8.3
sudo a2enmod php8.4
sudo systemctl restart apache2

sudo update-alternatives --set php /usr/bin/php8.4

sudo -u www-data php8.4 /var/www/html/occ status
The last command checks if your Nextcloud server is running correctly with the new PHP version.
Important occ commands for Nextcloud server updates
Here is a small overview of practical occ commands that are useful around every Nextcloud server update:
| Command | Purpose |
|---|---|
sudo -E -u www-data php occ status | shows version, installation status and paths |
sudo -E -u www-data php occ update:check | checks for new Nextcloud versions and app updates |
sudo -E -u www-data php occ upgrade | runs database migrations for the new version |
sudo -E -u www-data php occ maintenance:mode --on/--off | enables or disables maintenance mode |
sudo -E -u www-data php occ db:add-missing-indices | creates missing database indices |
sudo -E -u www-data php occ app:update --all | updates all apps |
sudo -E -u www-data php occ trashbin:cleanup <user> | cleans up the trashbin of a specific user |
sudo -E -u www-data php occ versions:cleanup <user> | removes old file versions of a specific user |
By combining backups, the right update method and these occ commands you can keep your Nextcloud server secure, up to date and ready for new features without unnecessary downtime.