- Different Methods to remove background form transparent Objects in Photoshop
- The Easiest Method: Background Eraser Tool
- Before You Start: Duplicate Your Layer
- Recommended Settings
- Tip: Use Color Layers for Preview
- When to Spend More Time
If you’ve ever tried to cut out a transparent object like a glass, bottle, or plastic packaging in Photoshop, you know how tricky it can be. The background often shines through the material, and standard selection tools quickly reach their limits. Especially when the object is photographed against a white background, the transition between the object and the backdrop can be almost invisible.
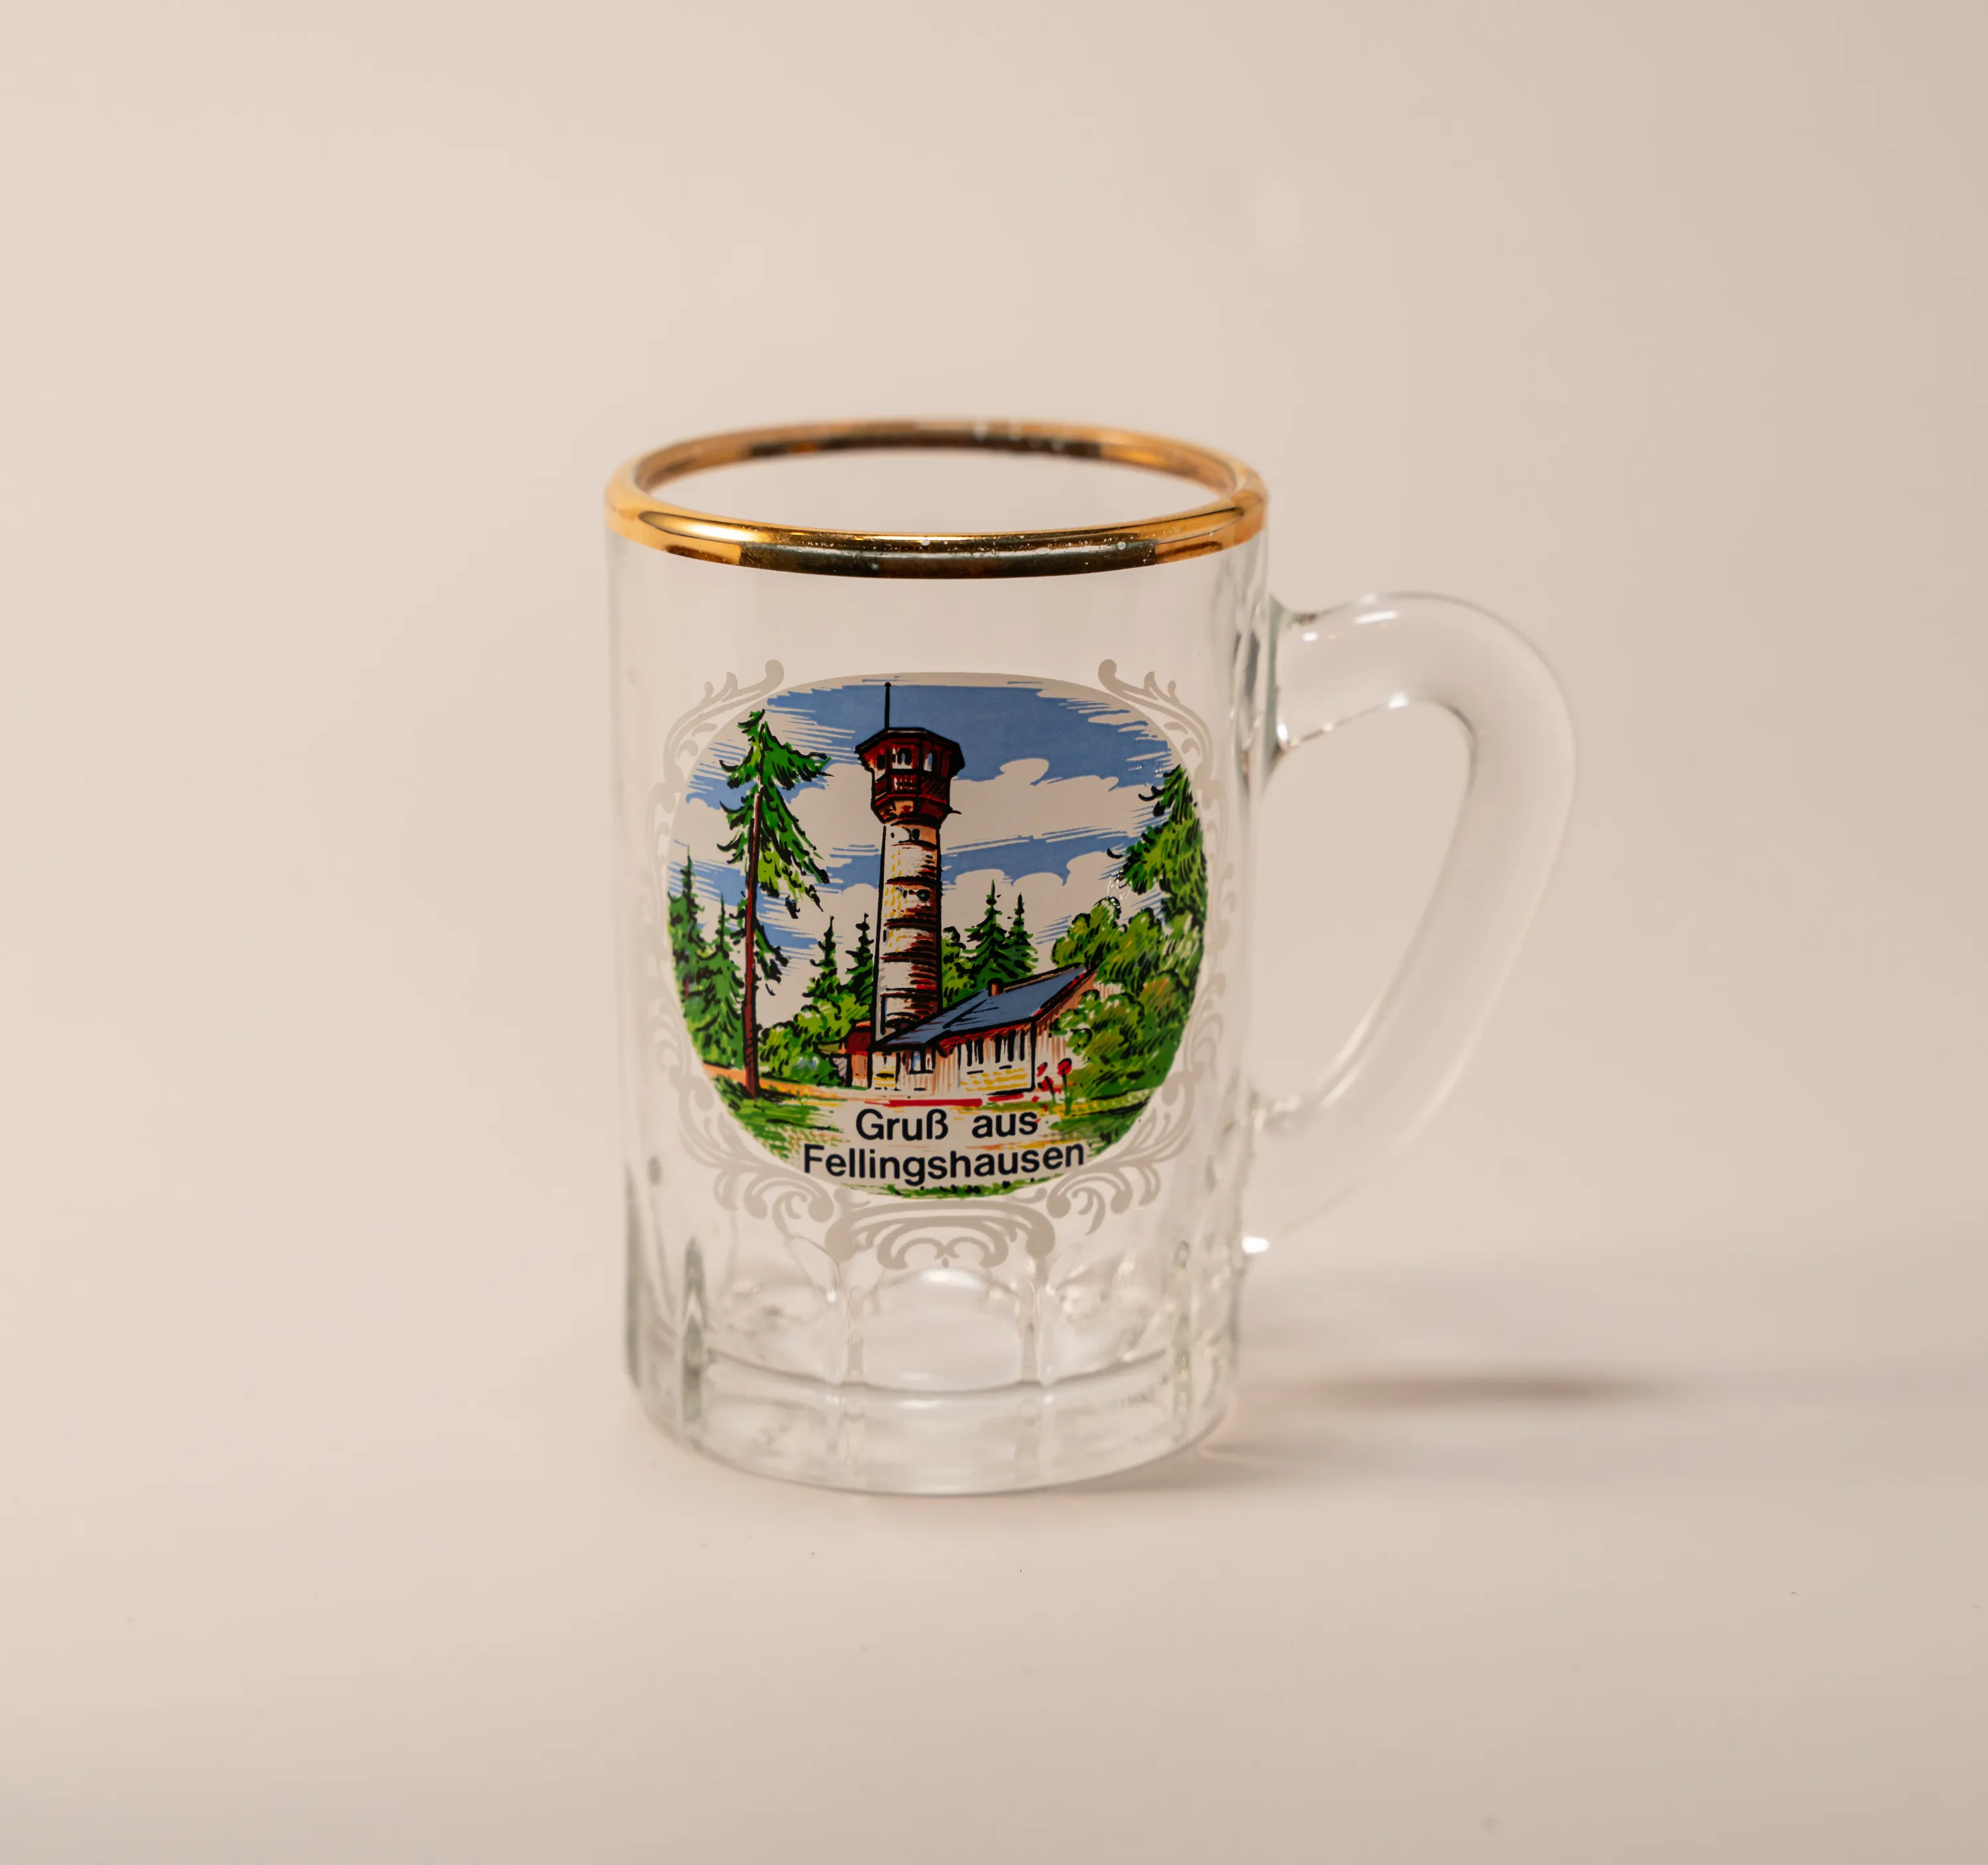
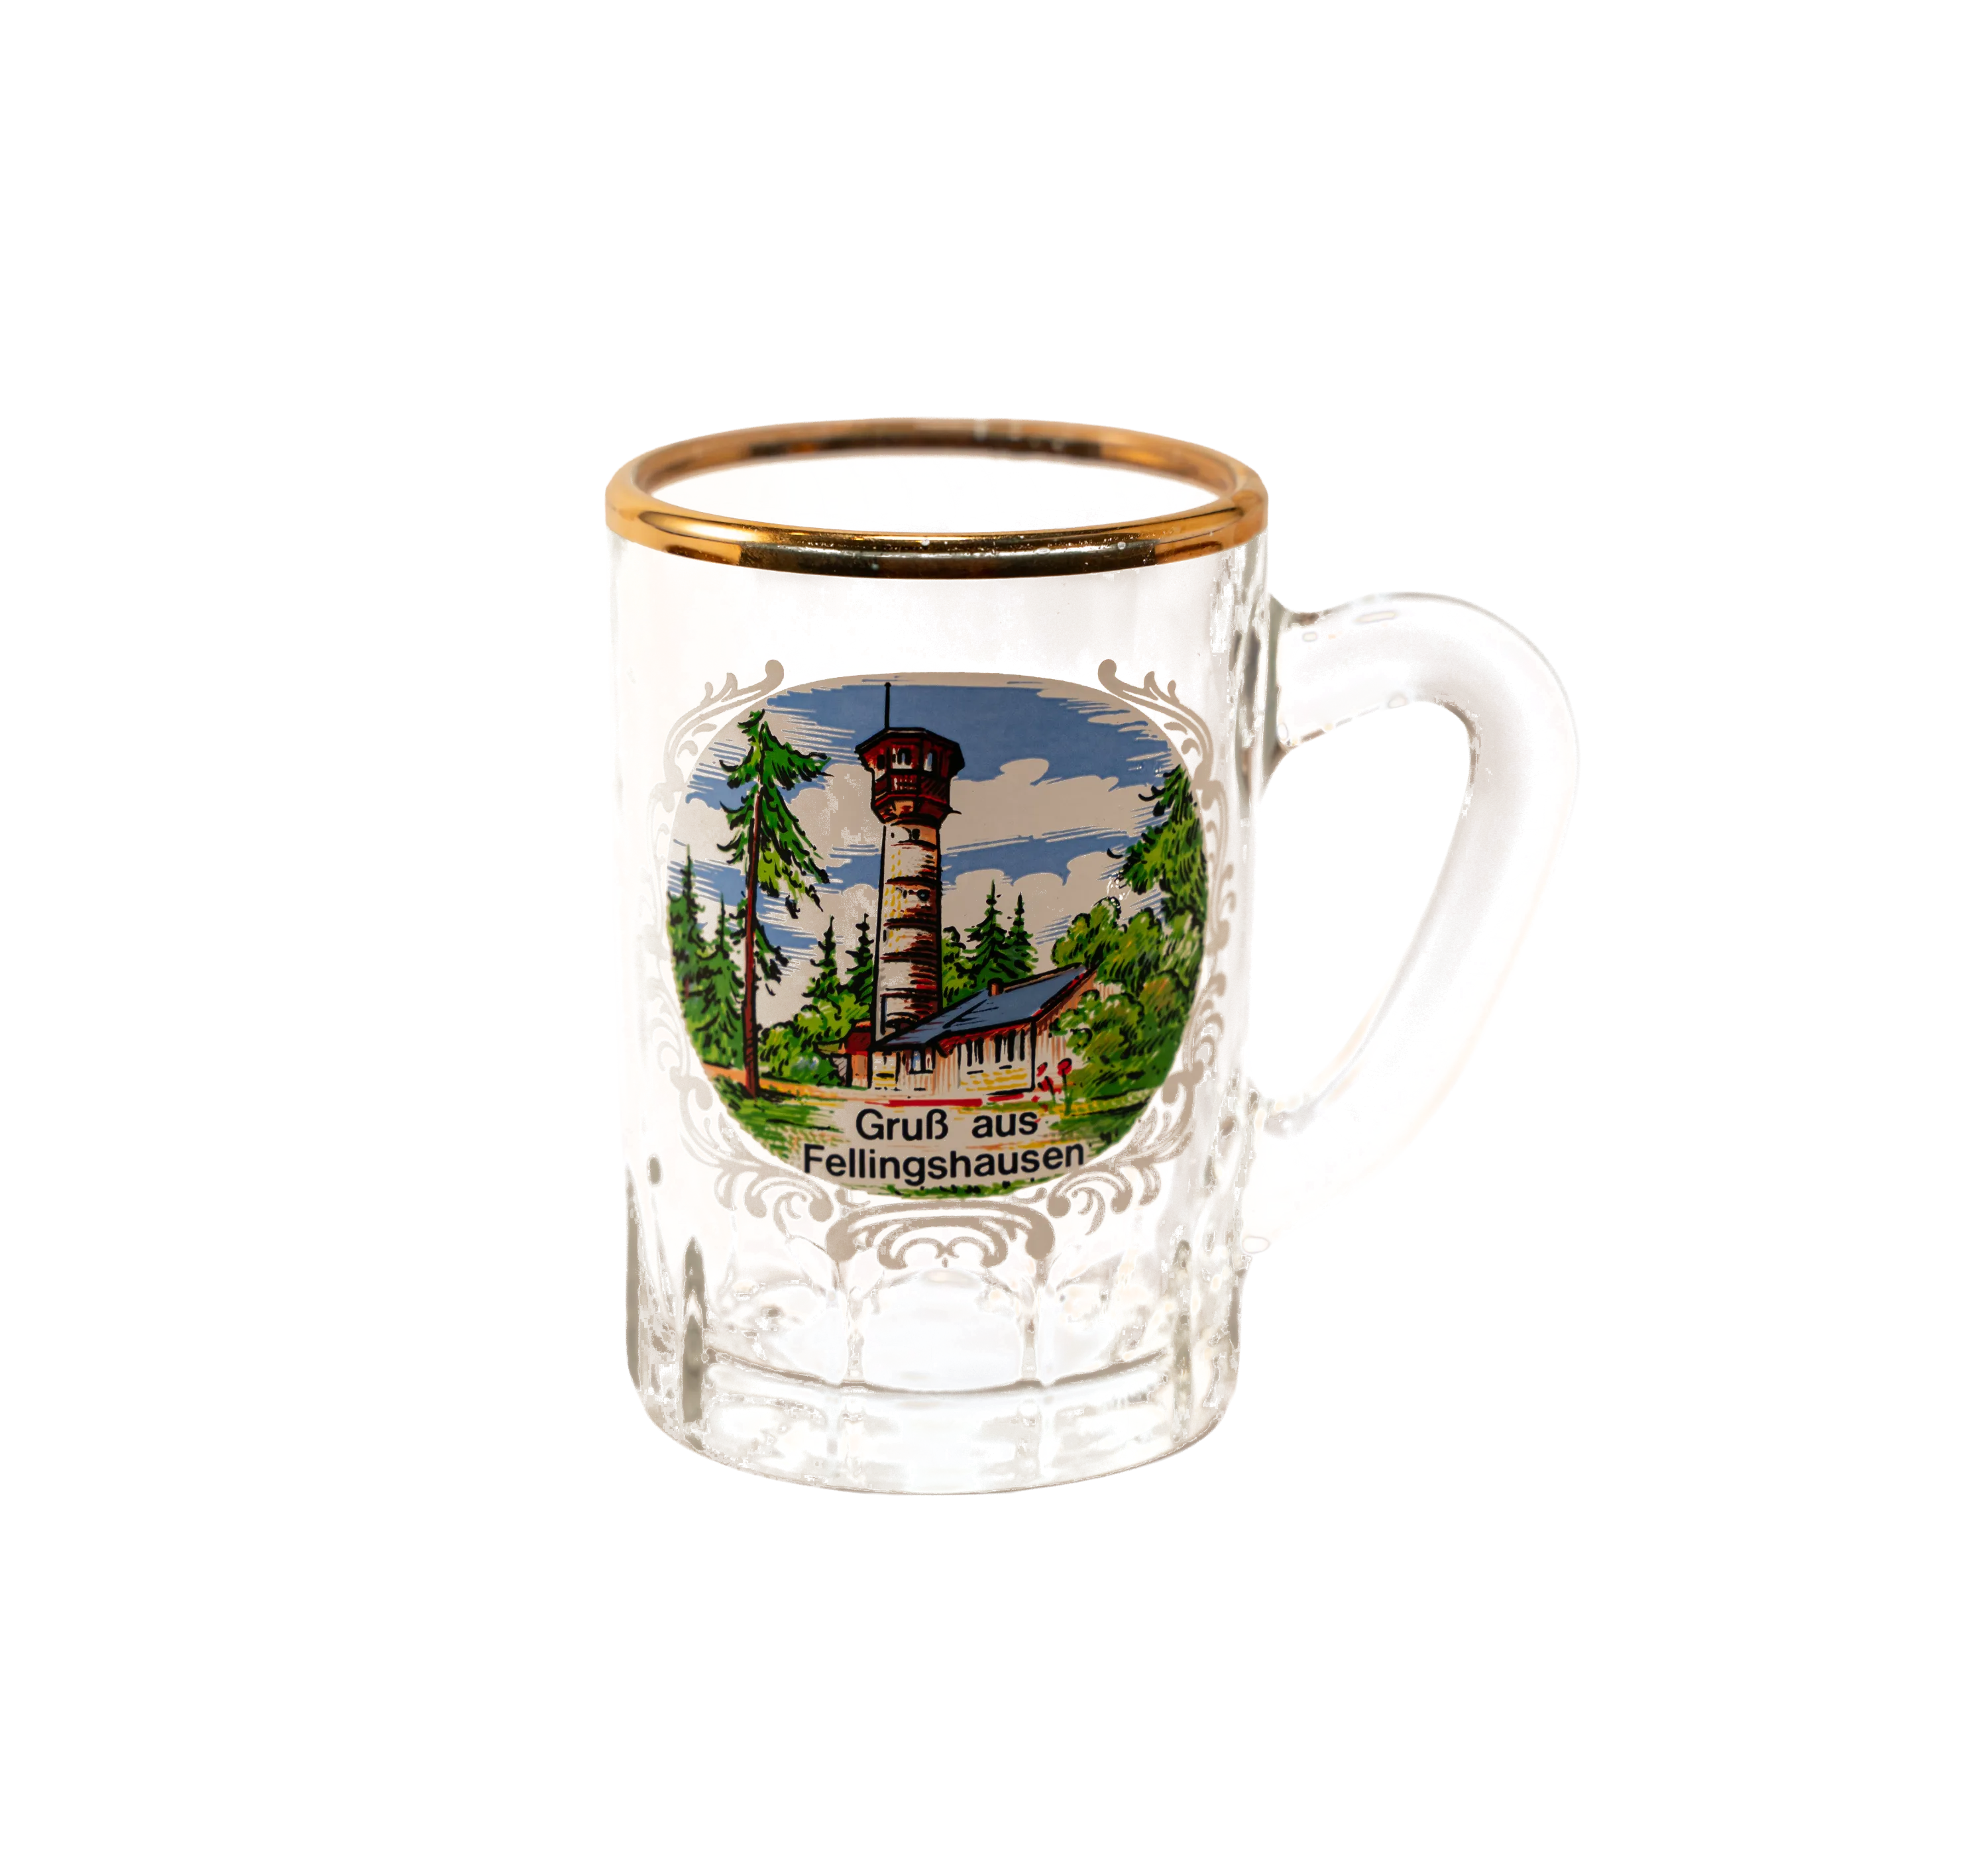
In my example, I photographed a small glass in a lightbox with a white background. The goal was to remove the white background so that the glass appears truly transparent and can be placed in front of other scenes – for example, in product mockups, blog illustrations, or web designs.
Different Methods to remove background form transparent Objects in Photoshop
Photoshop offers several ways to isolate transparent or semi-transparent objects:
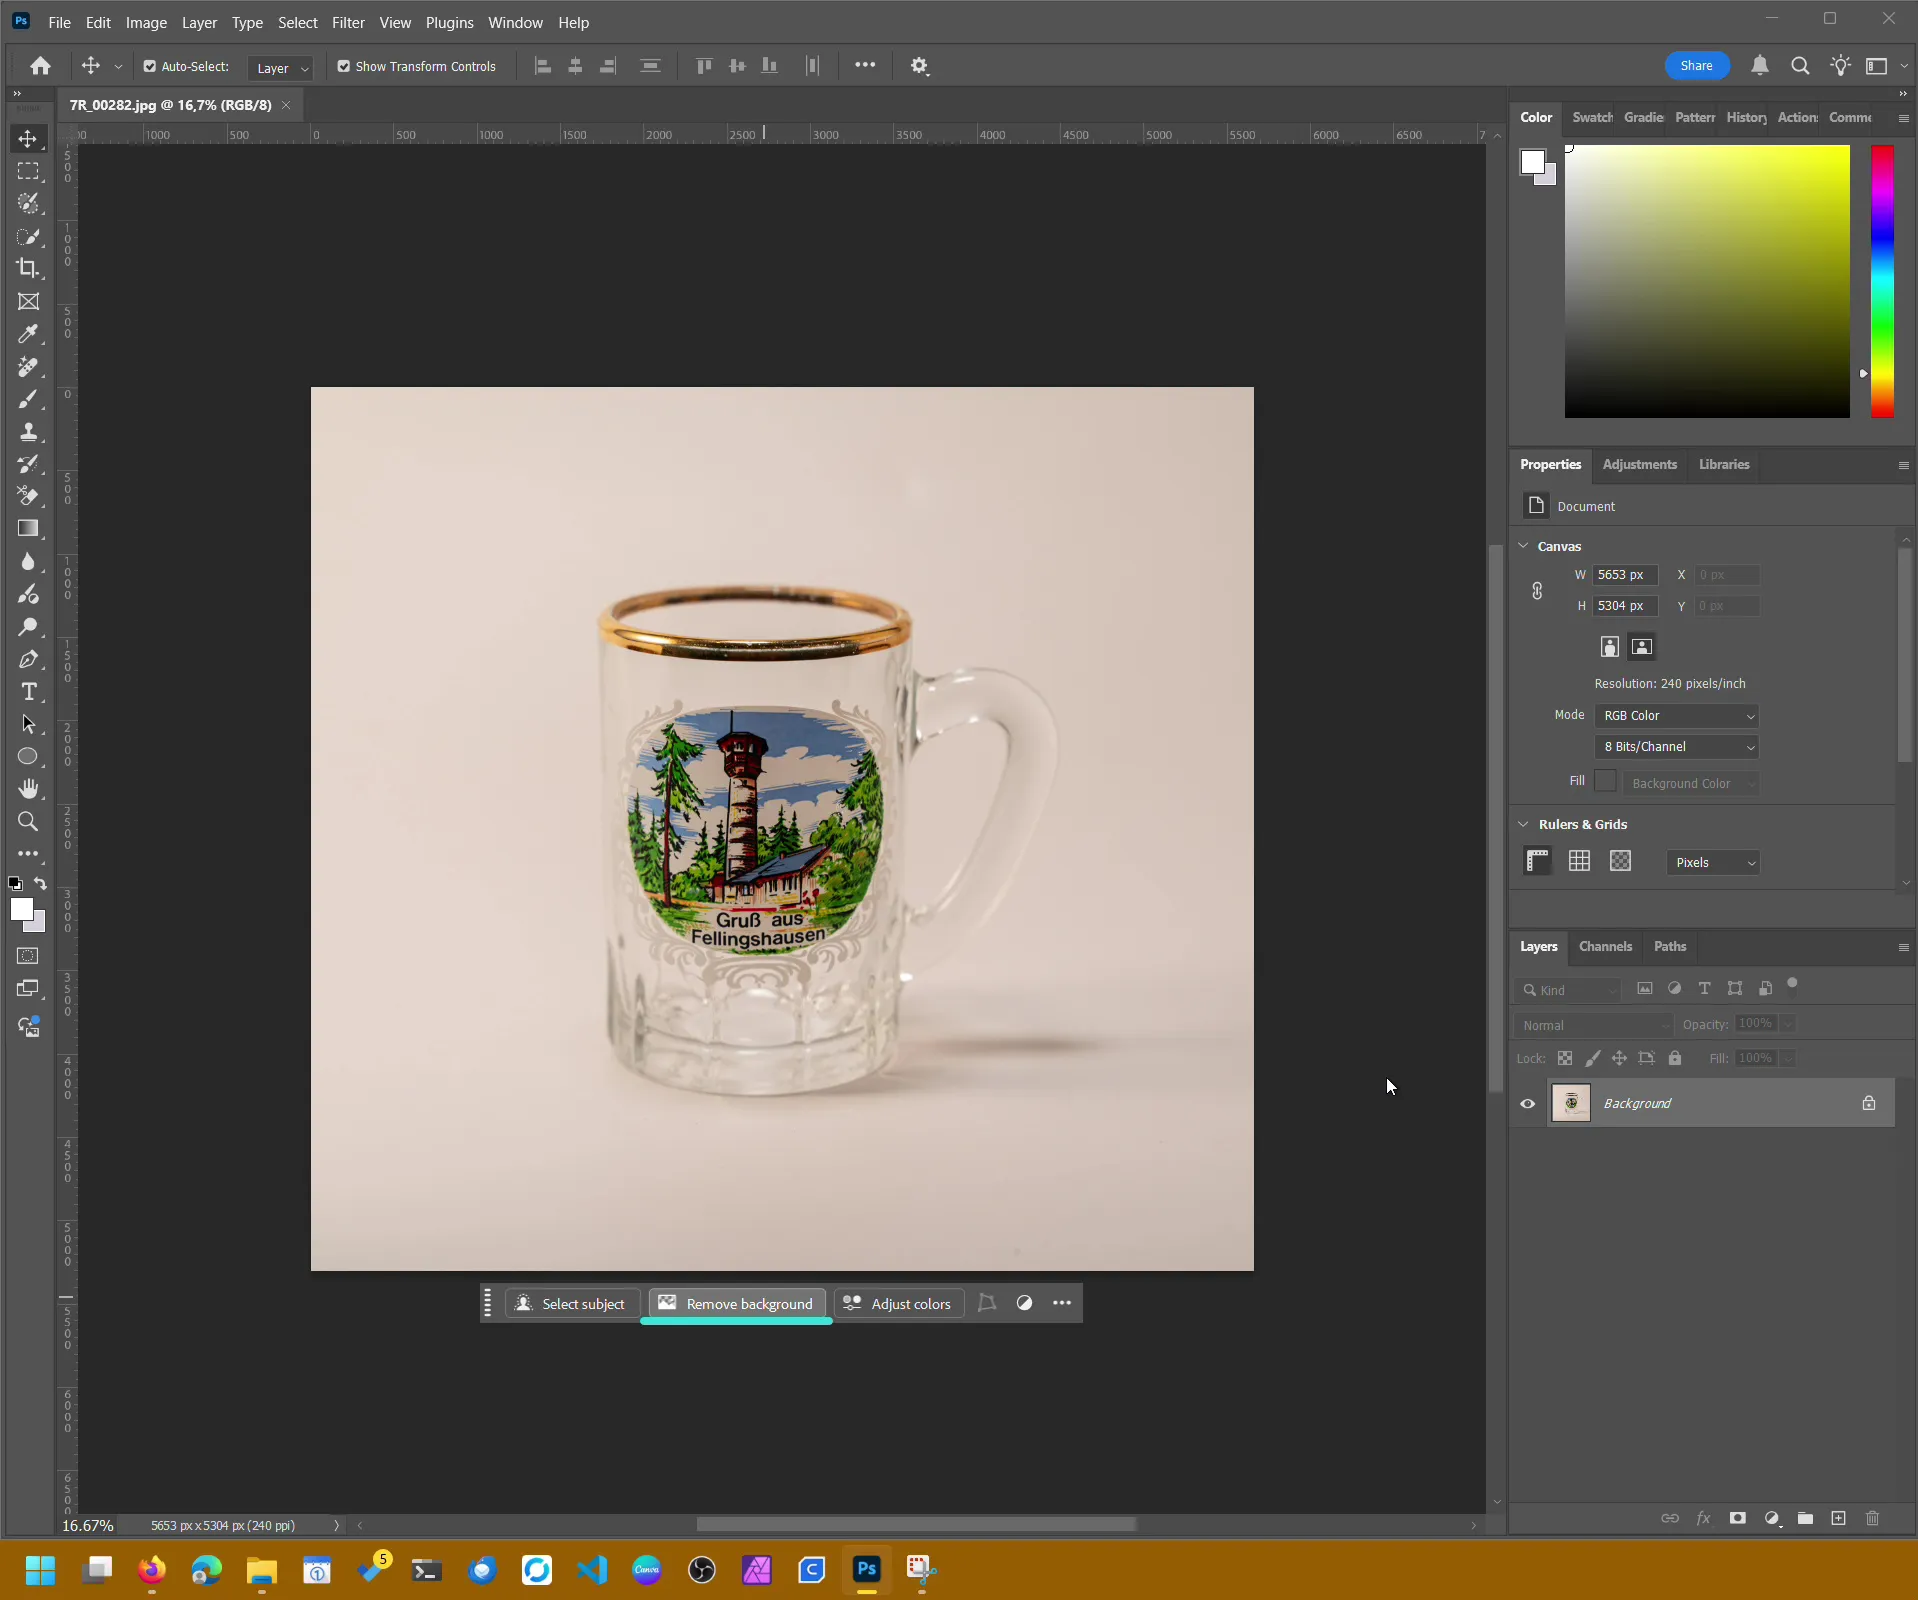
- Remove Background (Quick Action)
A fast solution found in the Properties panel or context menu. Works well for simple subjects, but often too rough for transparent glass. - Select Subject
Ideal for clear shapes with strong contrast, but transparent materials tend to confuse the algorithm, resulting in uneven edges. - Manual Masking with Brushes and Layer Masks
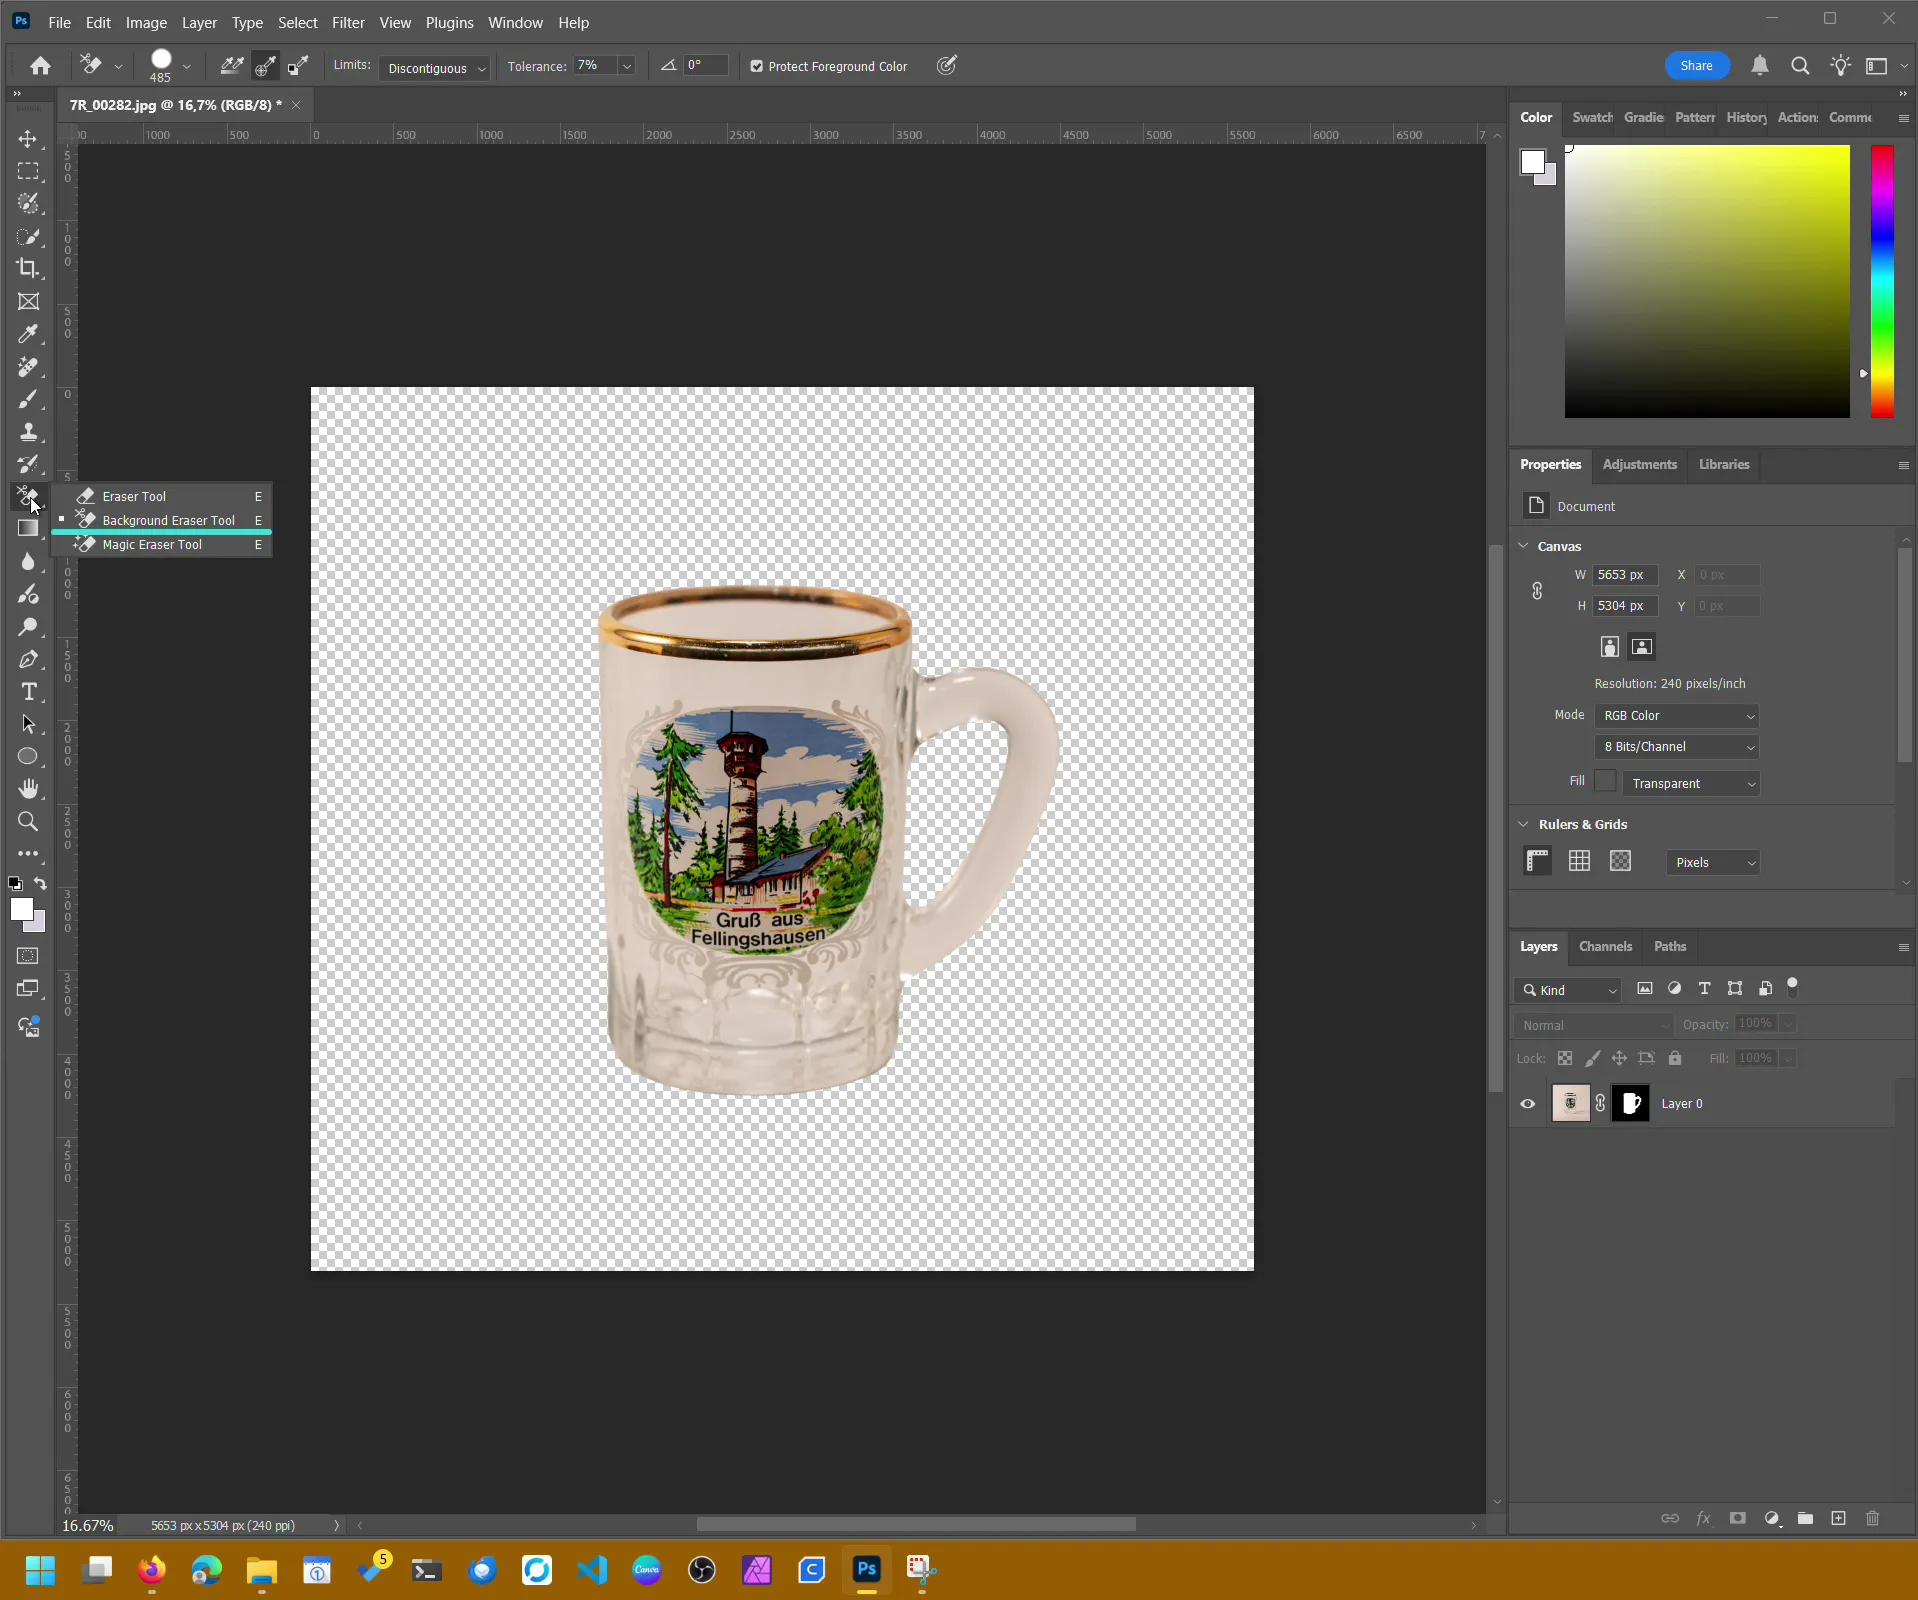
Perfect for detailed results, but very time-consuming – especially when processing many images. - Background Eraser Tool (Shortcut: E)
In my experience, this is the best balance between control, speed, and quality. This is the method I use most often.
The Easiest Method: Background Eraser Tool
The Background Eraser Tool works on a pixel level. It removes color tones that match the sampled area while preserving similar but distinct colors. This makes it an excellent tool for removing bright backgrounds behind transparent or reflective objects.
Before You Start: Duplicate Your Layer
Before using the Background Eraser Tool, duplicate your image layer first.
You can do this quickly with Ctrl + J (Windows) or Cmd + J (Mac).
Here’s why: the Background Eraser Tool deletes pixels permanently. Unlike a layer mask, you can’t easily restore erased areas later. By working on a duplicate, you always keep the original photo intact and can revert or restart if needed. This small step can save a lot of frustration during the editing process.
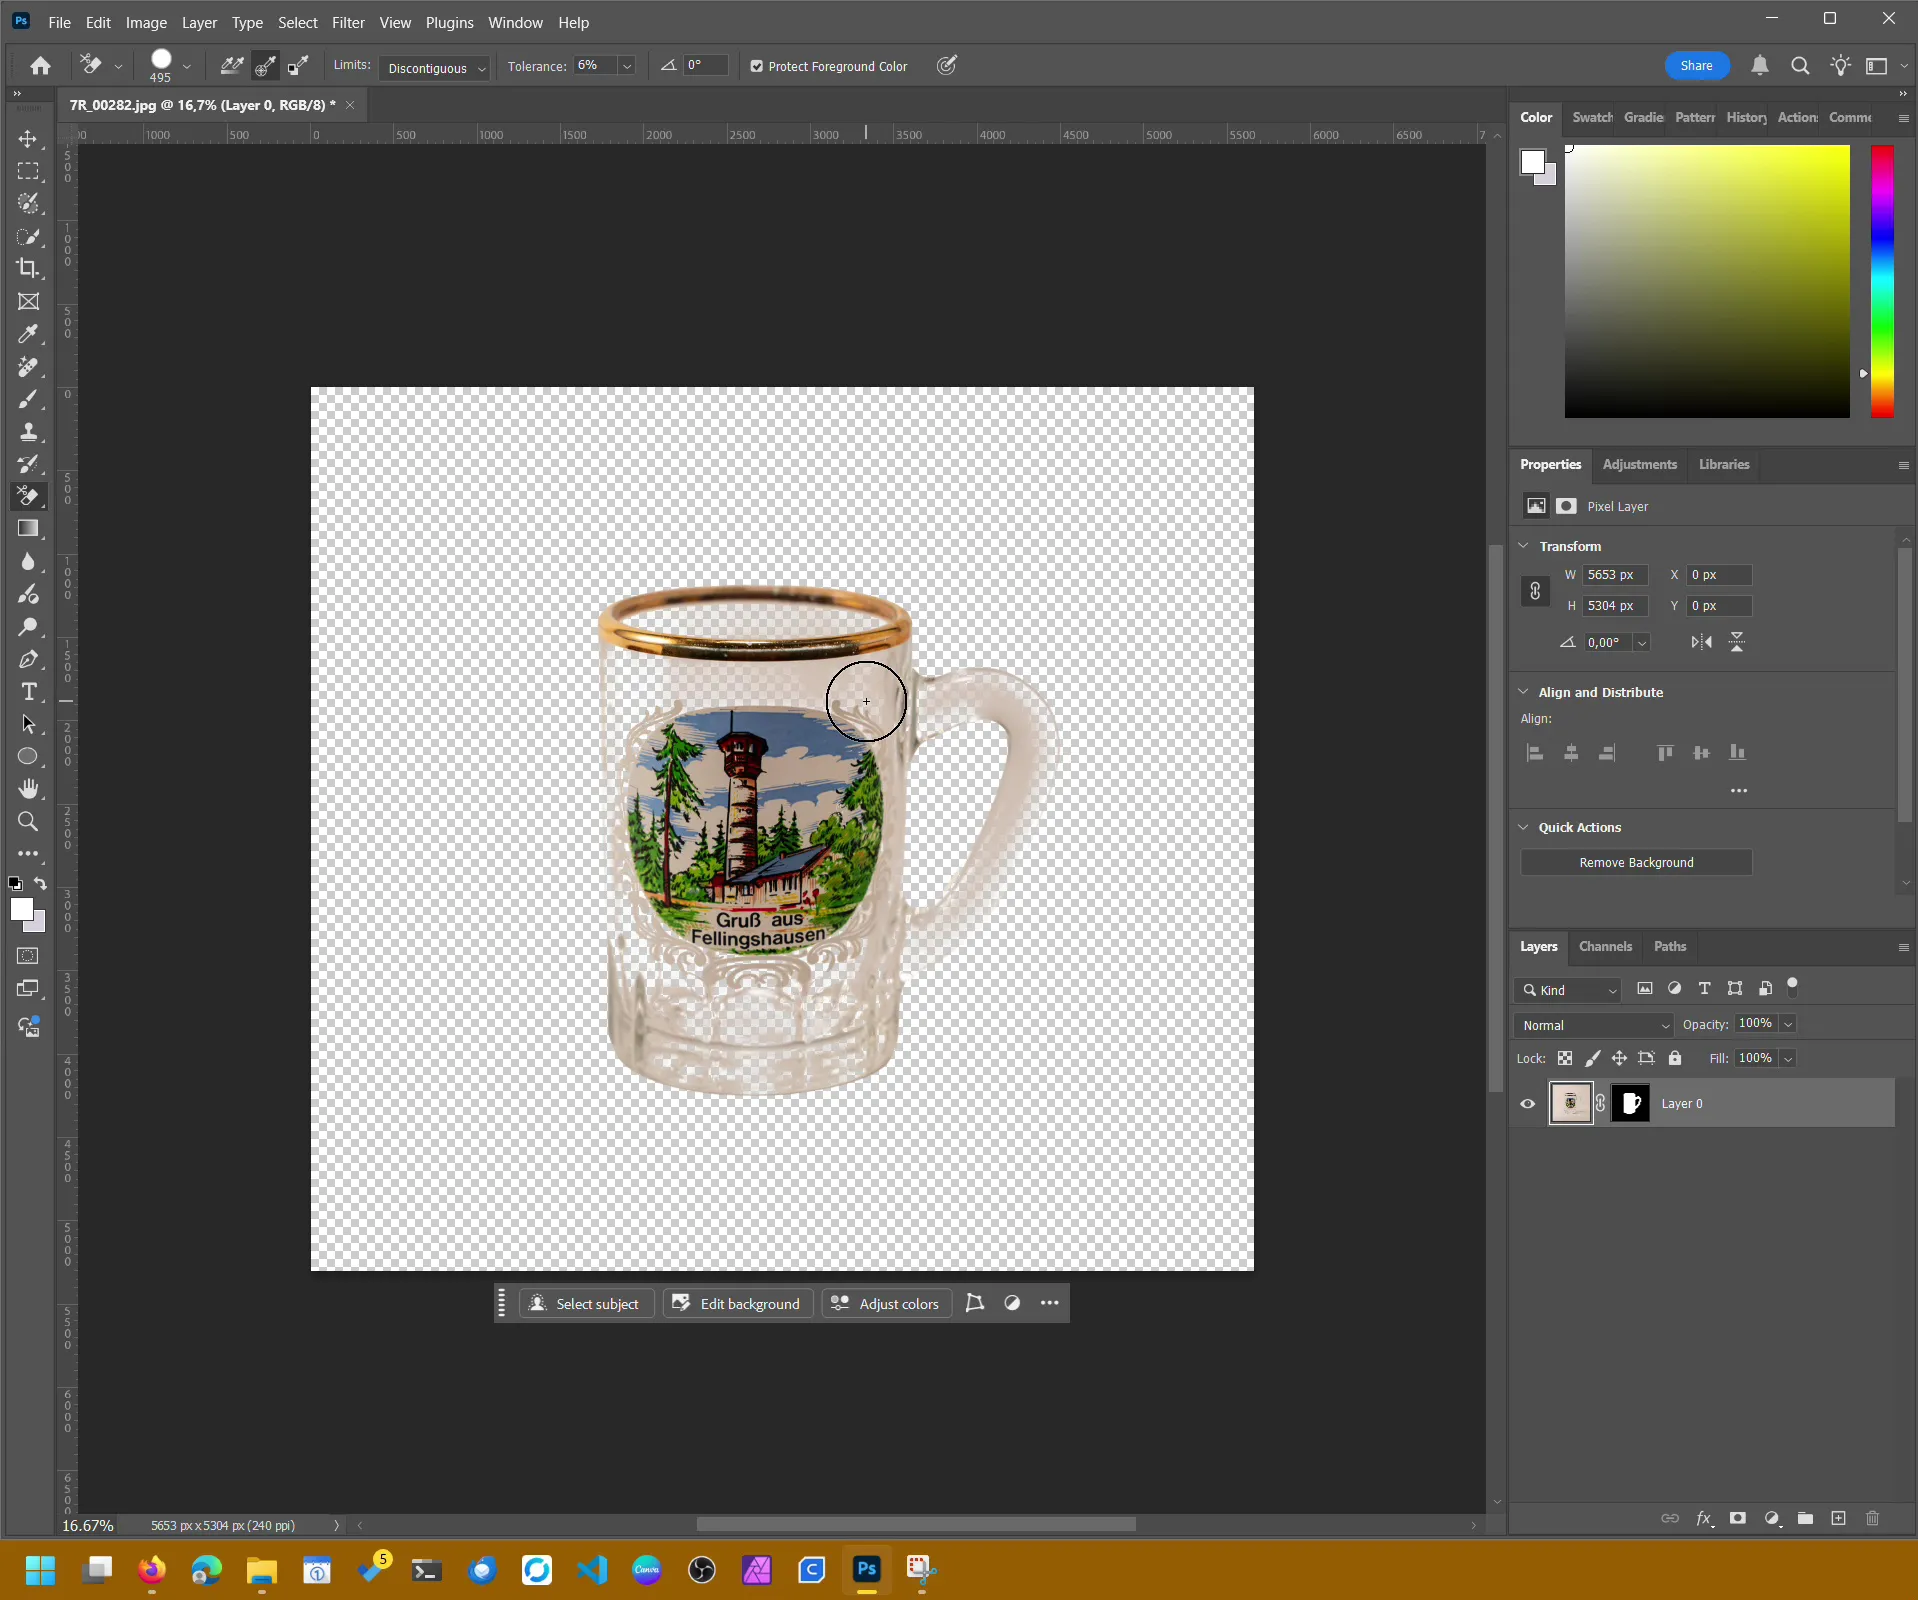
Recommended Settings

- Sampling: Once
This ensures Photoshop only deletes the color you selected with your first click – not every new sampled area. - Limits: Discontiguous
This allows the tool to remove non-connected background areas as well. - Tolerance: 1–20%
Lower values yield more precise results. For glass or transparent materials, this range works best. - Protect Foreground Color: Optional
Activate this if you want to preserve a specific color, such as a logo printed on the glass.
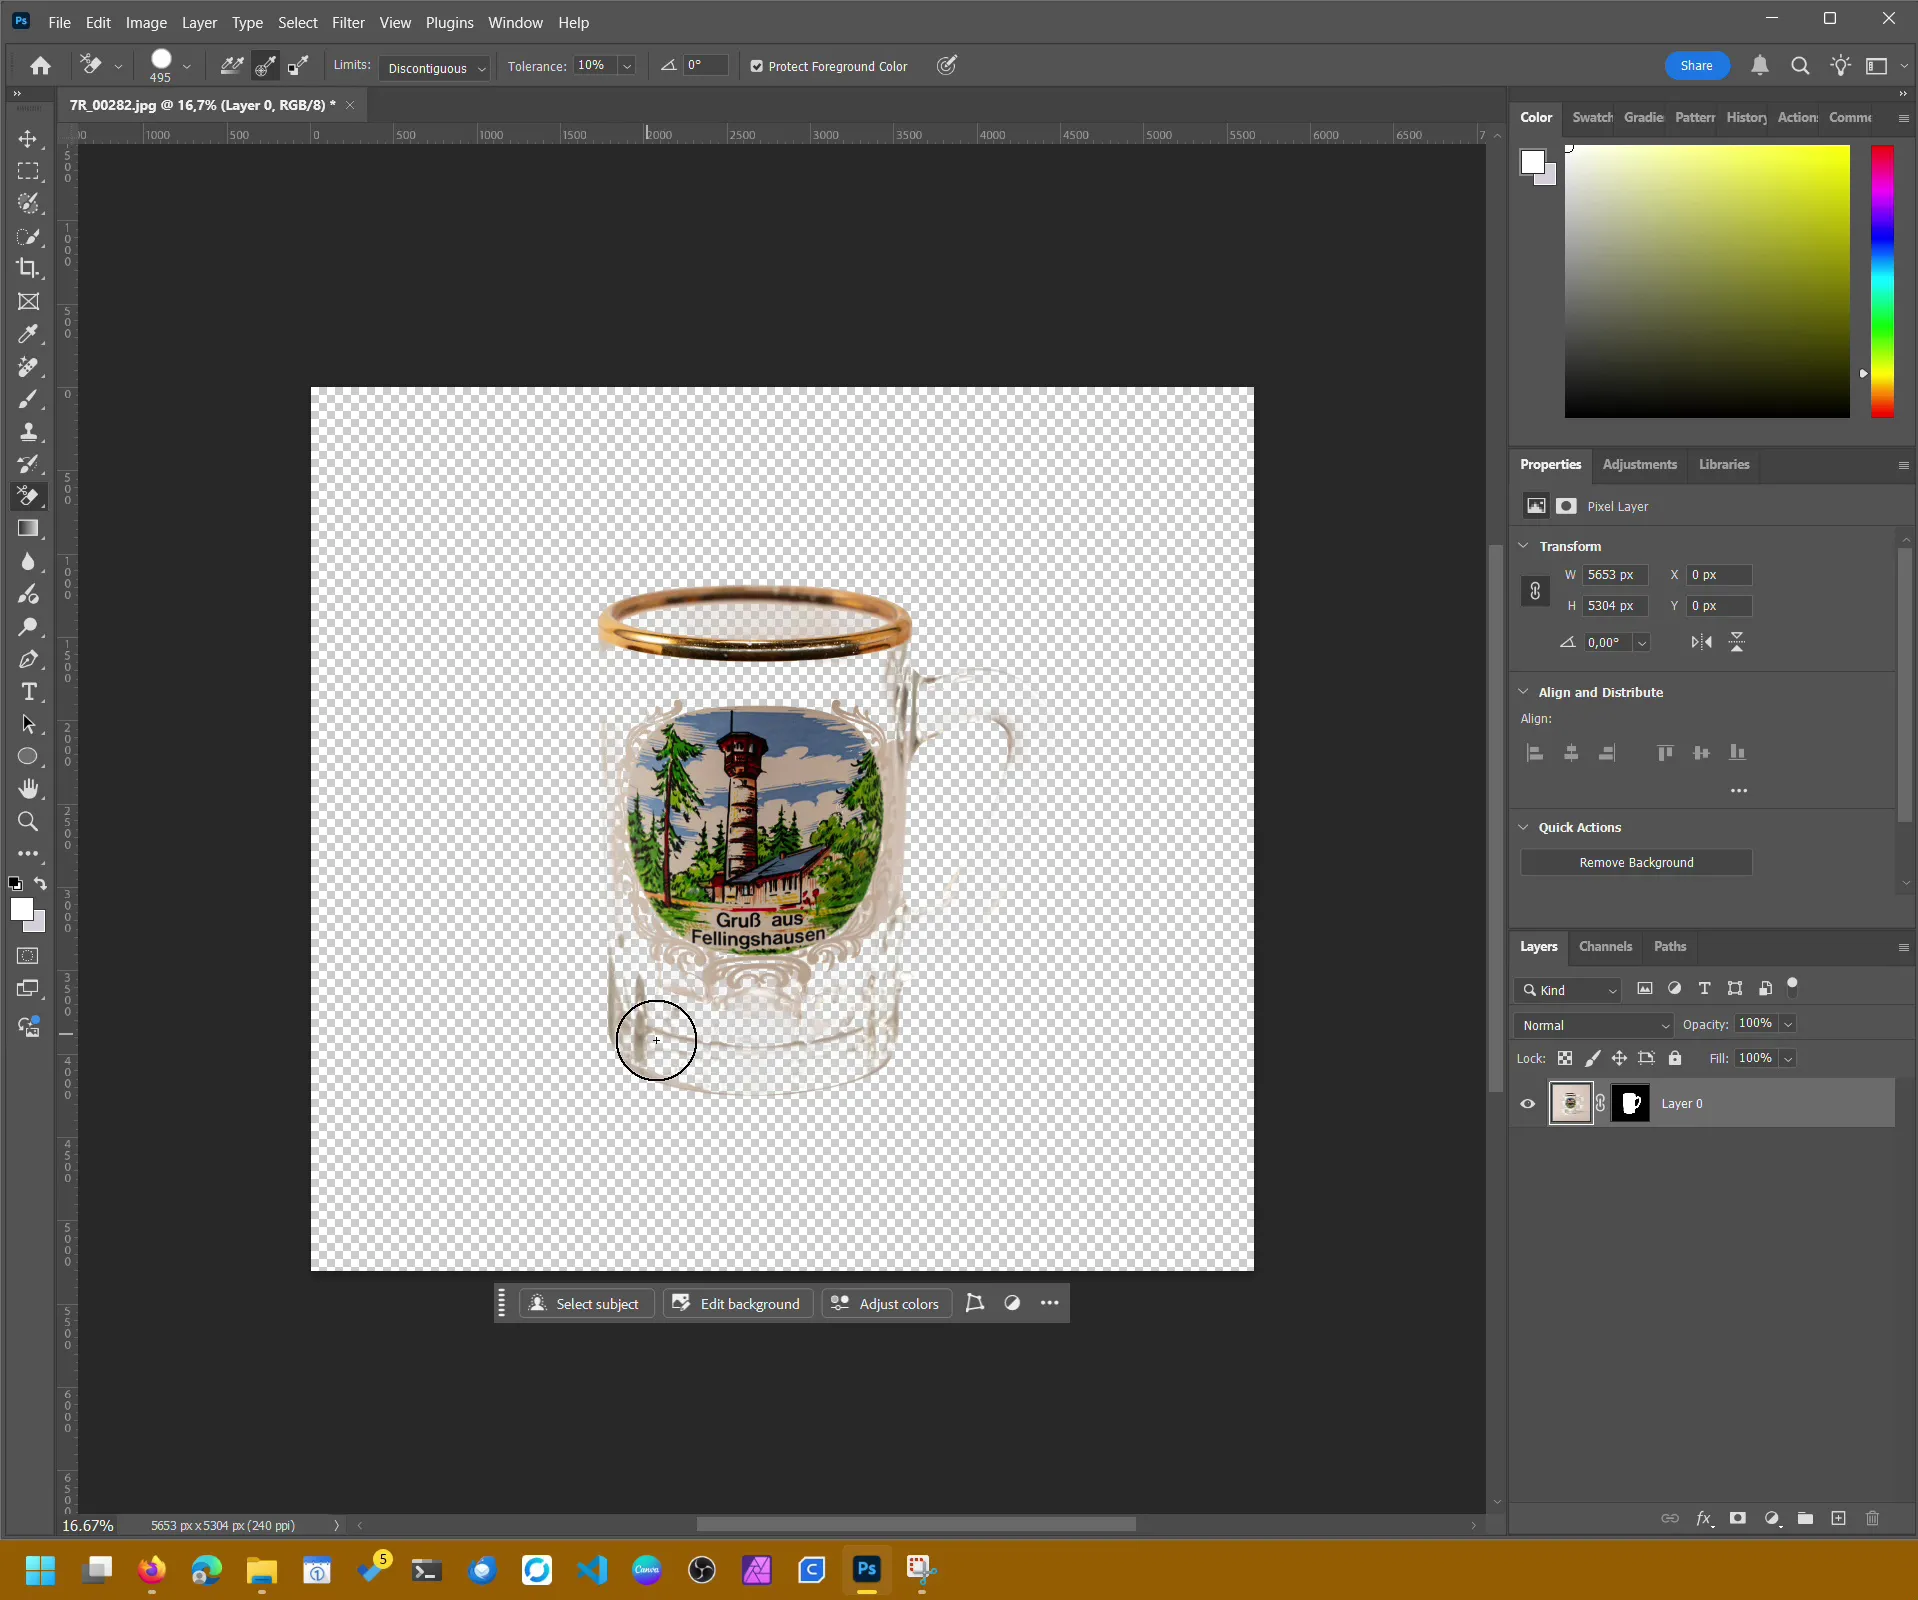
With these settings, you can gradually erase the white background without affecting the transparent parts of your object. Keep the cursor within the white area – otherwise, Photoshop might delete parts of the object itself.
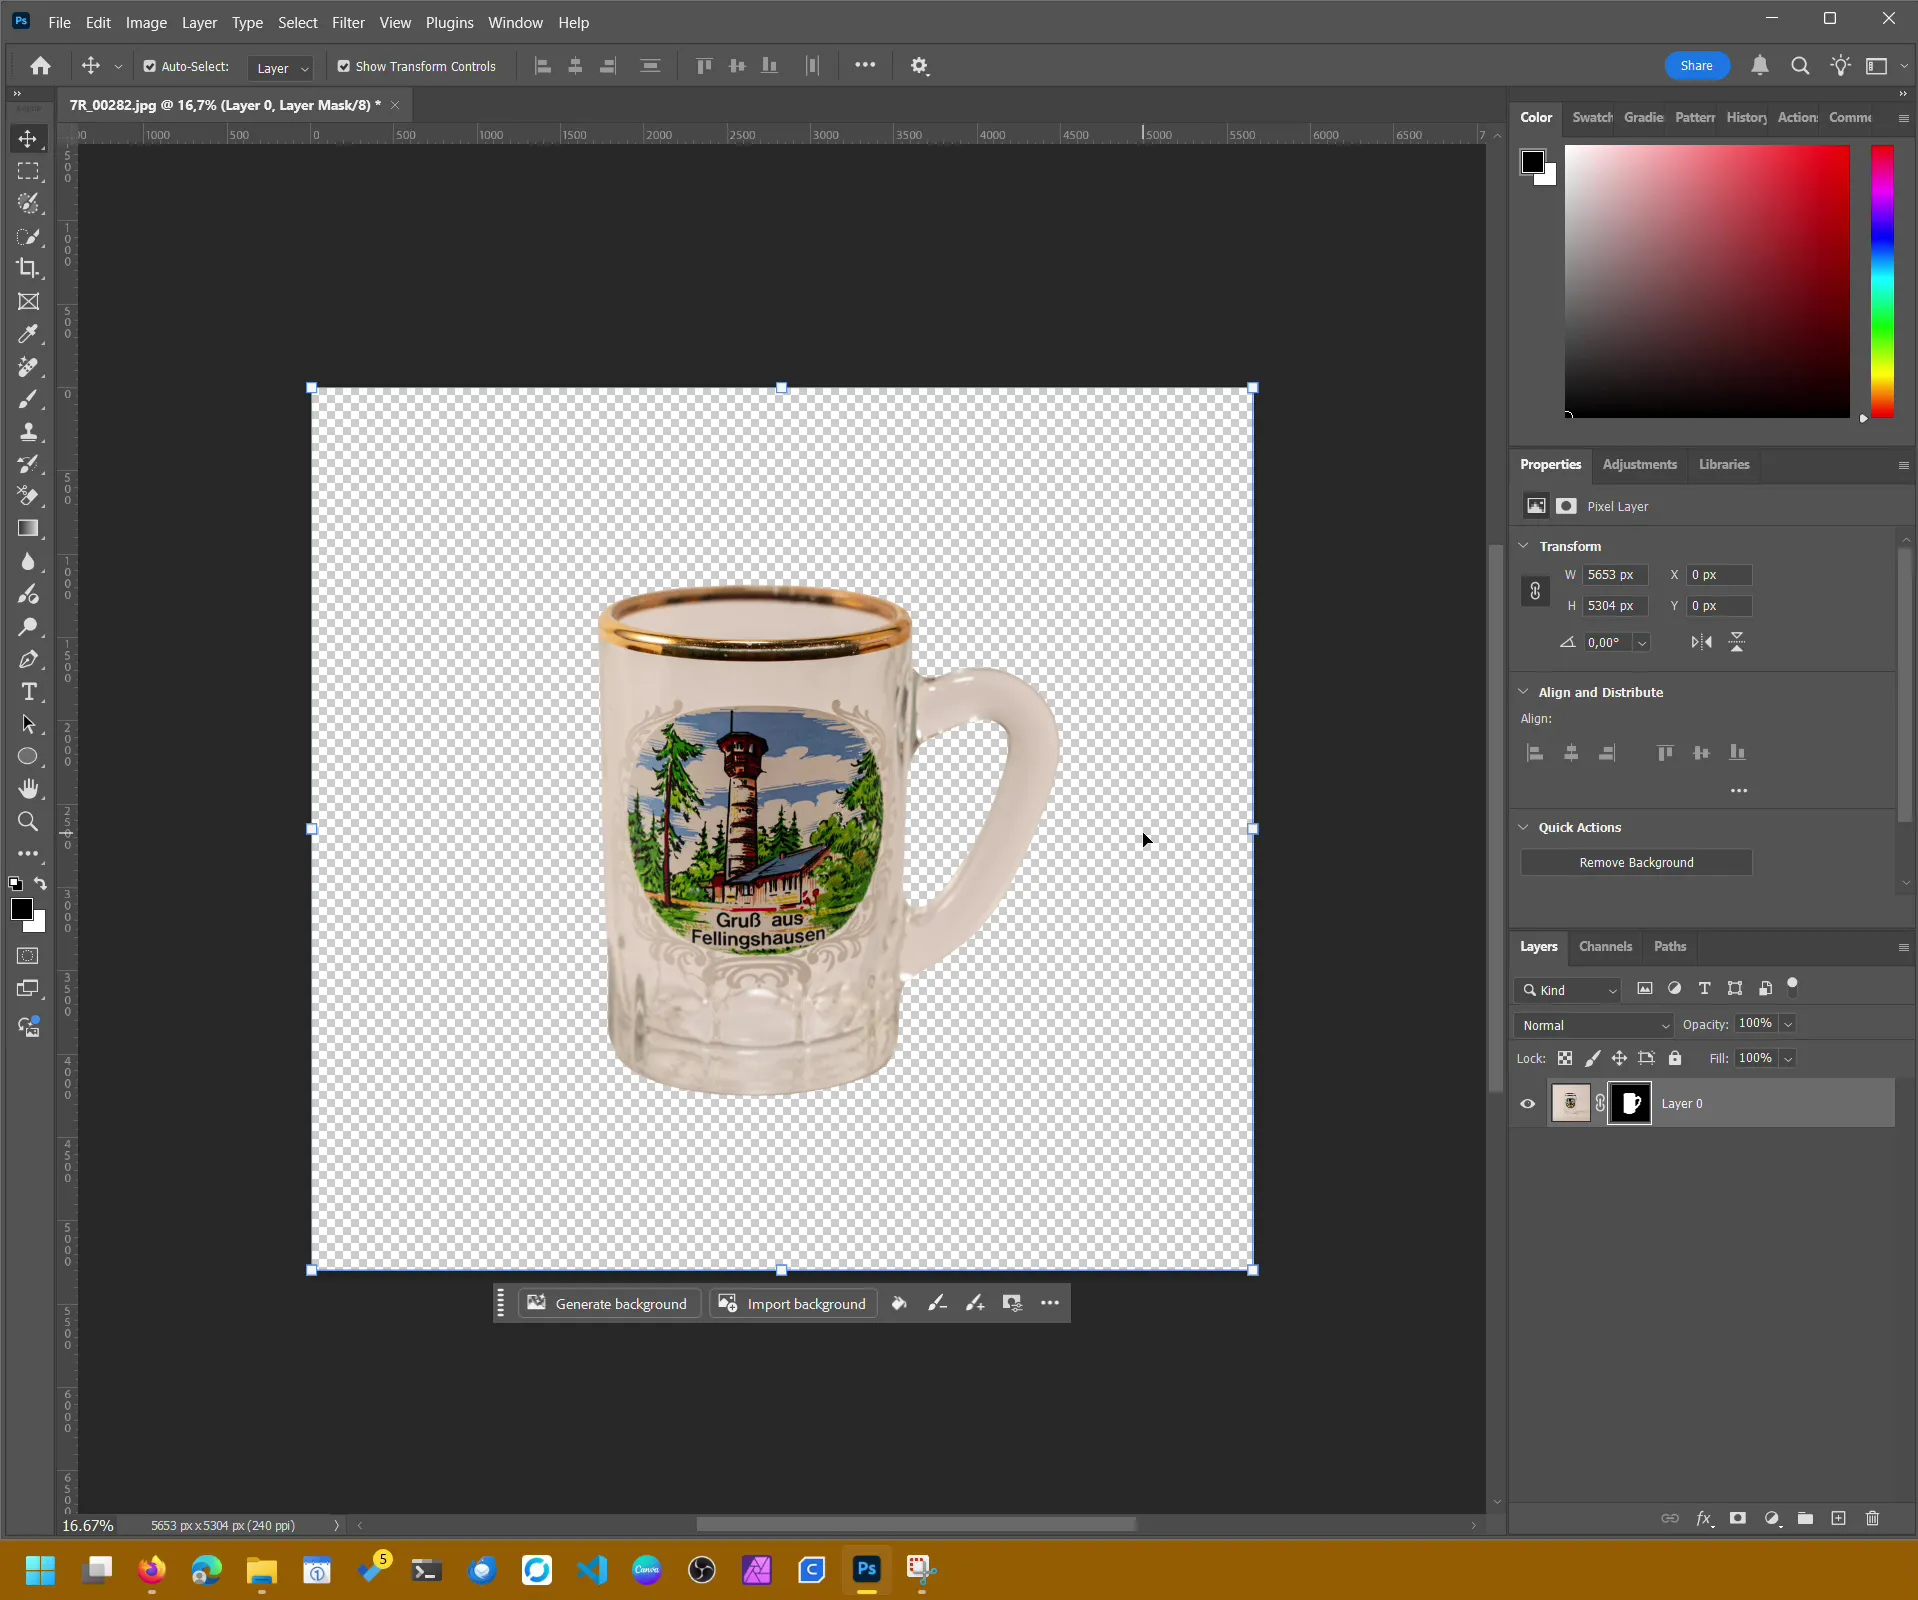


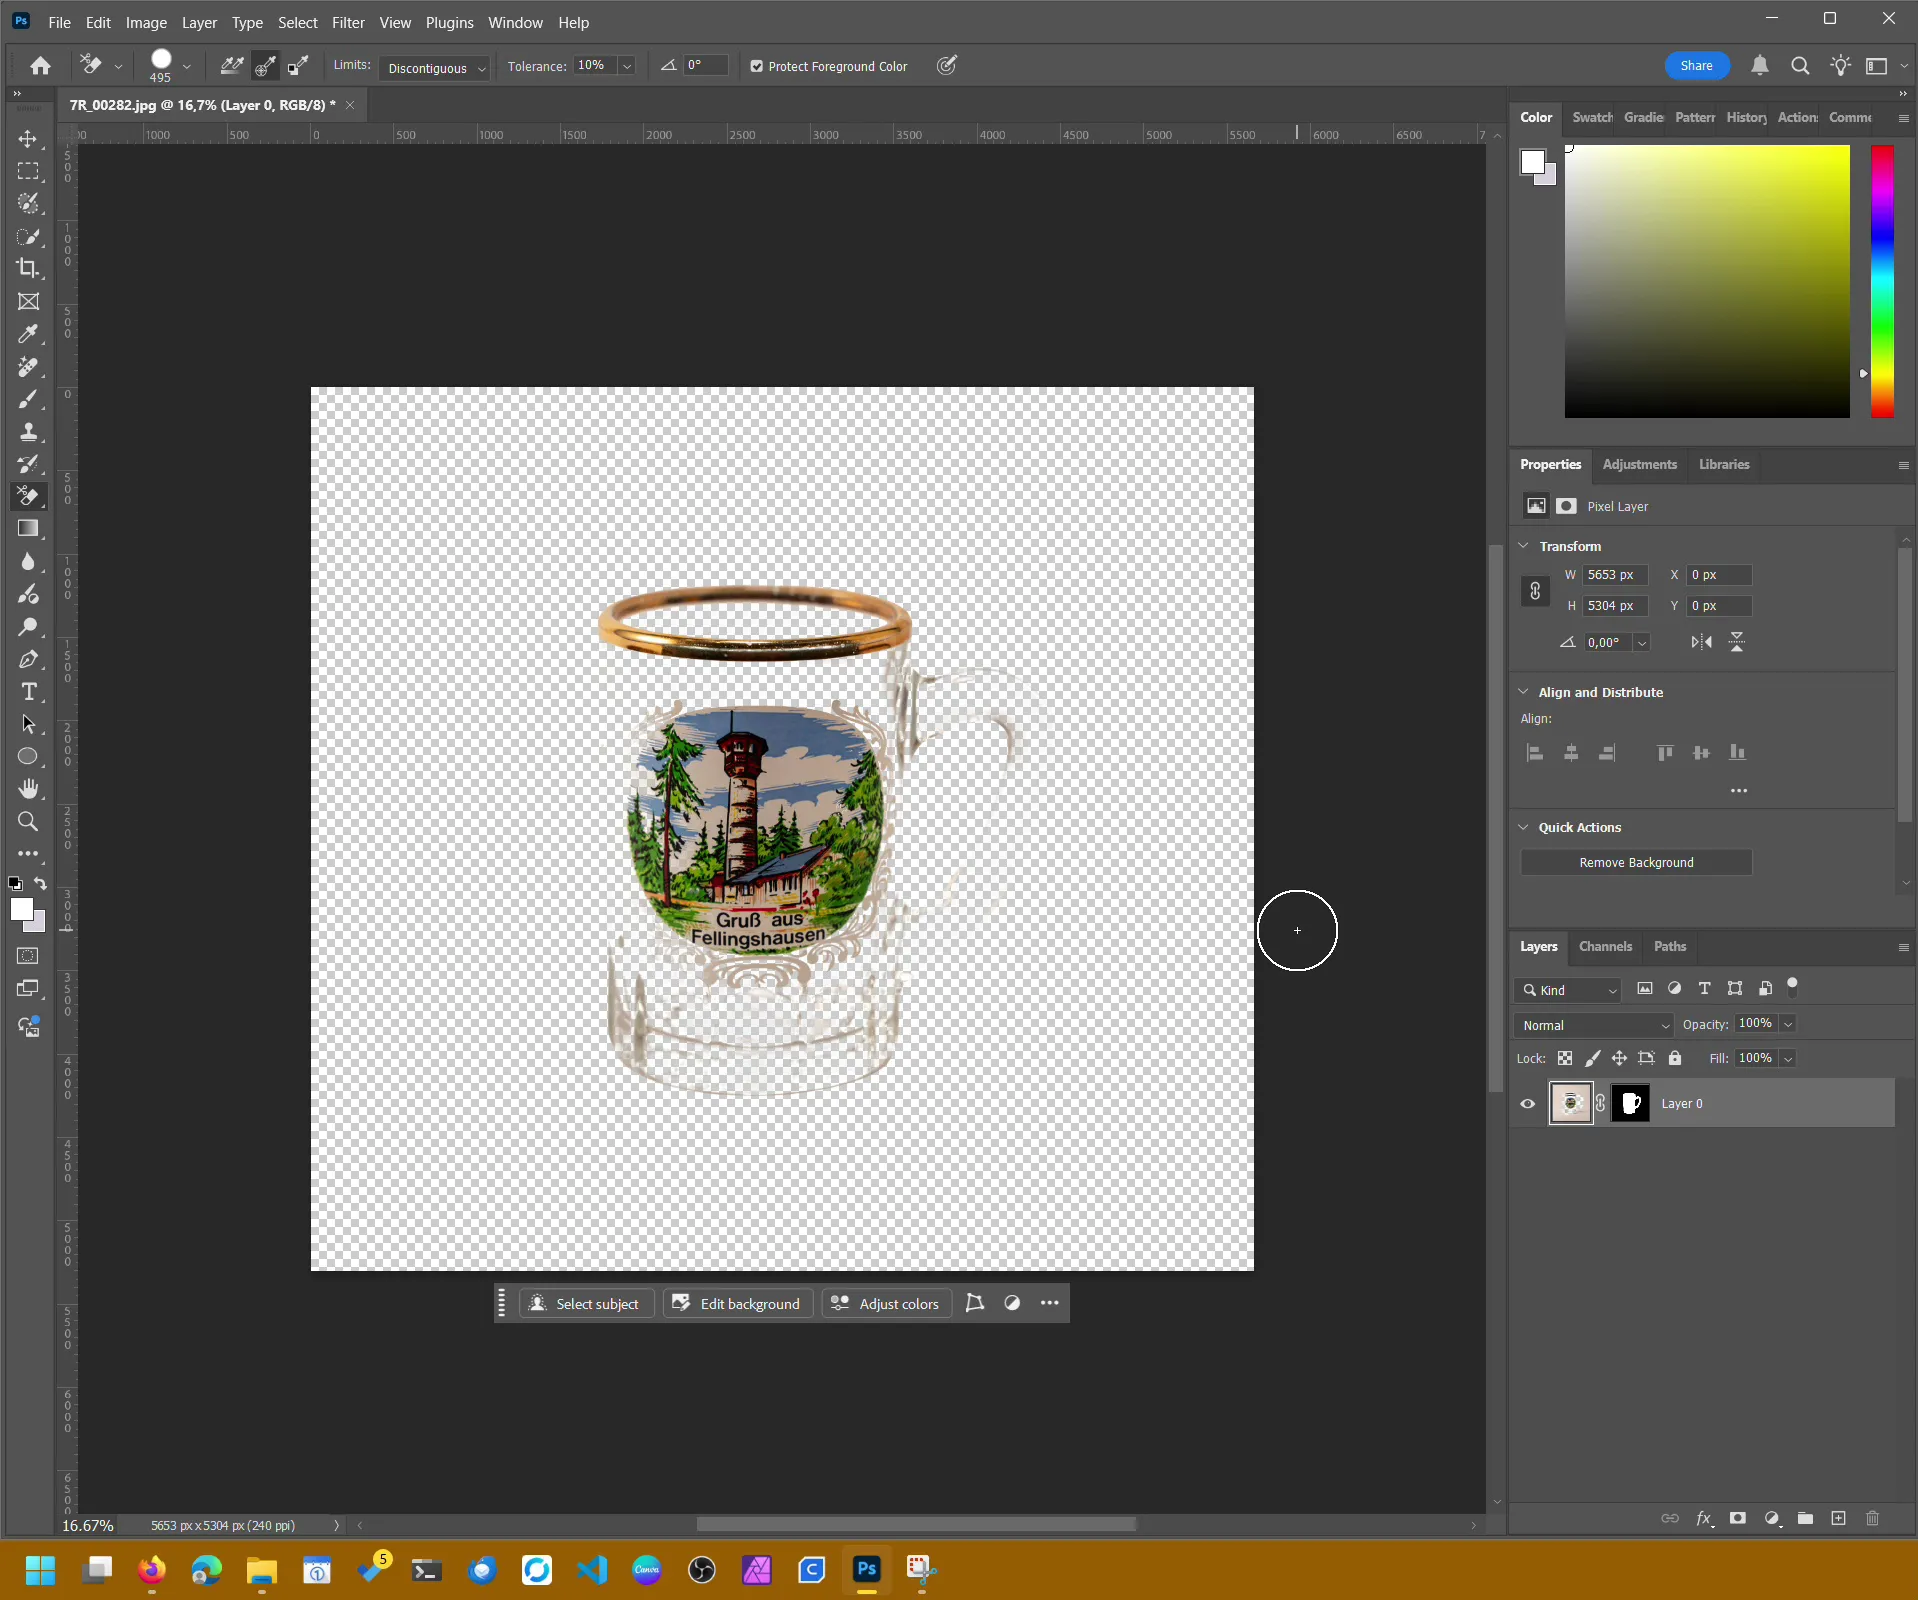
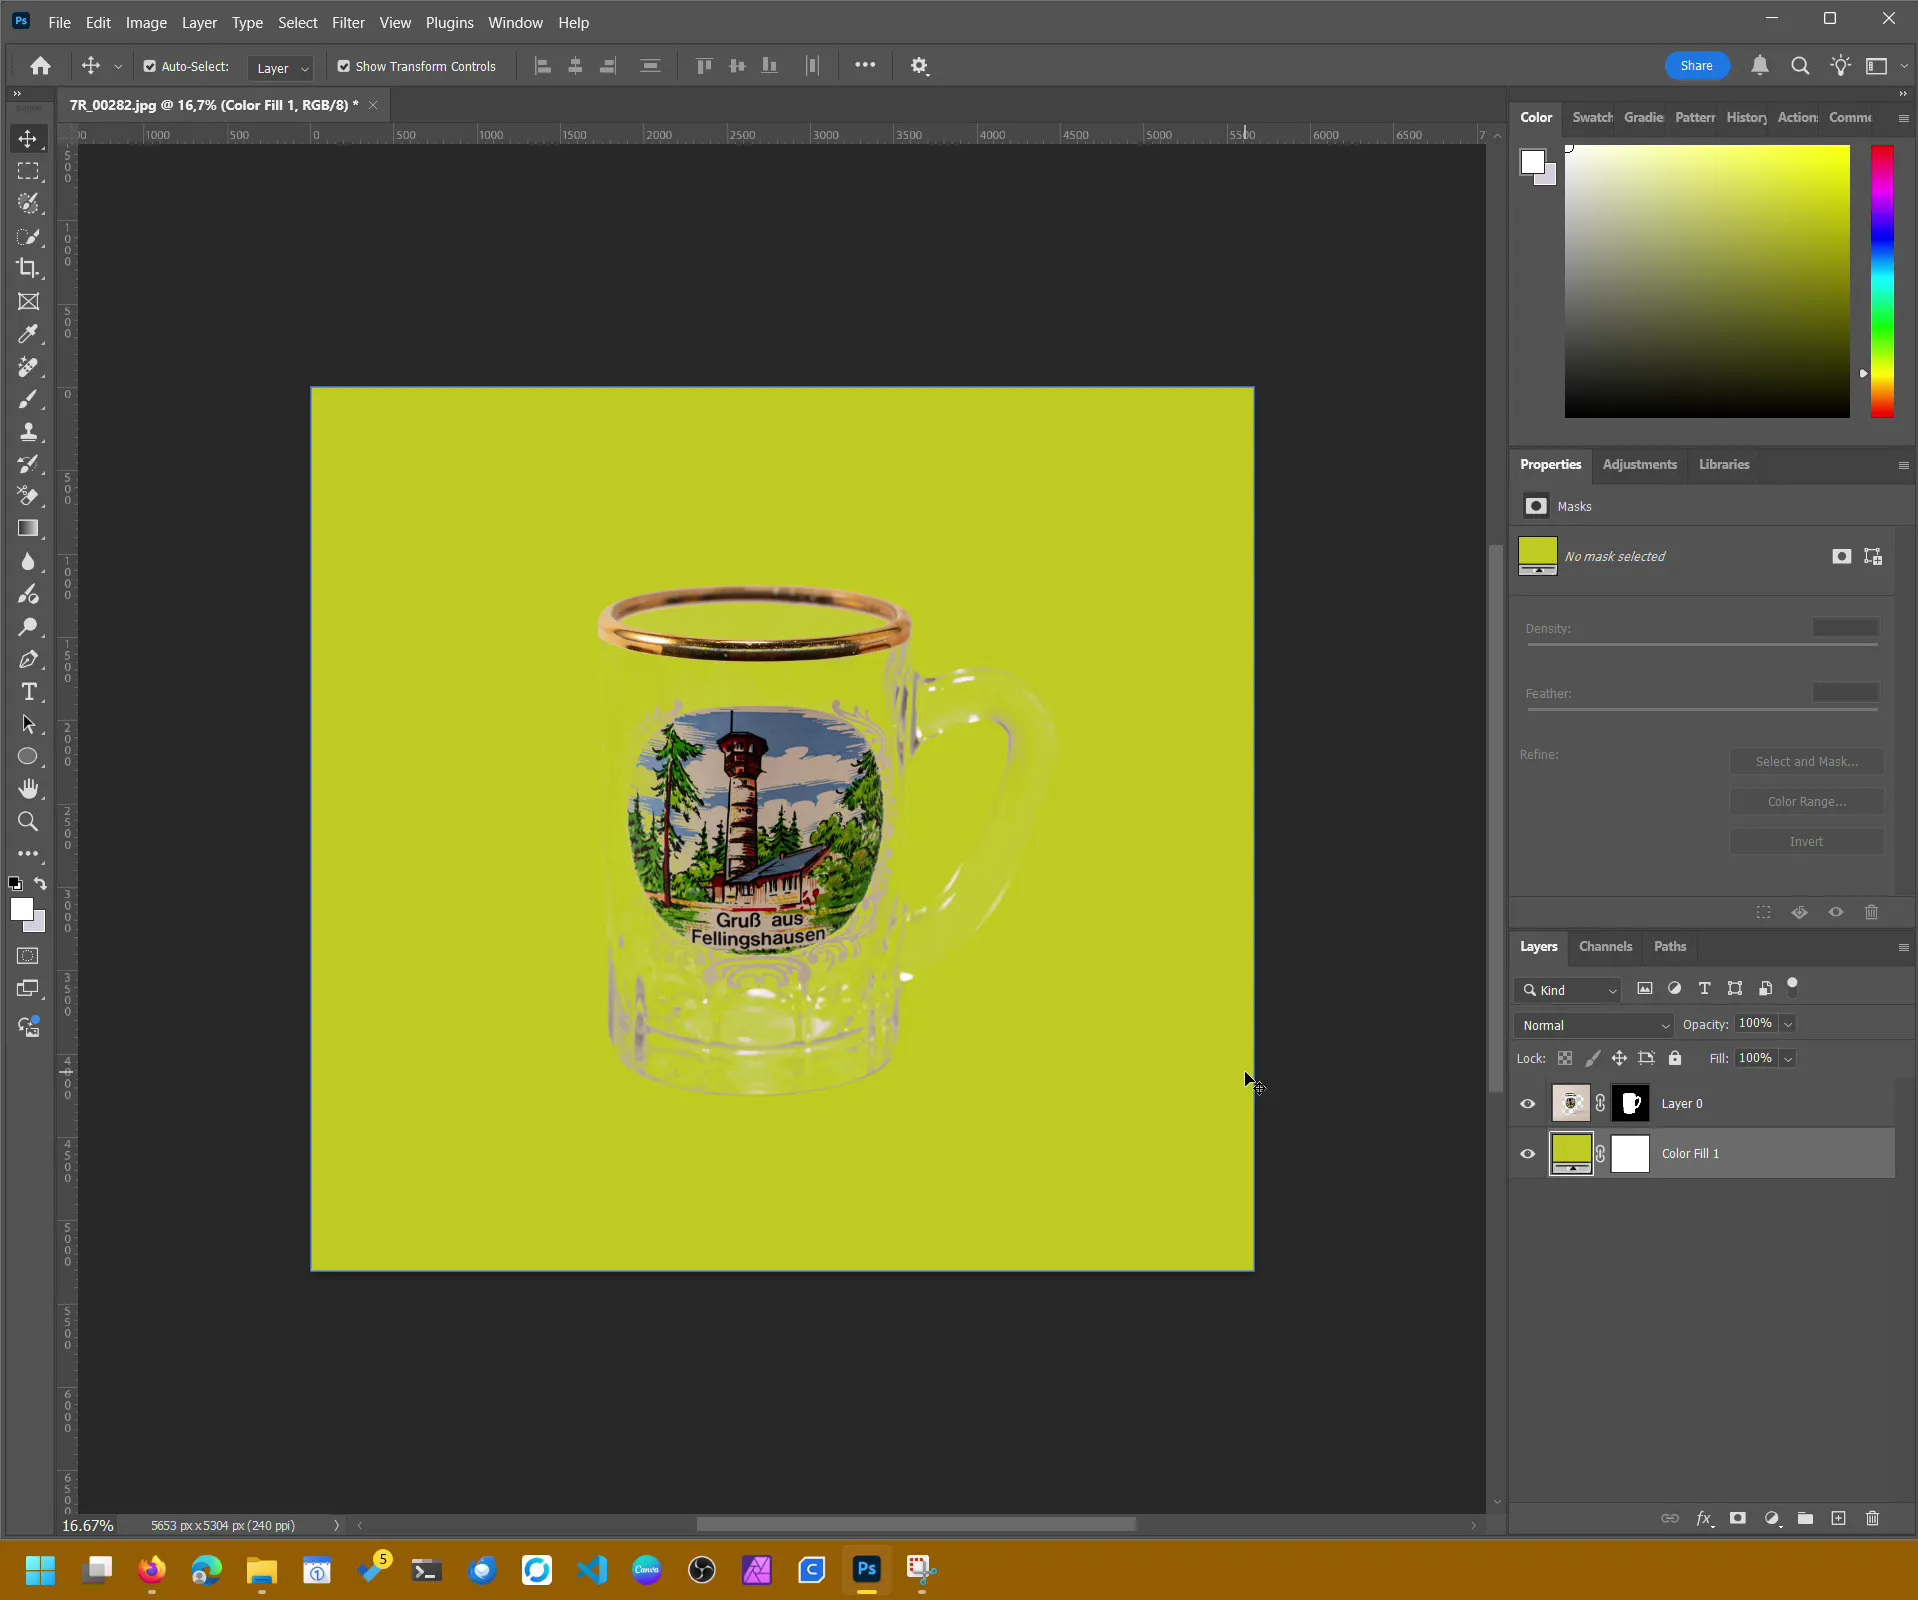
Tip: Use Color Layers for Preview
I like to add a colored layer (e.g., yellow or green) behind the transparent object while editing. This helps identify leftover white areas or halos that are difficult to see on a transparent checkerboard background.
Once the background is clean, you can fine-tune the edges using a soft brush on a layer mask or apply a subtle Gaussian Blur to smooth transitions.
When you’re done, save your image as PNG (with transparency) or WebP. Both formats support transparent backgrounds and are perfect for websites, eCommerce platforms, or social media.
When to Spend More Time
If you’re preparing professional product photos or eCommerce images, you may want to invest a bit more effort.
In that case, try combining multiple masks, working with channel-based selections (e.g., using the blue channel), or experimenting with refraction effects to make the glass appear more natural.
For quick edits, blog posts, or social media visuals, however, the Background Eraser Tool is usually more than enough – especially when you need to process many images efficiently.


