- What is Linkwarden
- My Environment – Proxmox Host and LXC
- Everyday Features That Matter
- Alternatives to Linkwarden
- Install Linkwarden on Proxmox with LXC and Docker – Step by Step
- 1) Create the LXC Container
- 2) Update the Base System
- 3) Install Docker inside LXC
- 4) Deploy Linkwarden with Docker Compose
- 5) Reverse Proxy and HTTPS
- 6) Backups
- Practical Tips and Troubleshooting
- Pros and Cons of Self-Hosting Linkwarden
- Glossary
What is Linkwarden
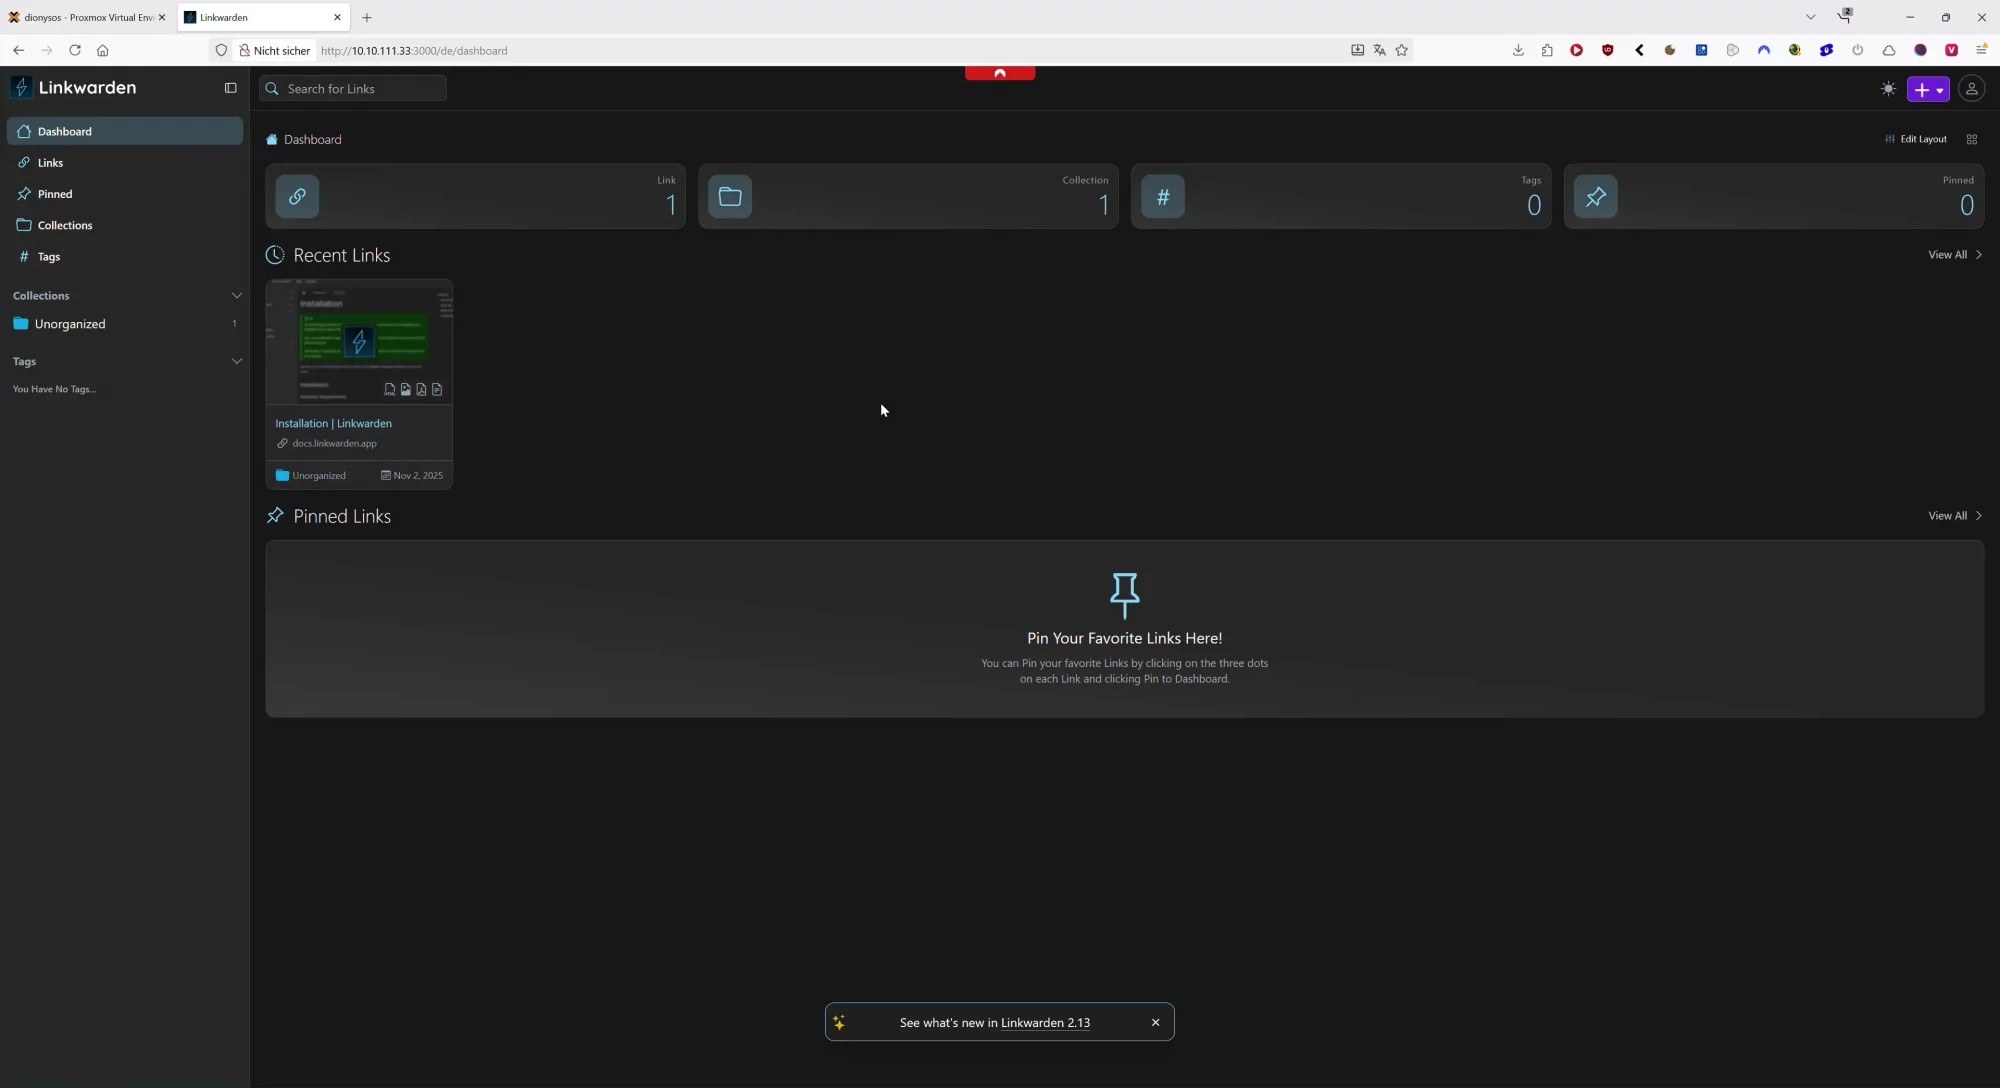
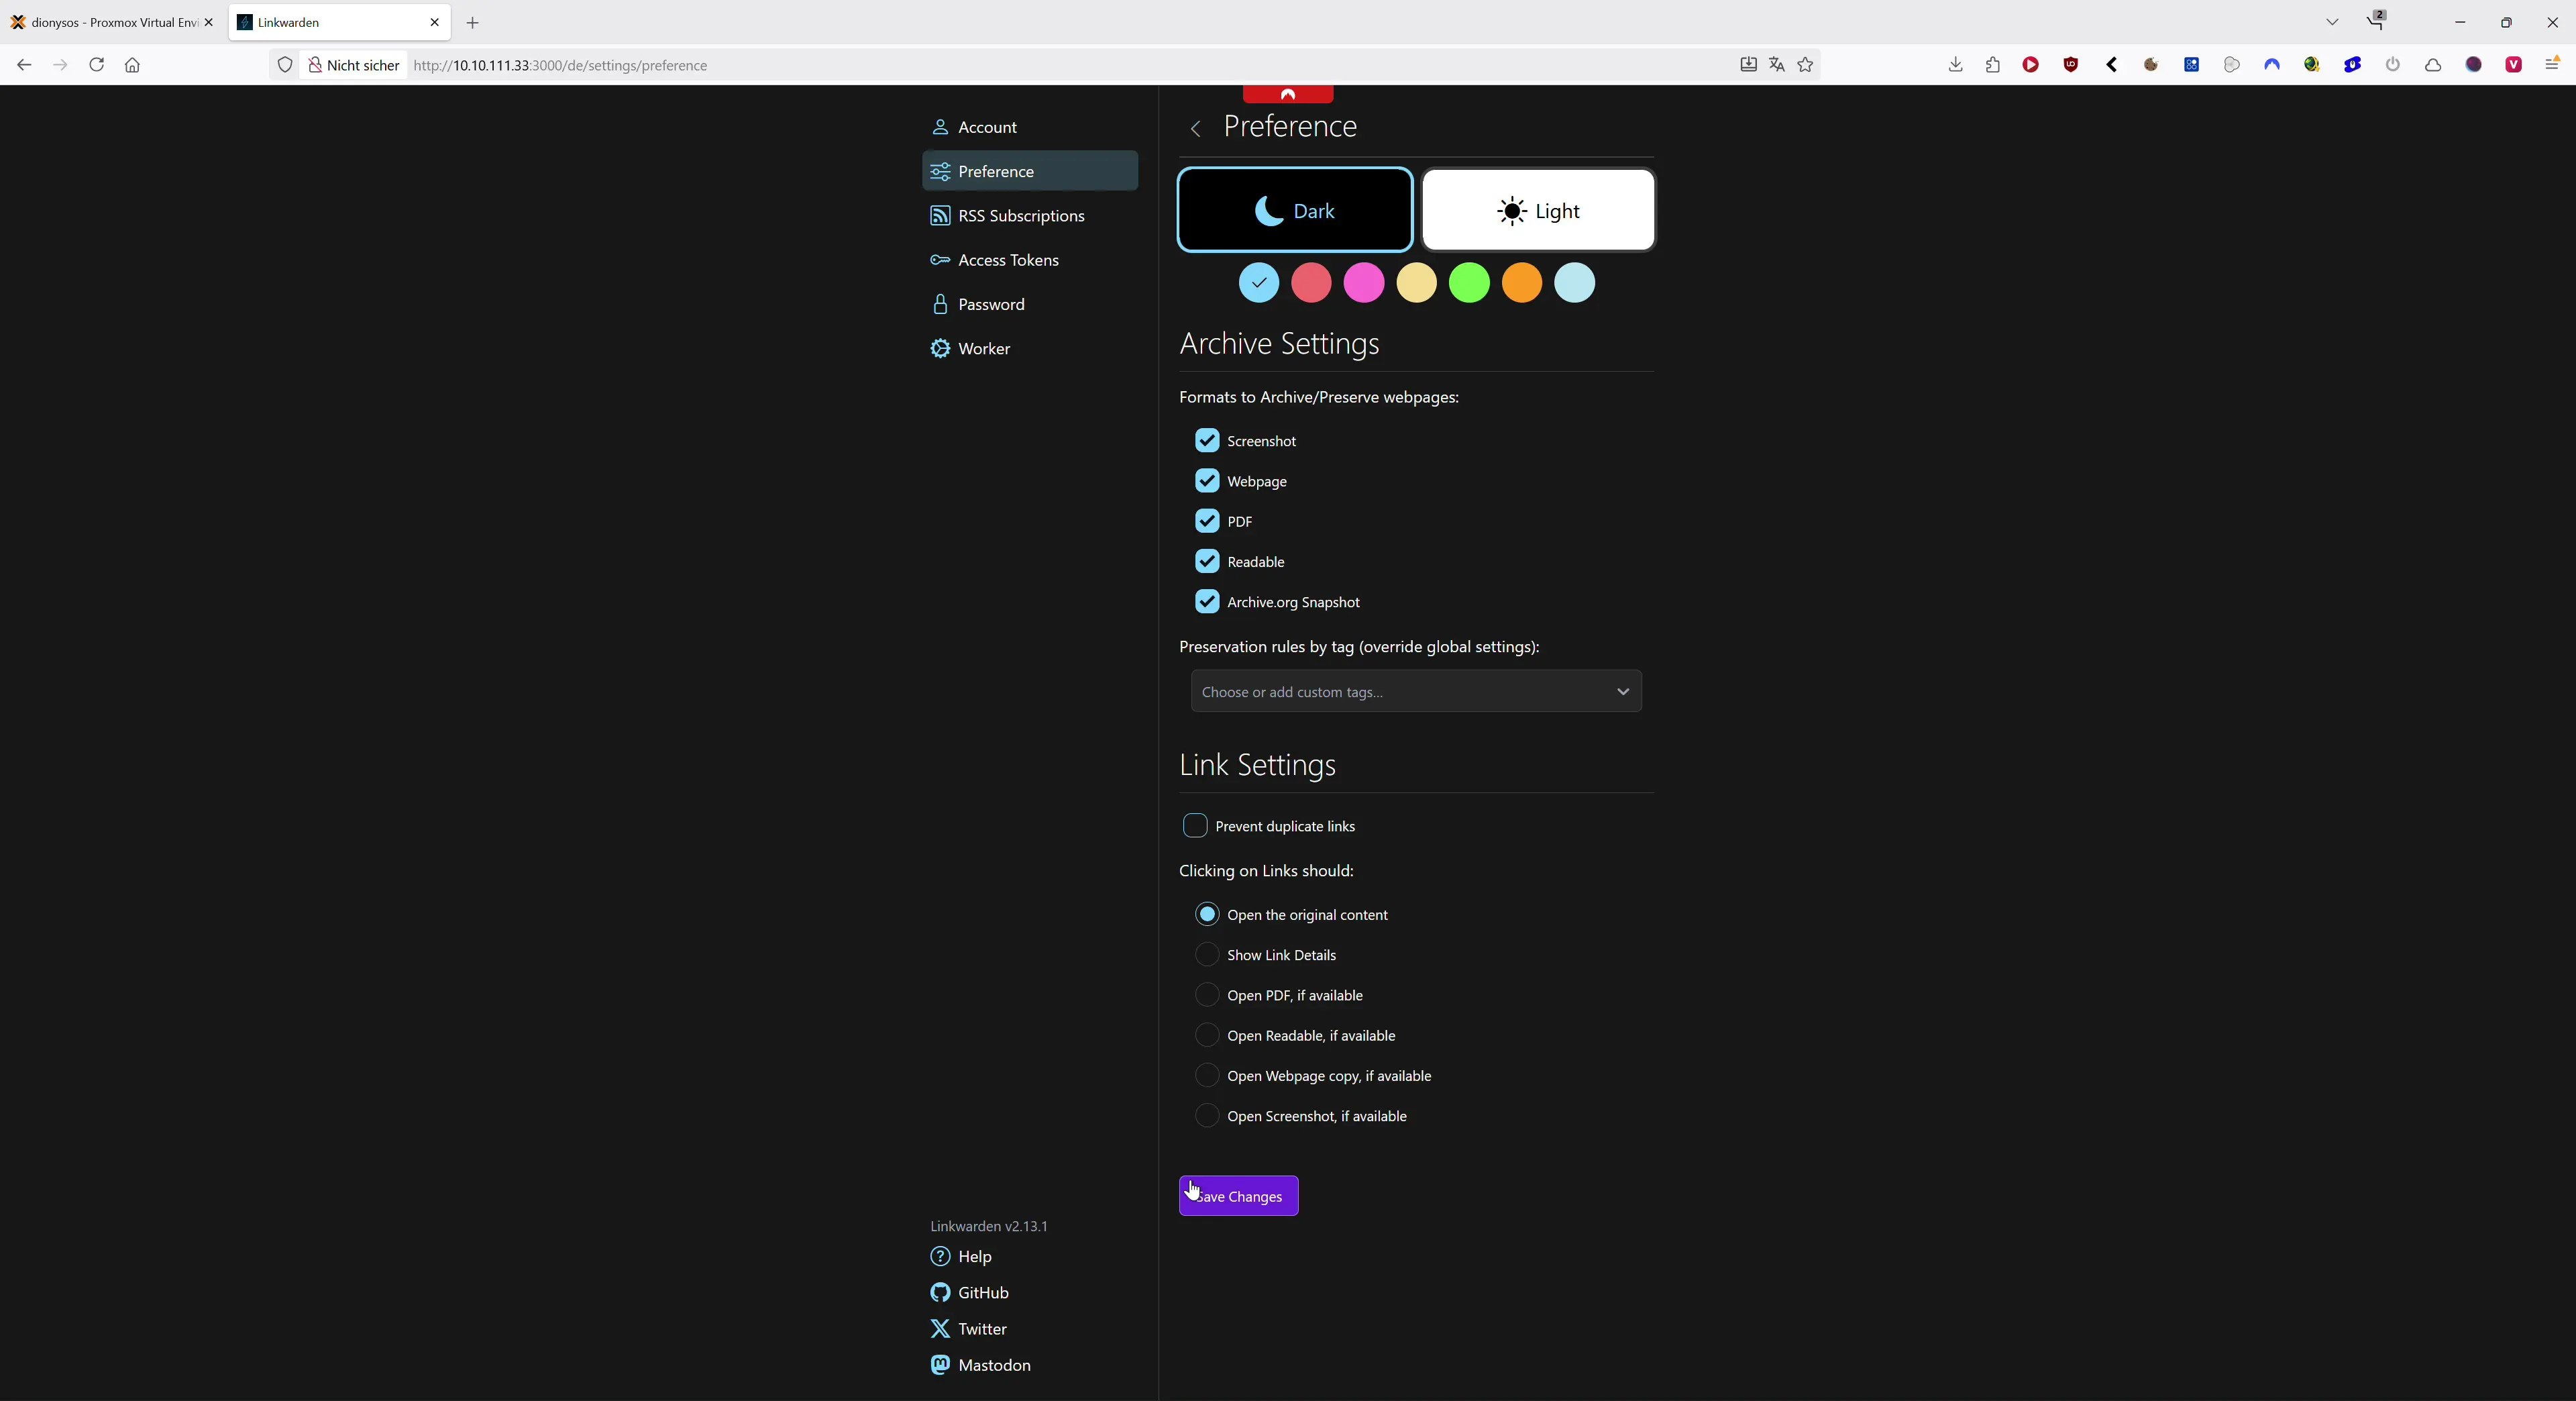
Linkwarden is a self-hosted, collaborative bookmark manager and read-it-later service. You save web pages, organize them in collections with subfolders and assign tags. The standout feature is per-link archiving. For every saved URL, Linkwarden automatically stores a screenshot, a PDF and a single-file HTML copy. That keeps content readable even if the original page disappears. On top you get a distraction-free reader view, a fast full-text search and browser extensions for Firefox and Chromium-based browsers. Teams can share links, curate together and assign permissions per collection. Power users get API keys, RSS feeds per collection, import and export and an installable PWA for phones.
Optionally Linkwarden can work with local AI. With Ollama you can auto-tag new entries based on the page content. A small model like phi3:mini-4k is often enough. If you do not want to run AI locally you can disable auto-tagging or use an external provider.
If you prefer to start without your own server there is a cloud plan. This article focuses on self-hosting because it gives you full control over data, storage and updates.
My Environment – Proxmox Host and LXC
I run Linkwarden on Proxmox VE 8.4.1 on an HP ProDesk 400 G7 SFF.
- Host: Intel Core i5-10500, 48 GB RAM
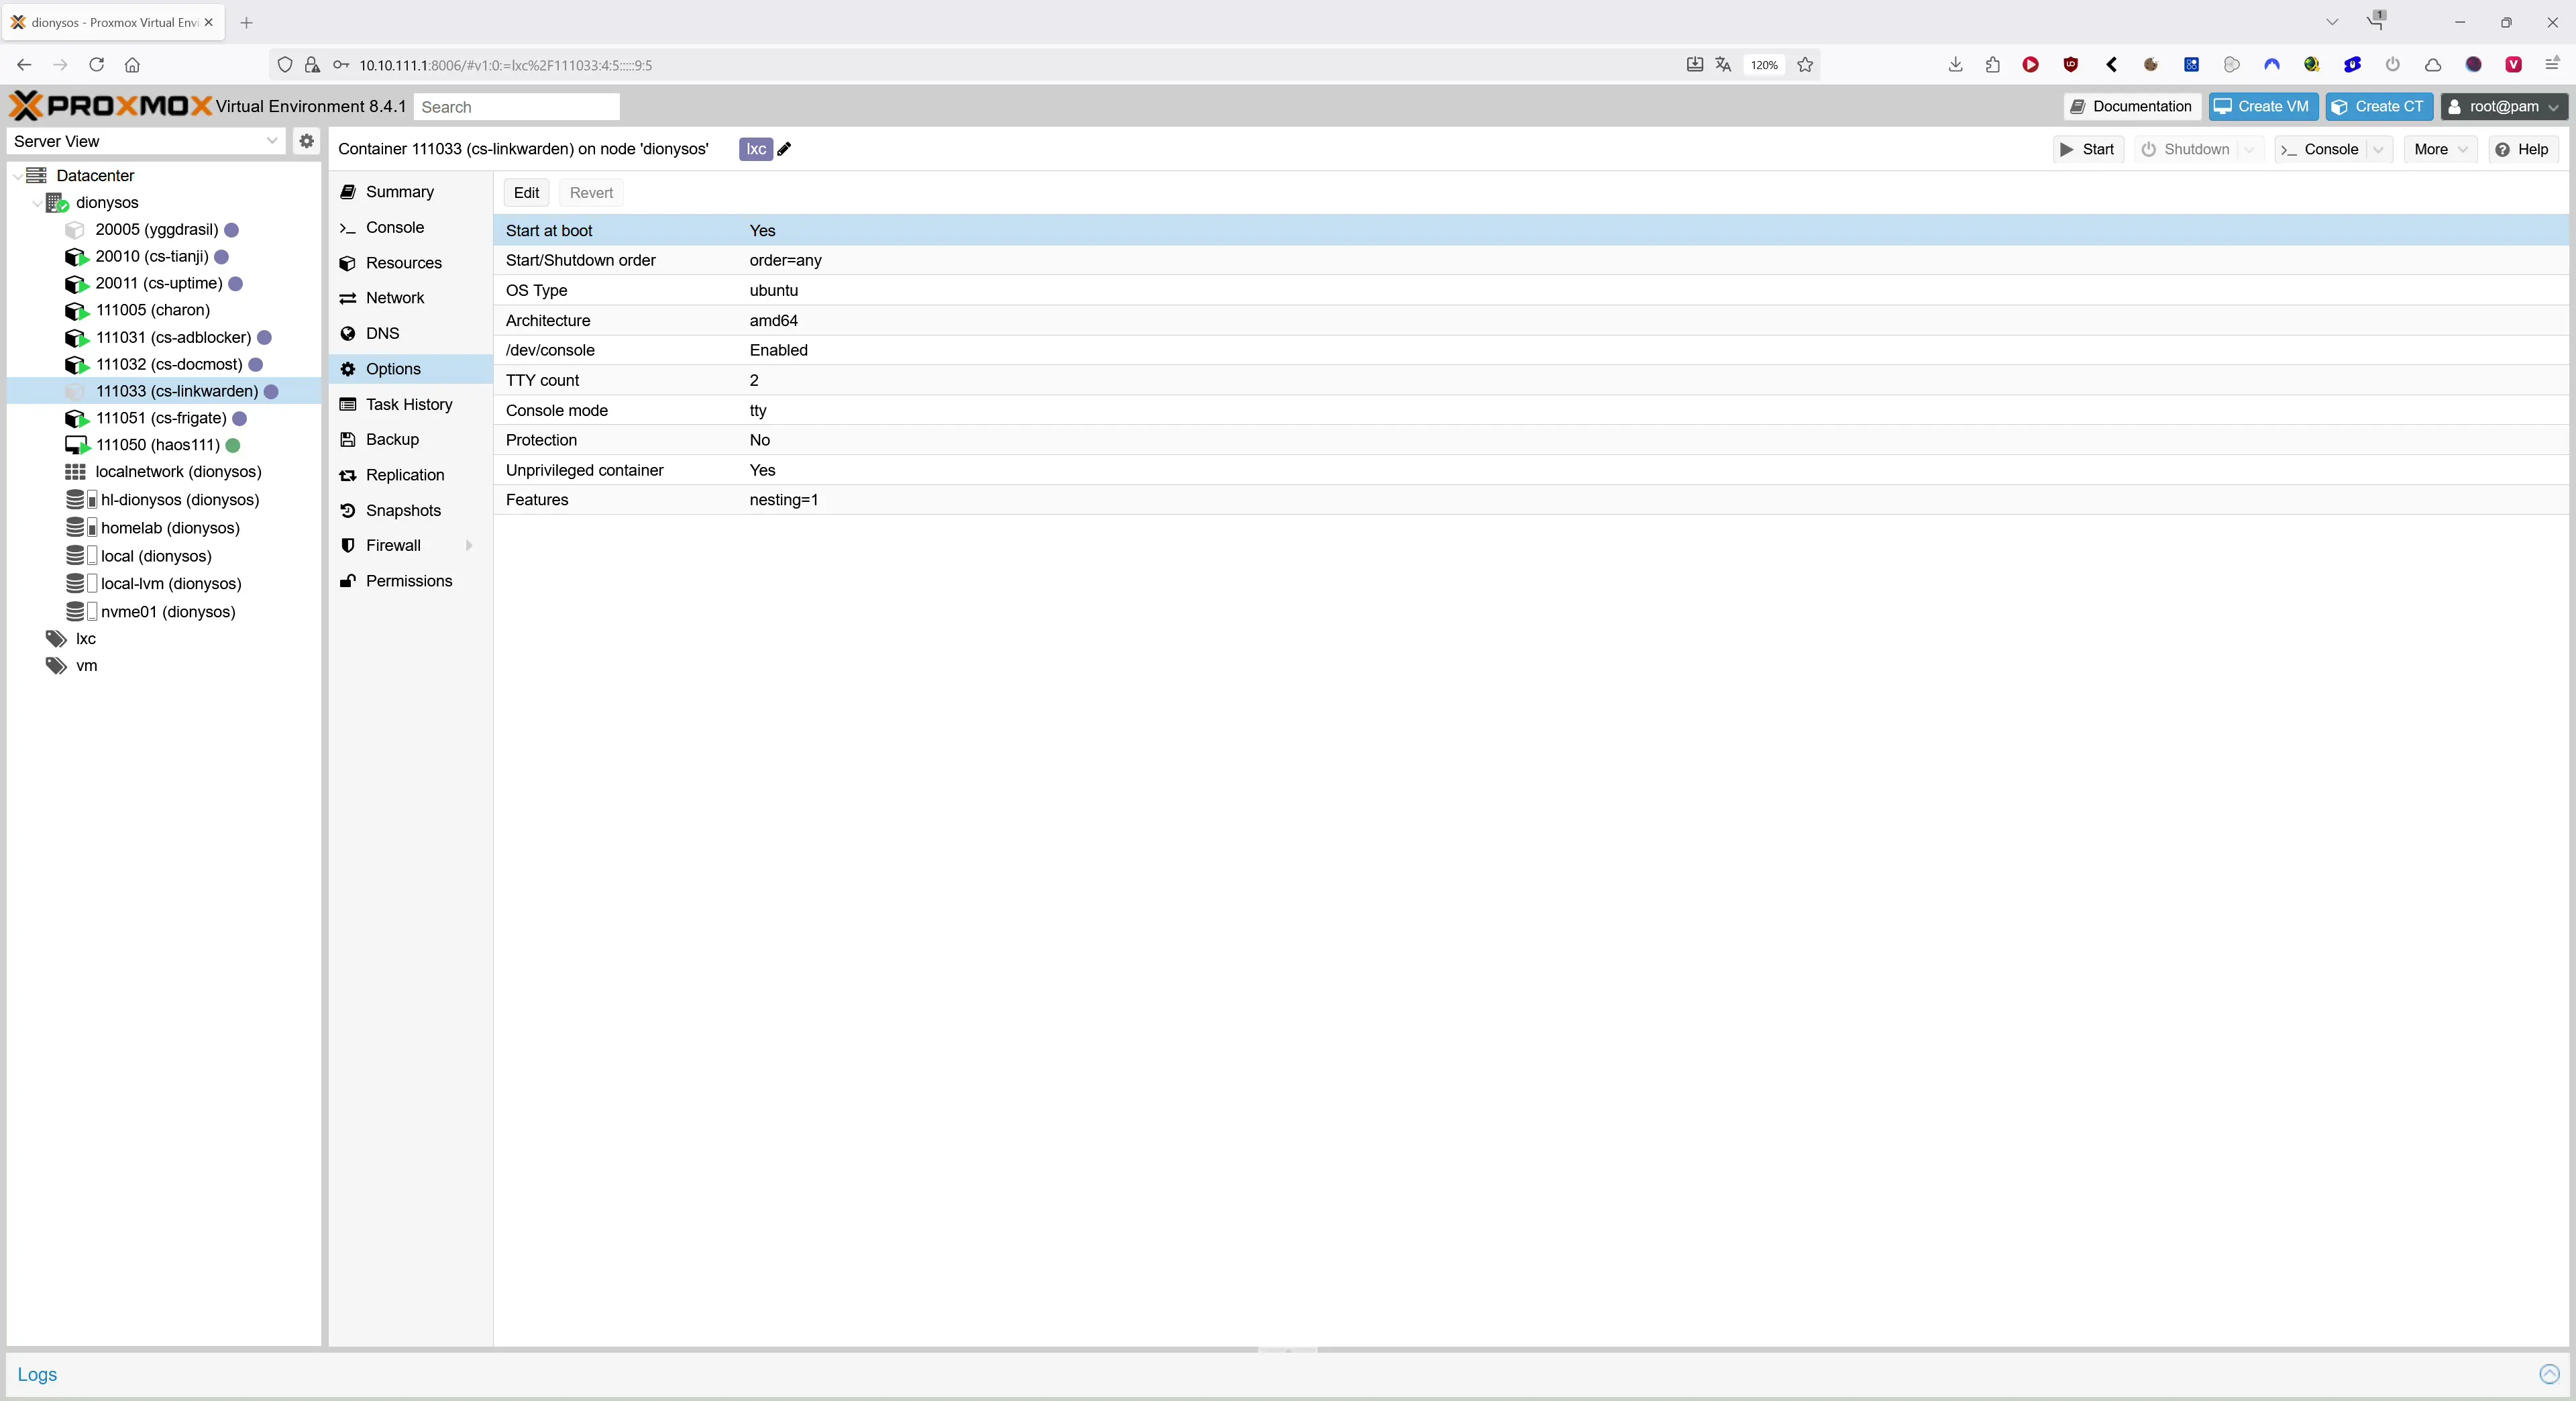
- LXC container: Ubuntu 22.04, 2 vCPU, 2 GB RAM, 4 GB swap, 96 GB disk
- Start at boot: yes
- LXC features: nesting enabled
The setup is intentionally small. Linkwarden is modest in day-to-day use. Most load appears while archiving larger batches and during indexing and search. If your collection grows you can scale RAM and CPU cores later.
Everyday Features That Matter
- Automatic per-link archiving as screenshot, PDF and single HTML
- Reader view for comfortable reading including highlights and notes
- Collections with subfolders, tags, descriptions and pinning on the dashboard
- Sharing and collaboration with granular permissions
- Full-text search with filters and operators, optionally powered by Meilisearch
- Browser extensions for Chrome and Firefox to save with one click
- PWA, light and dark themes, mobile friendly
- RSS import for collections, API keys, bulk actions, user administration
- Import and export of your existing bookmarks
Alternatives to Linkwarden
Different tools focus on different needs. A quick orientation:
- Raindrop – cloud bookmarking with great UX and strong collection features
- Instapaper – classic read-it-later with a clean reader, less focused on archival copies
- Pocket – discontinued, sometimes still visible as a brand
- Karakeep – modern self-hosted alternative with full text and optional AI
- linkding – very lean, fast and minimalist
- Wallabag – read-it-later focus with a strong article view
- ArchiveBox – large scale web archiving, a great complement for long-term snapshots
- Readeck – self-hosted read-it-later with e-reader oriented features
- Hoarder – bookmark-everything with AI tagging
- Shiori – resource friendly, written in Go and ideal for tiny systems
If you value collaboration, archival copies and a modern UI, Linkwarden is a very balanced choice. For ultra-minimal bookmarking linkding is lovely. For massive long-term archives combine Linkwarden with ArchiveBox.
Install Linkwarden on Proxmox with LXC and Docker – Step by Step
The installation runs cleanly inside an Ubuntu 22.04 LXC using Docker Compose. Here is the process I use to self-host Linkwarden on Proxmox.
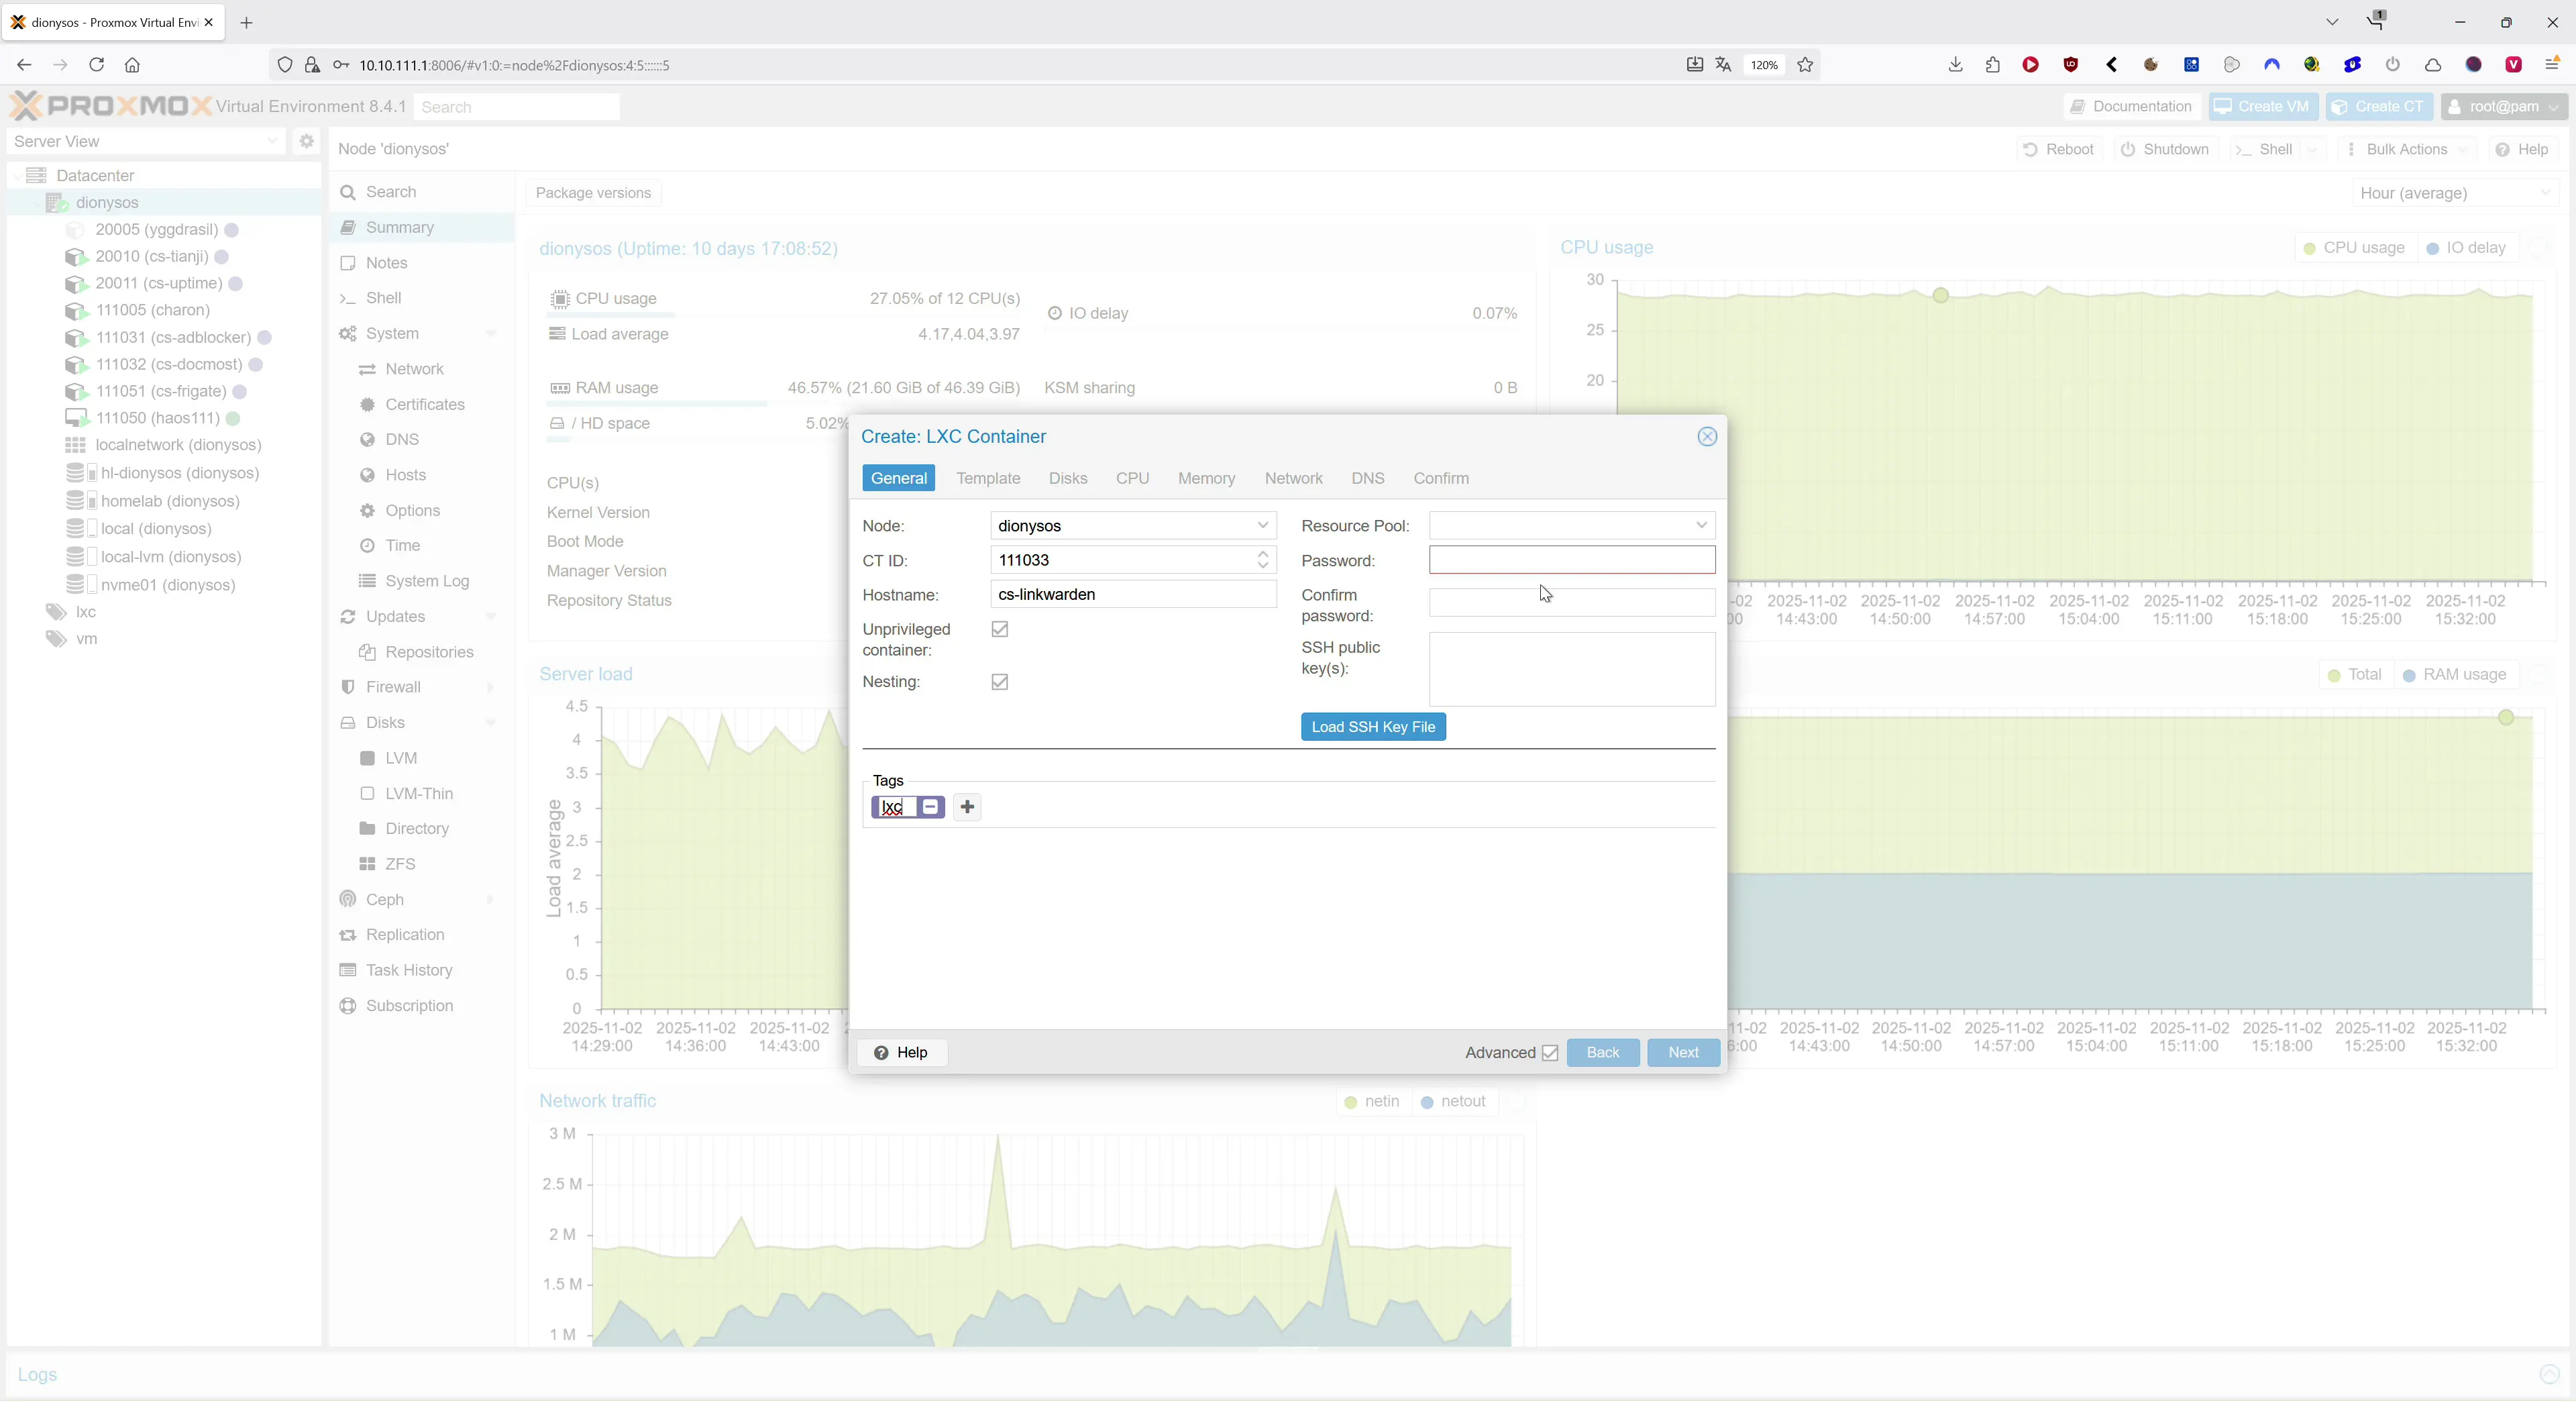
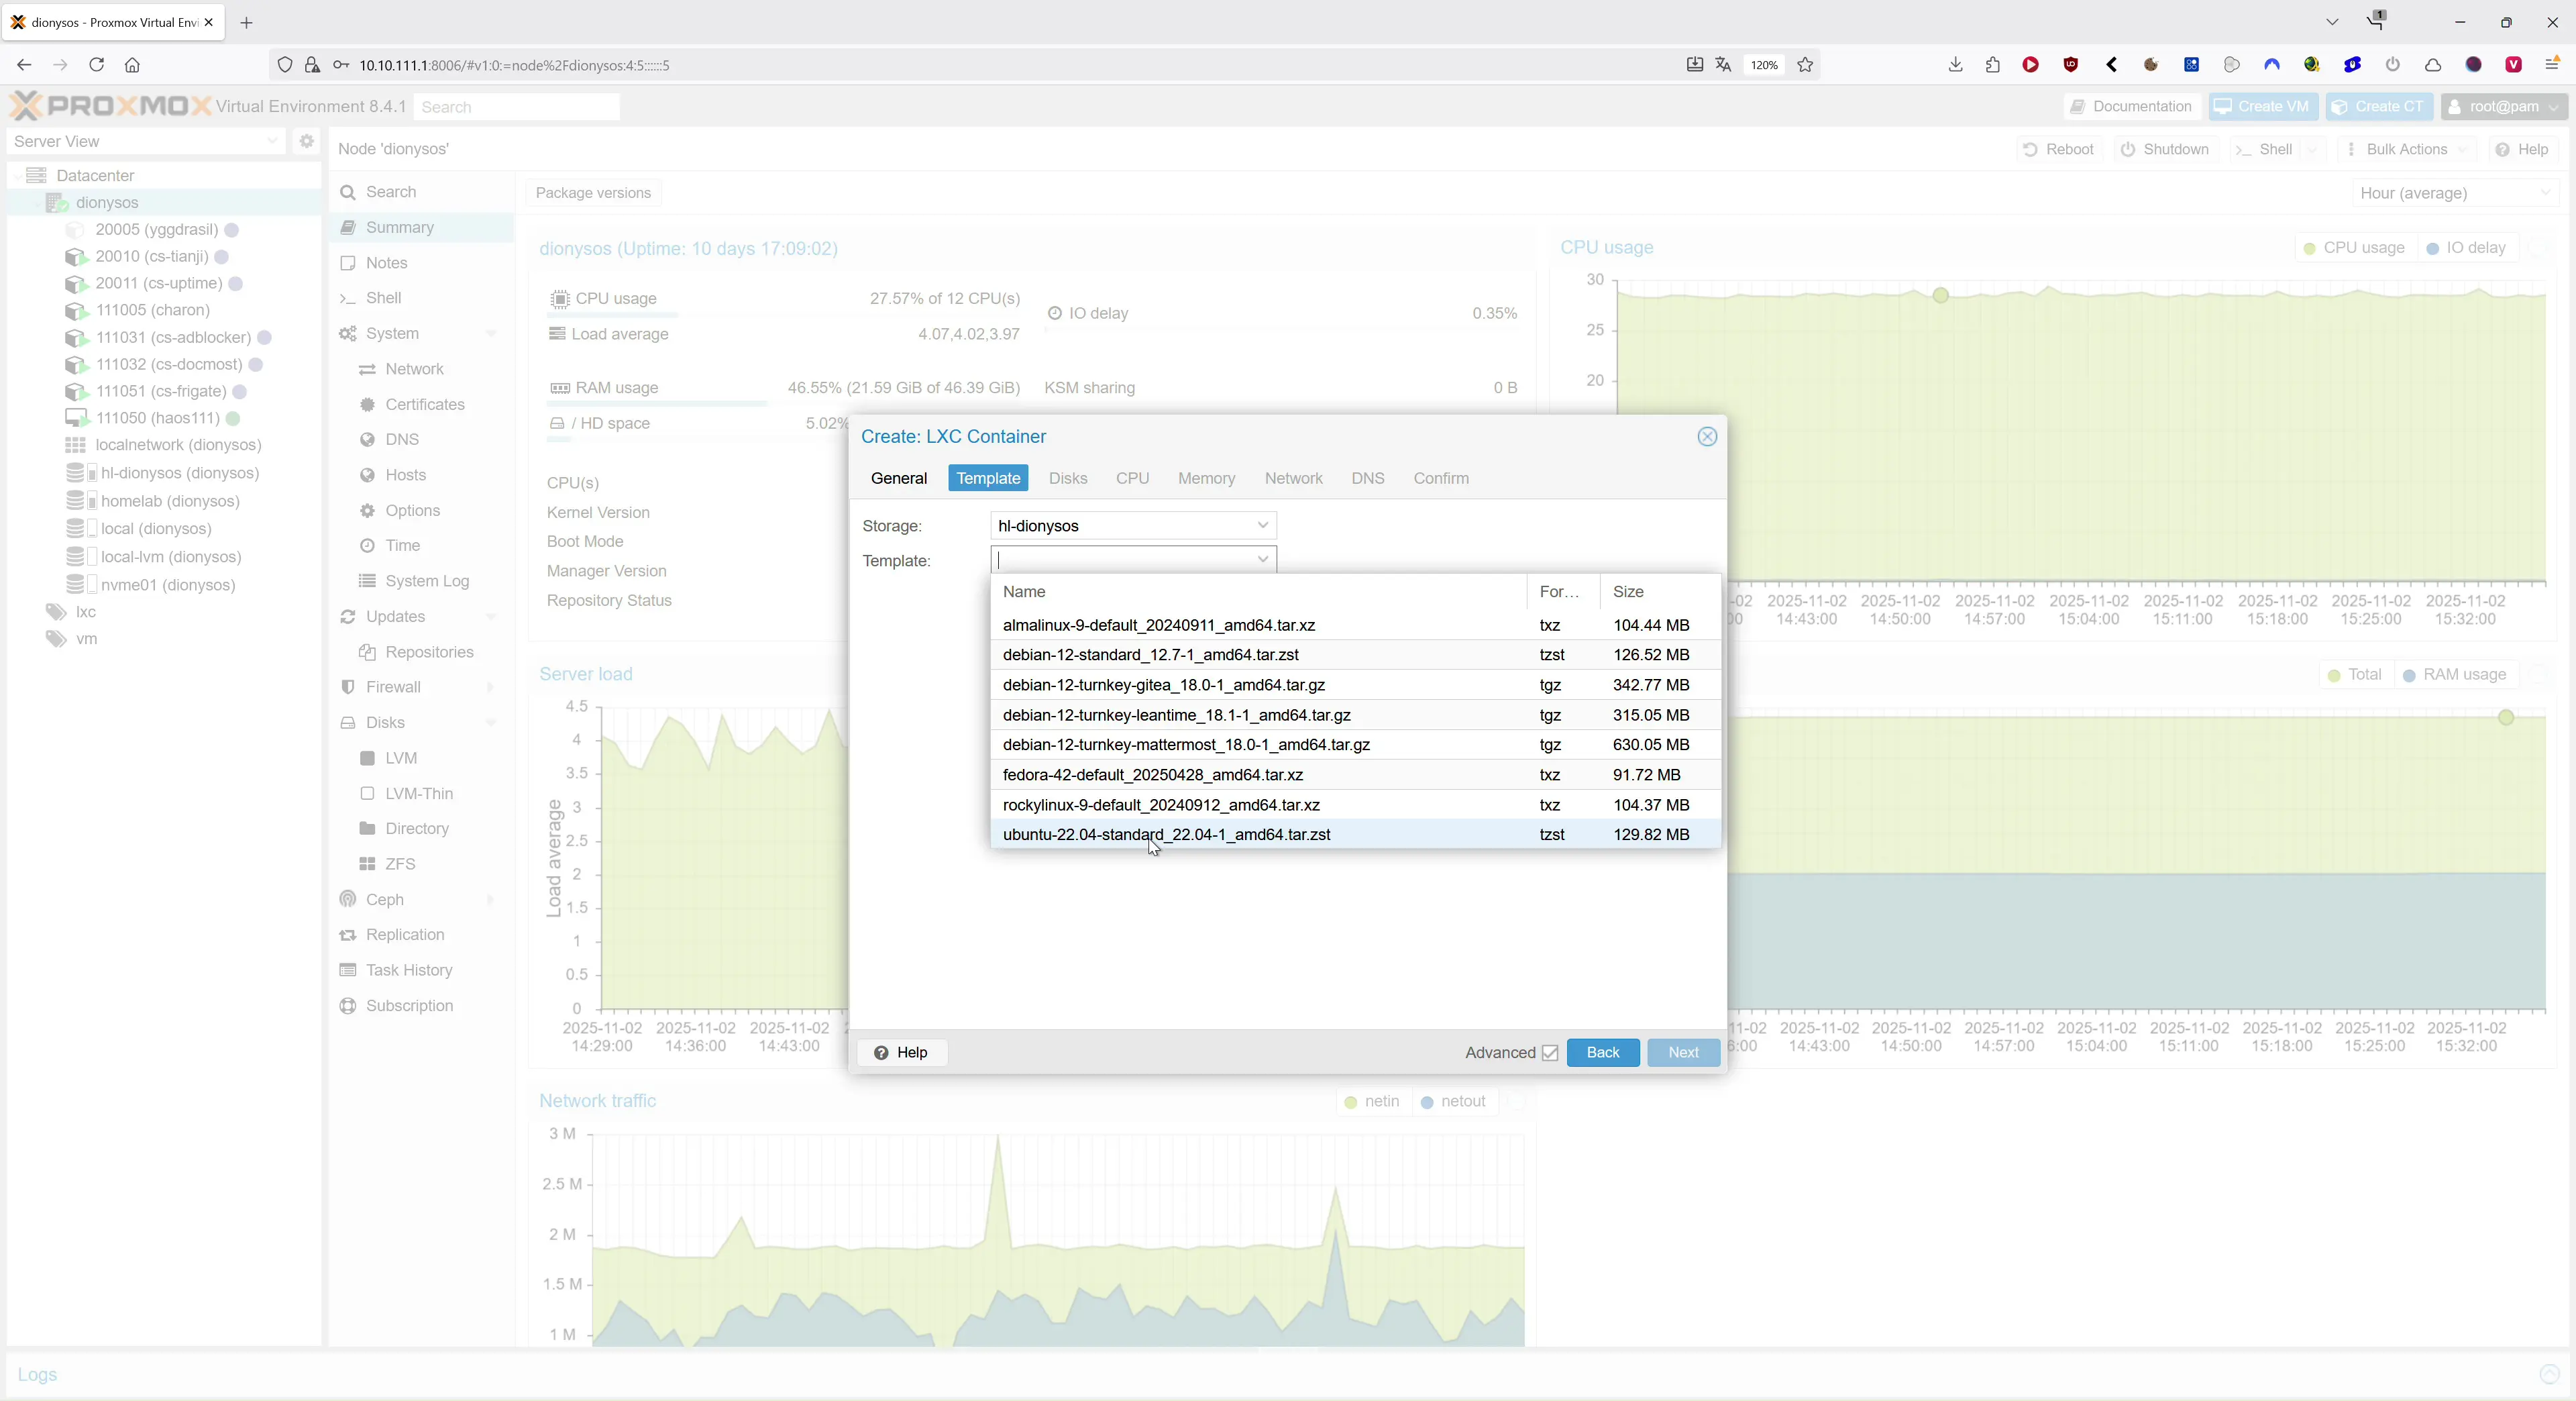
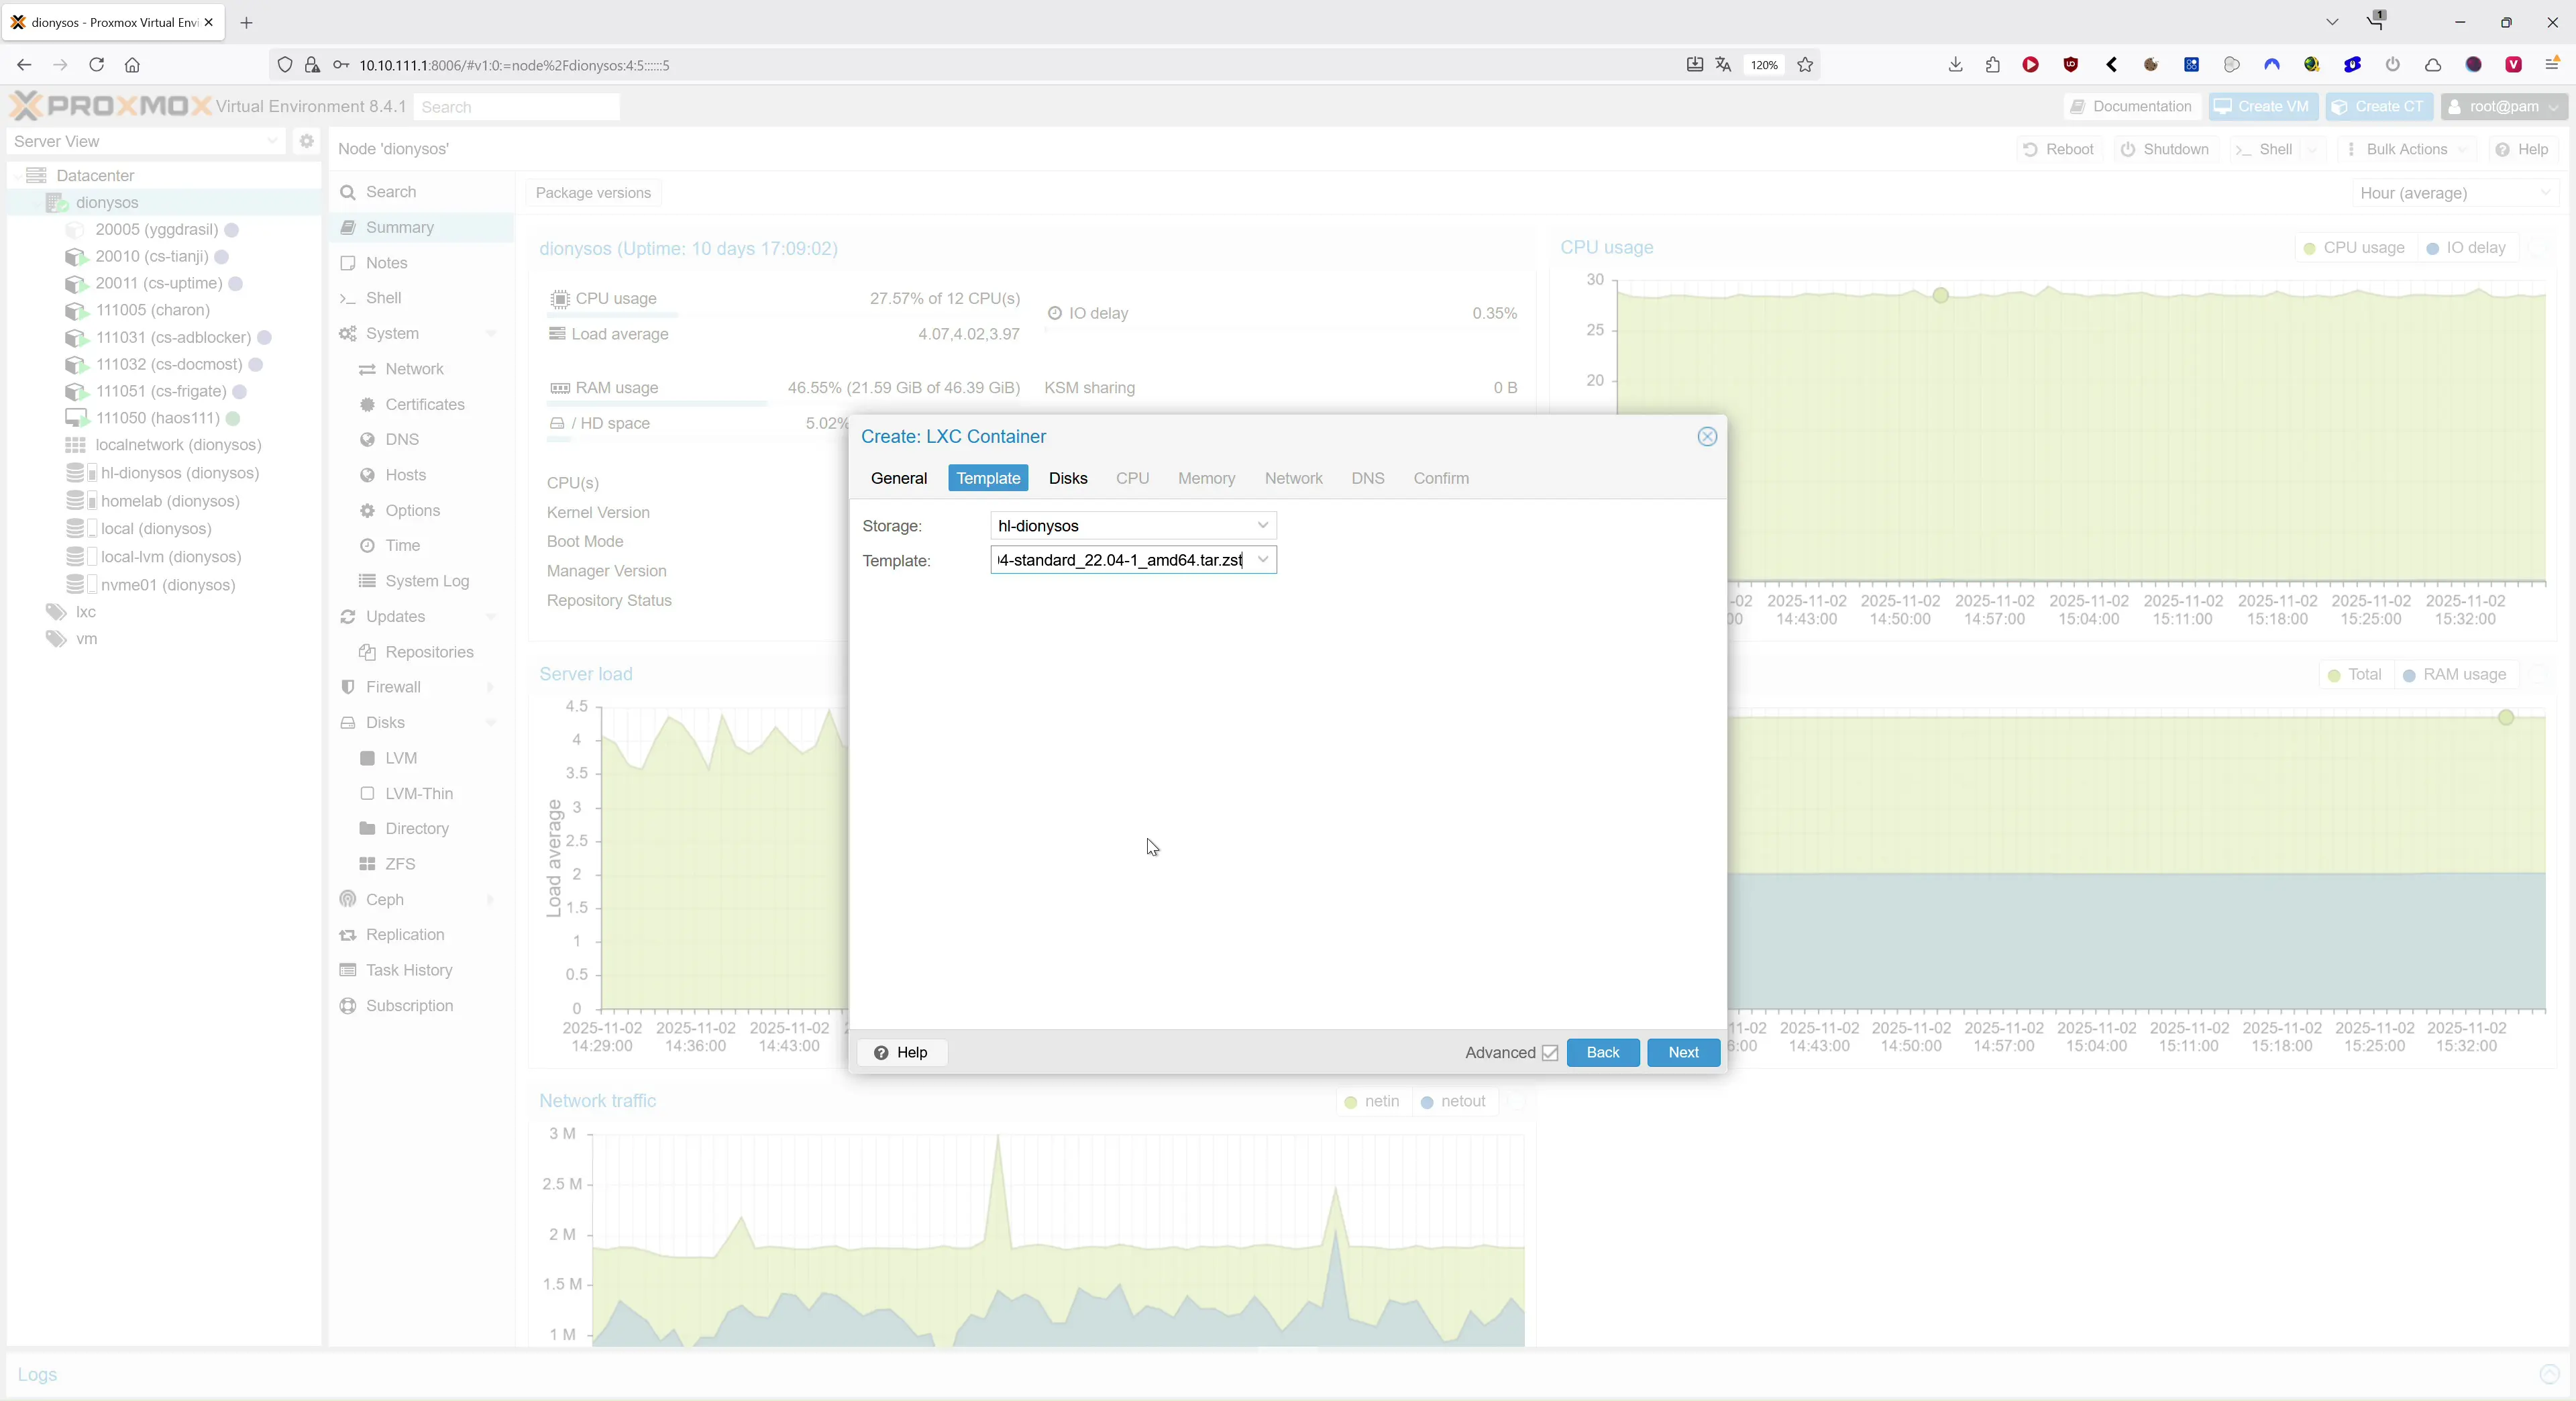
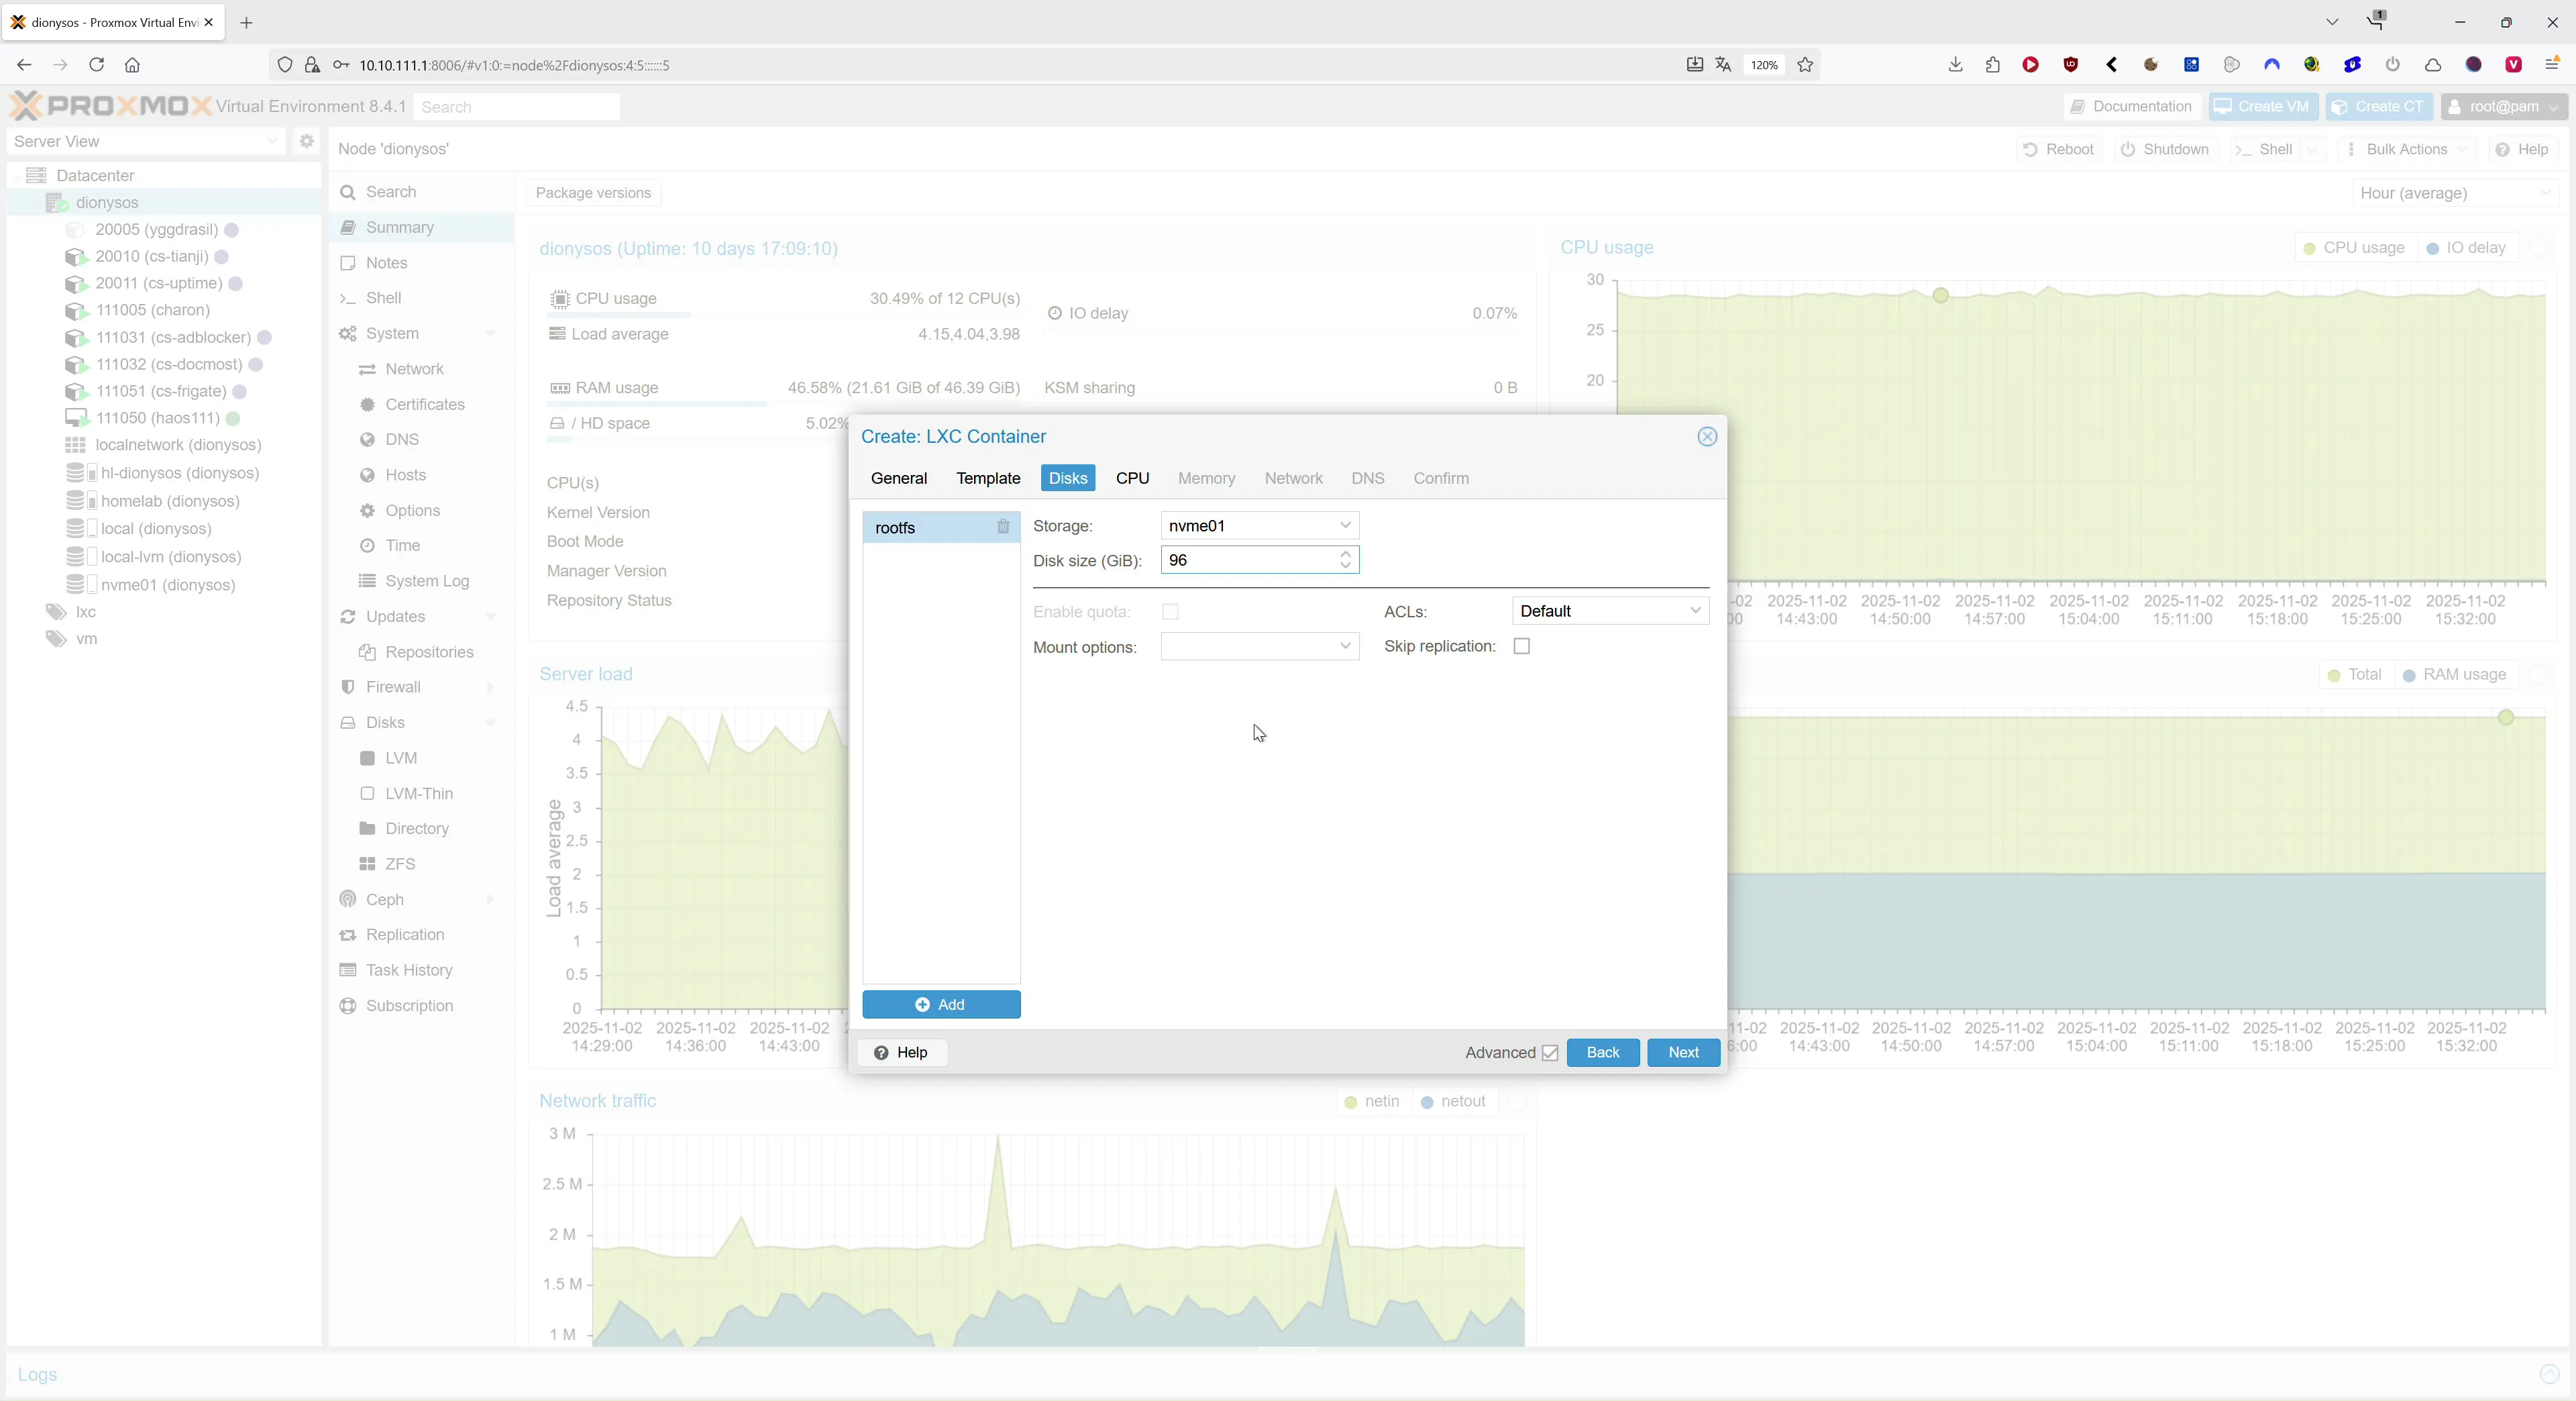
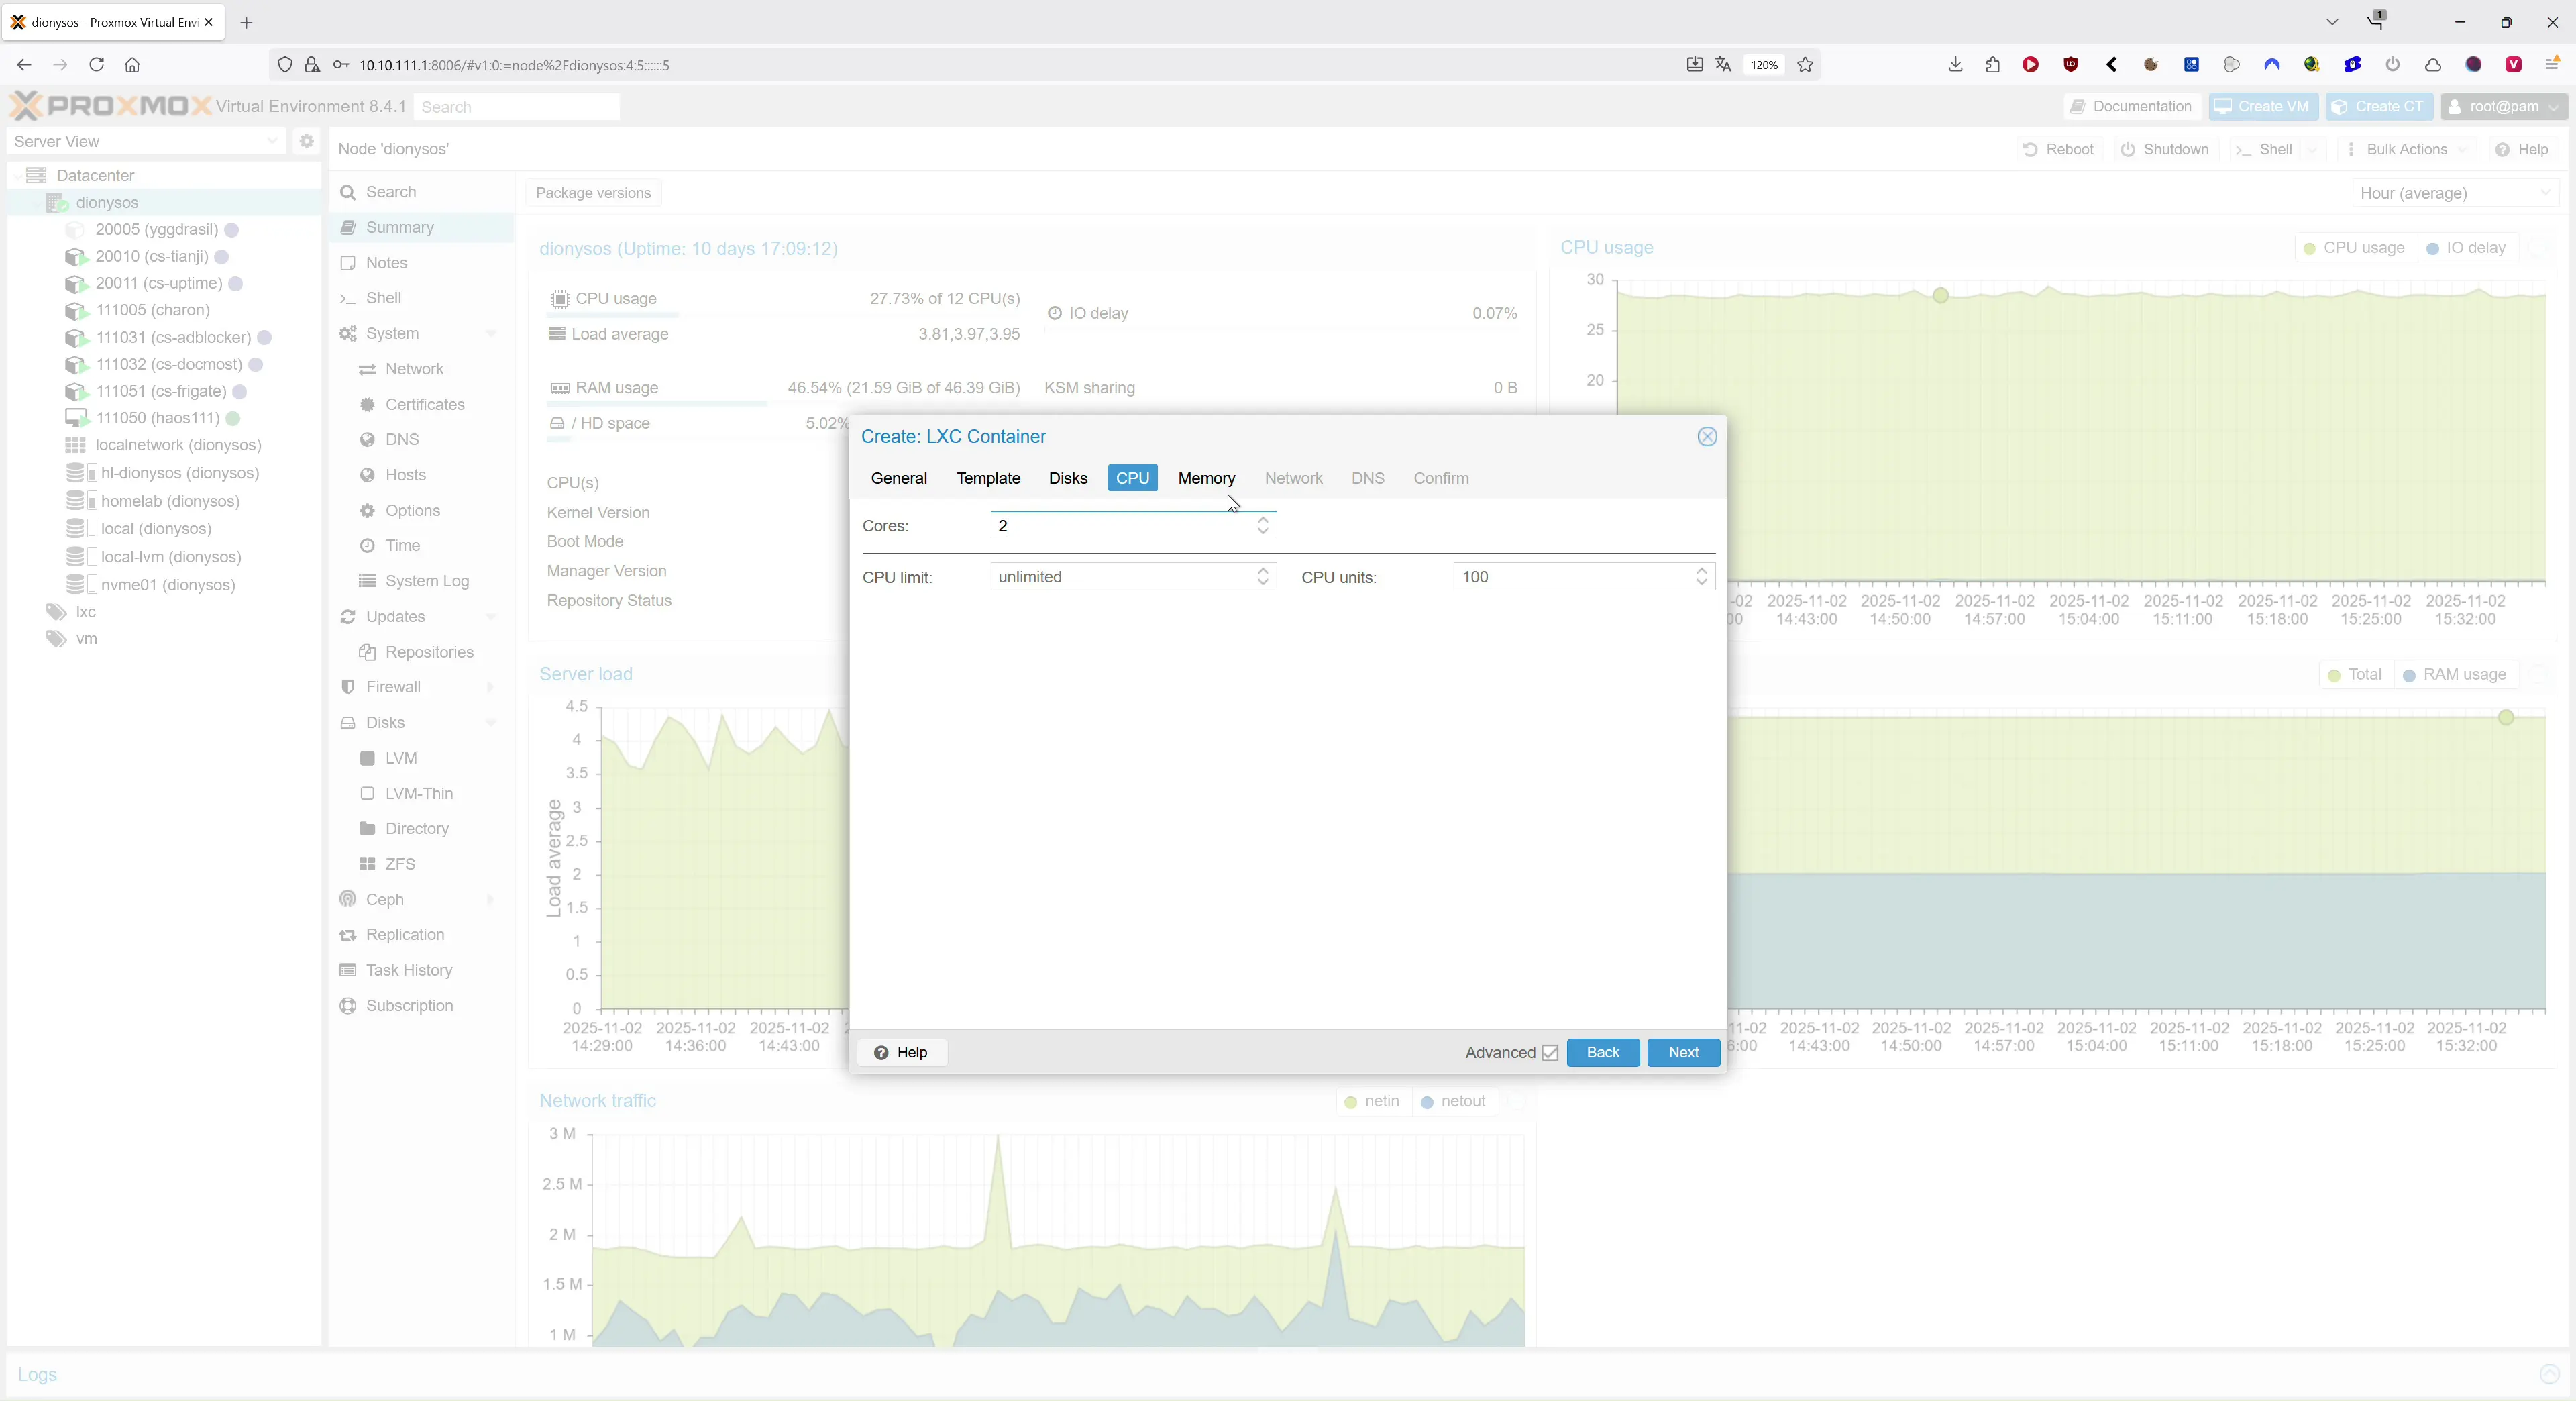
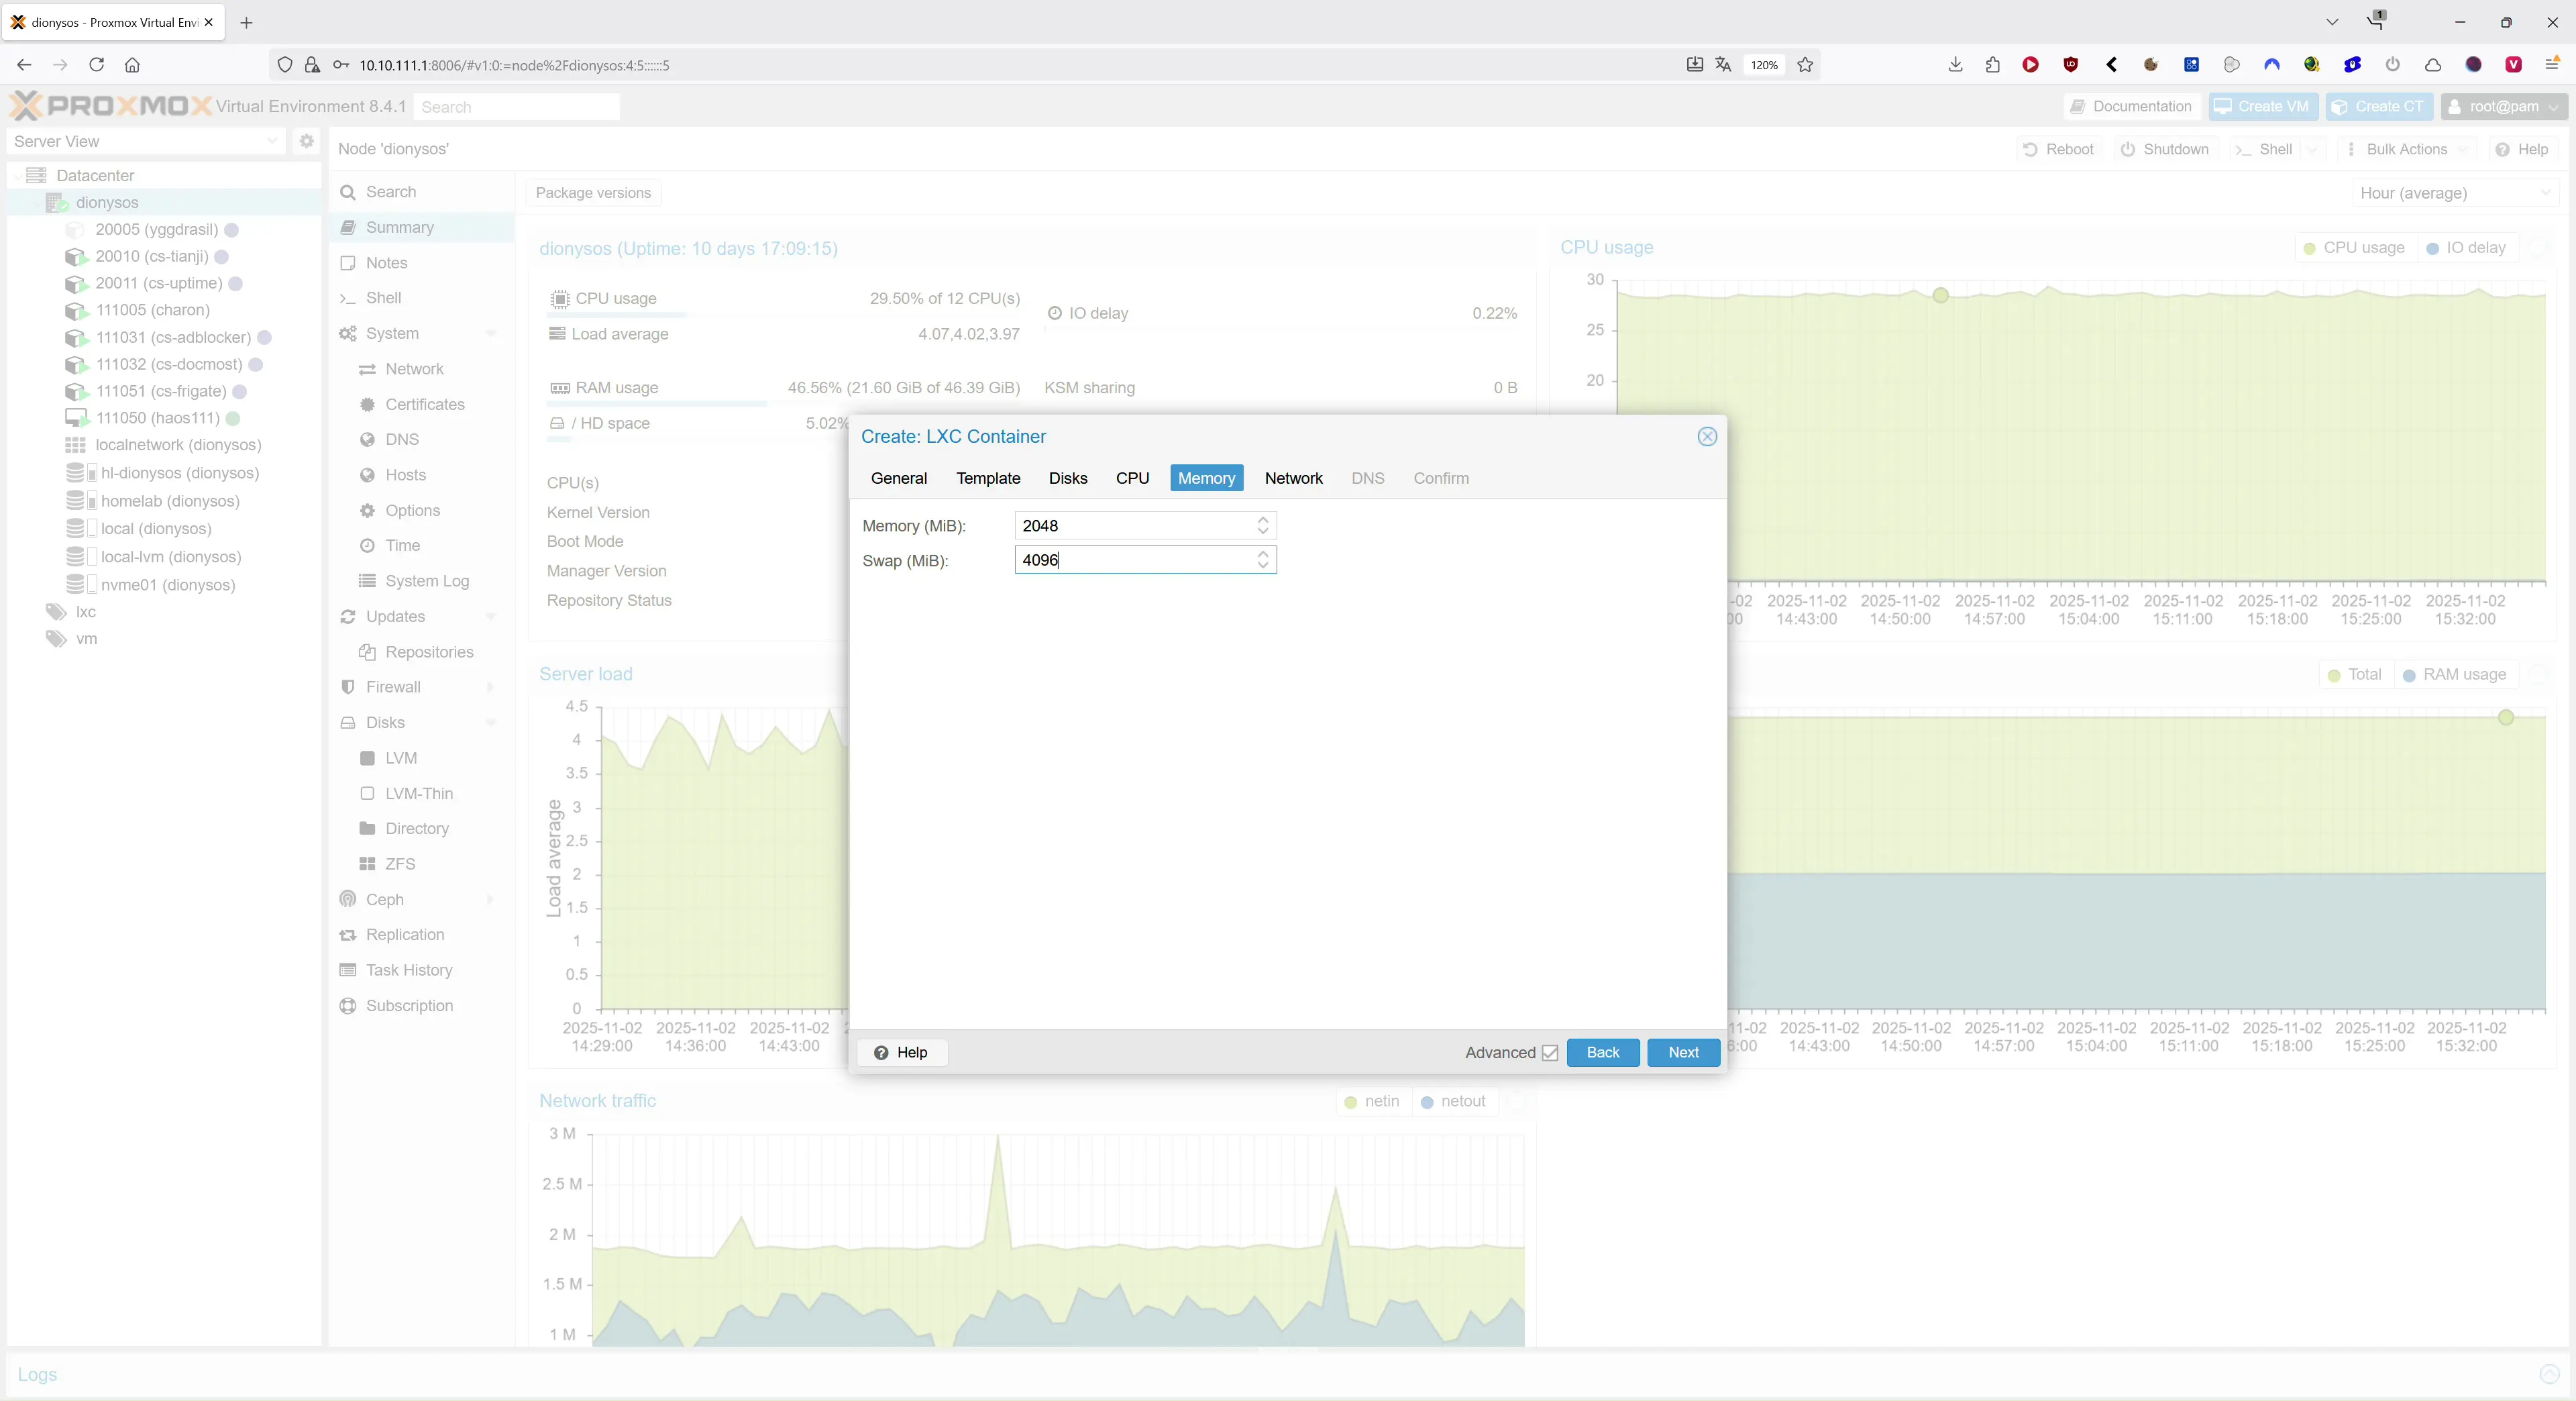
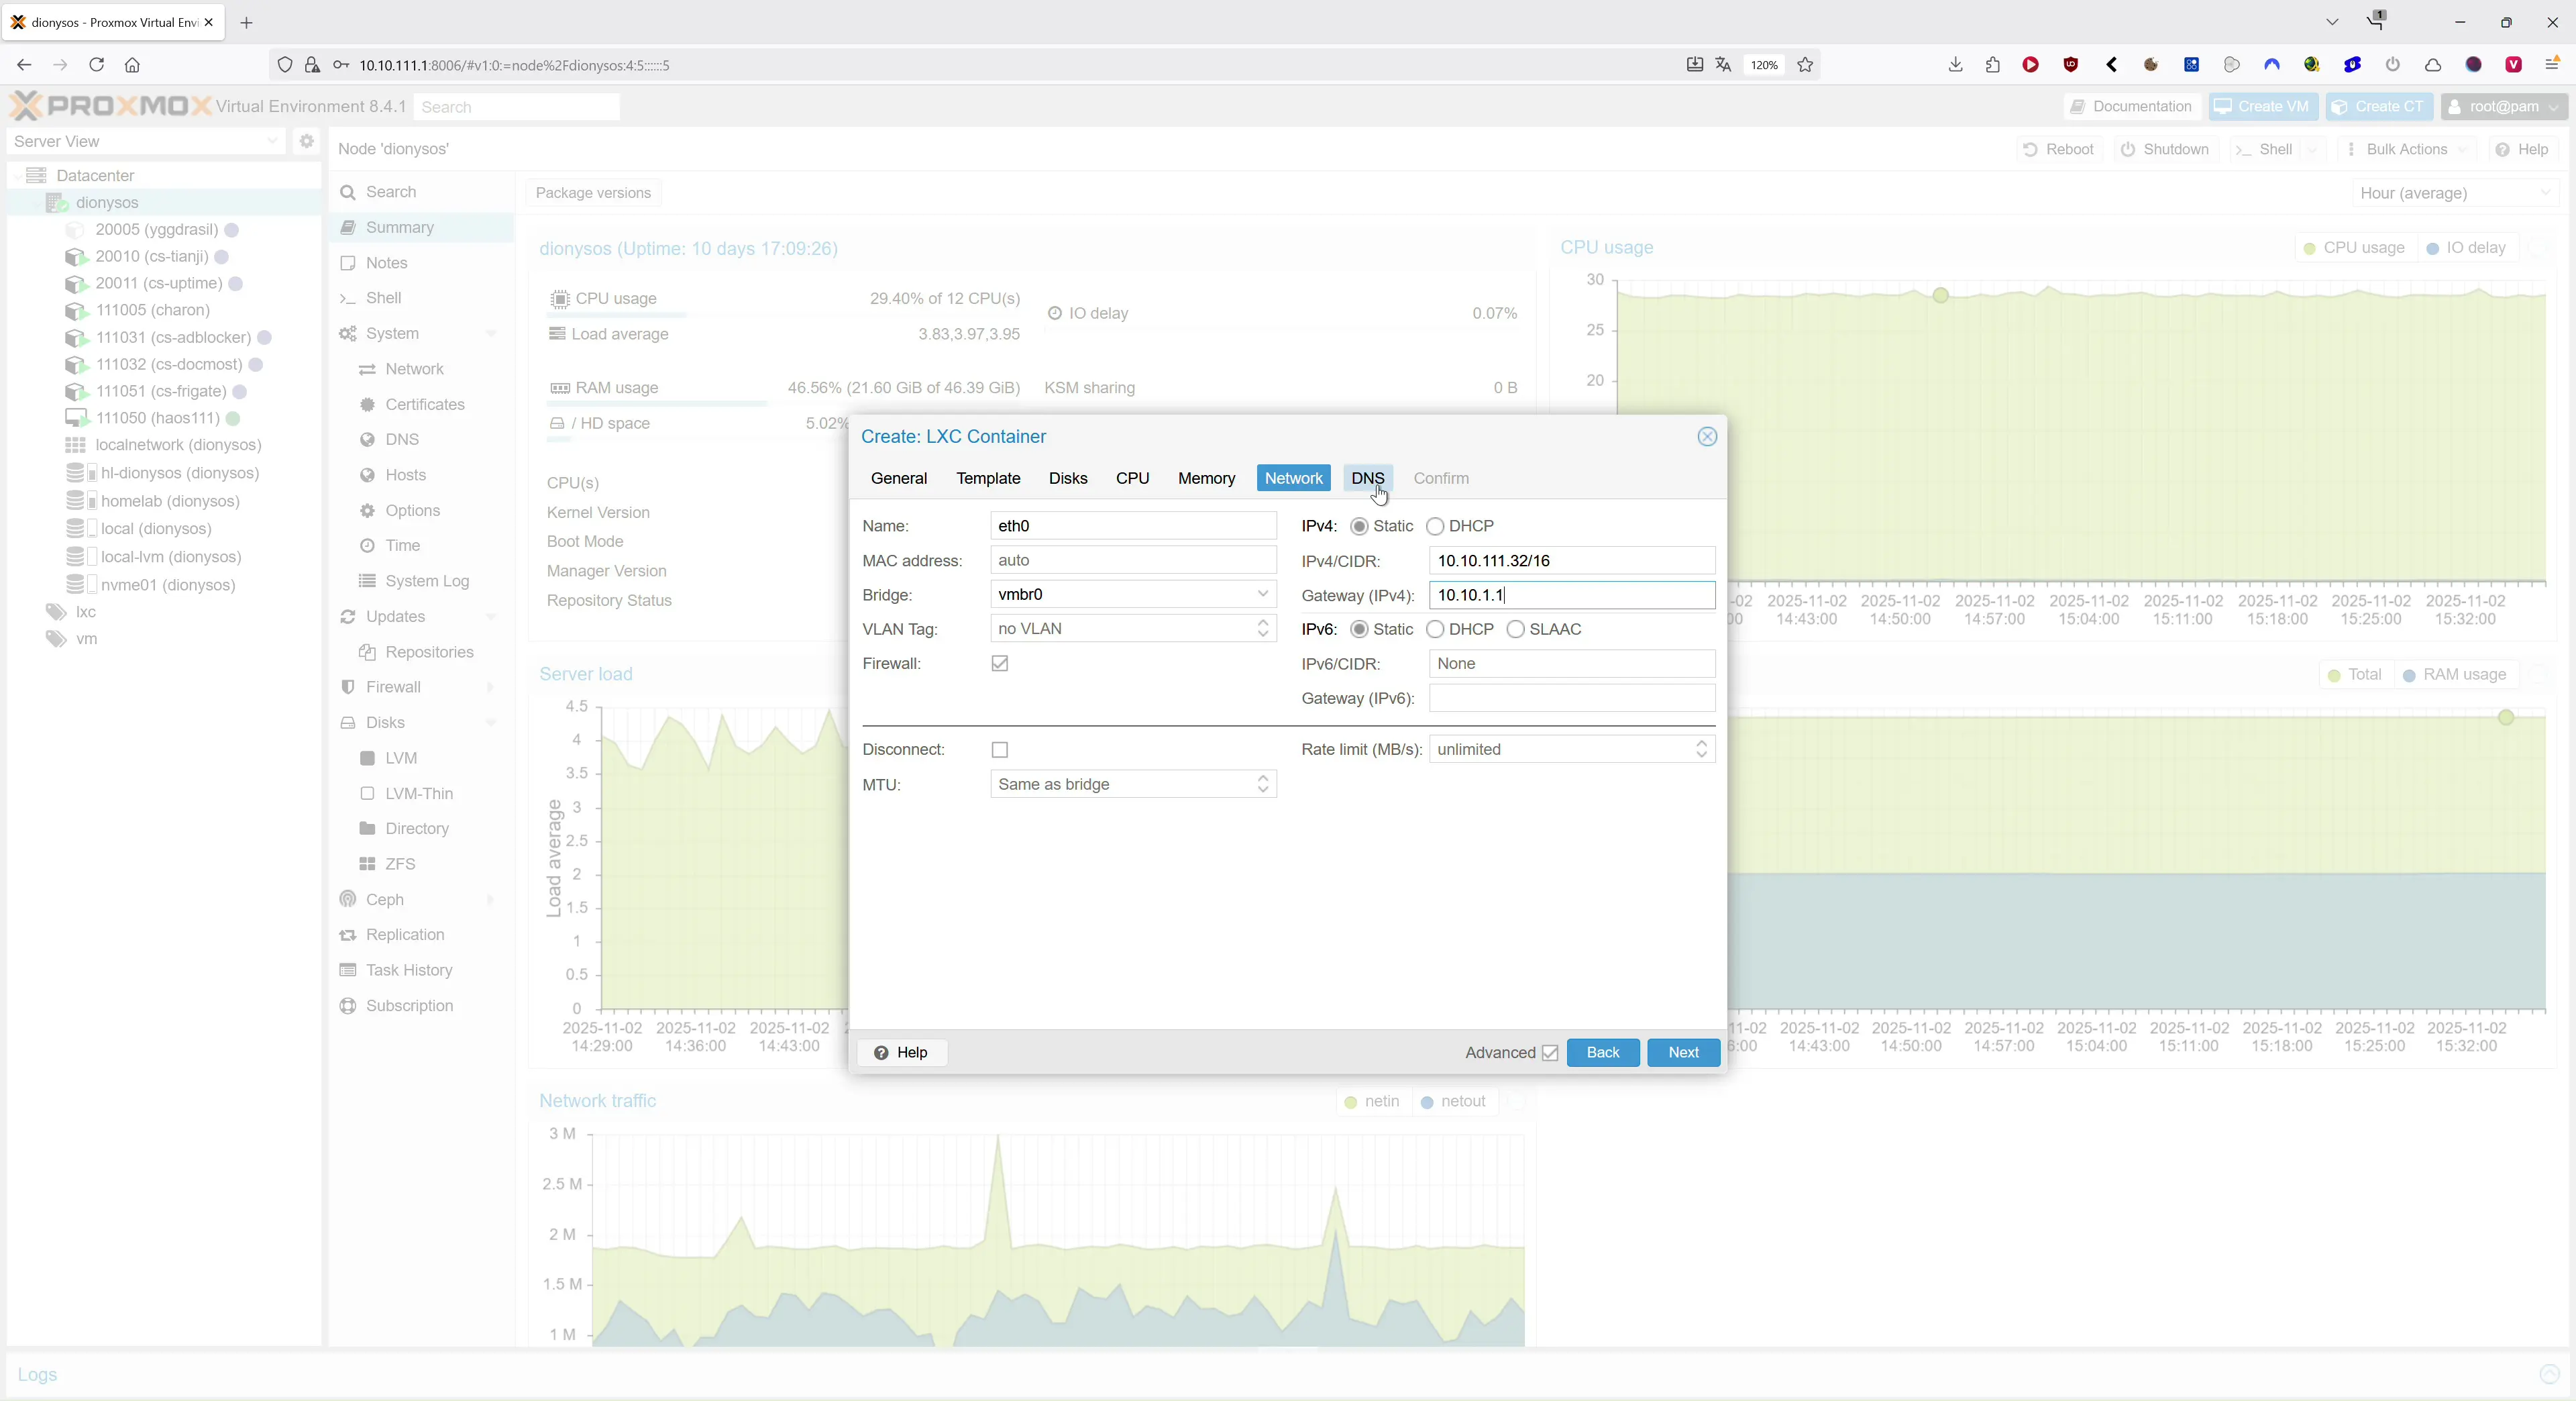
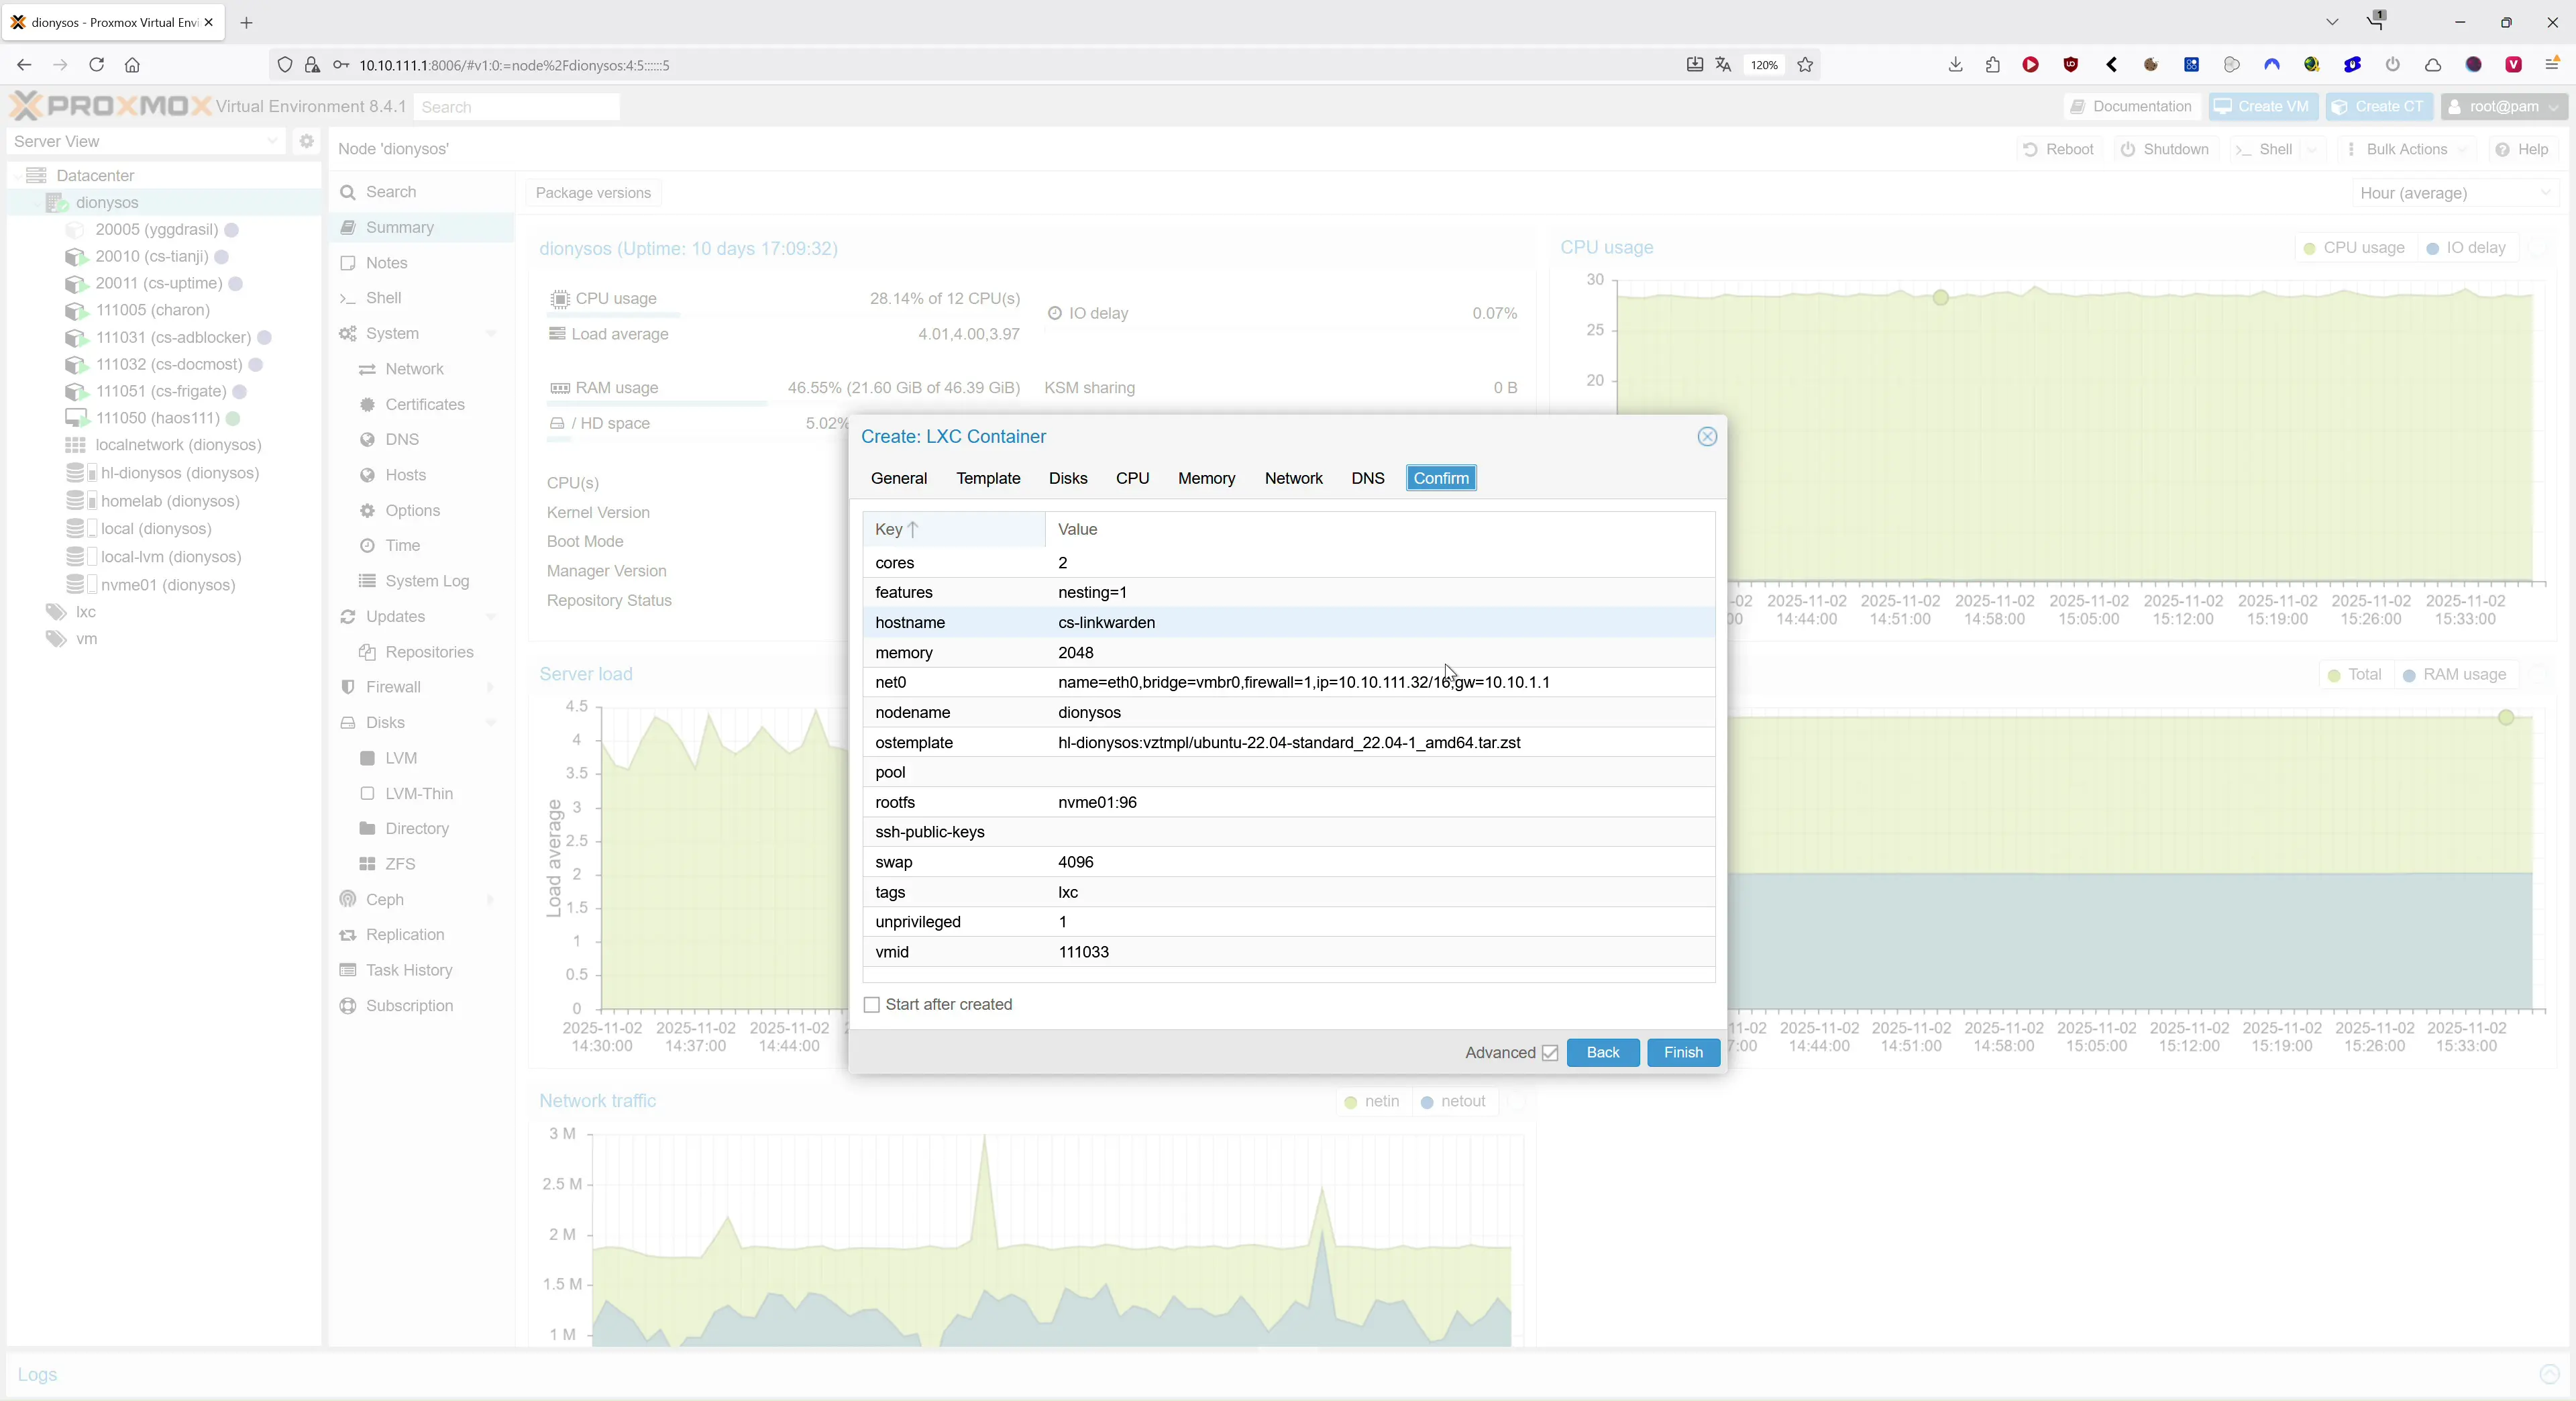
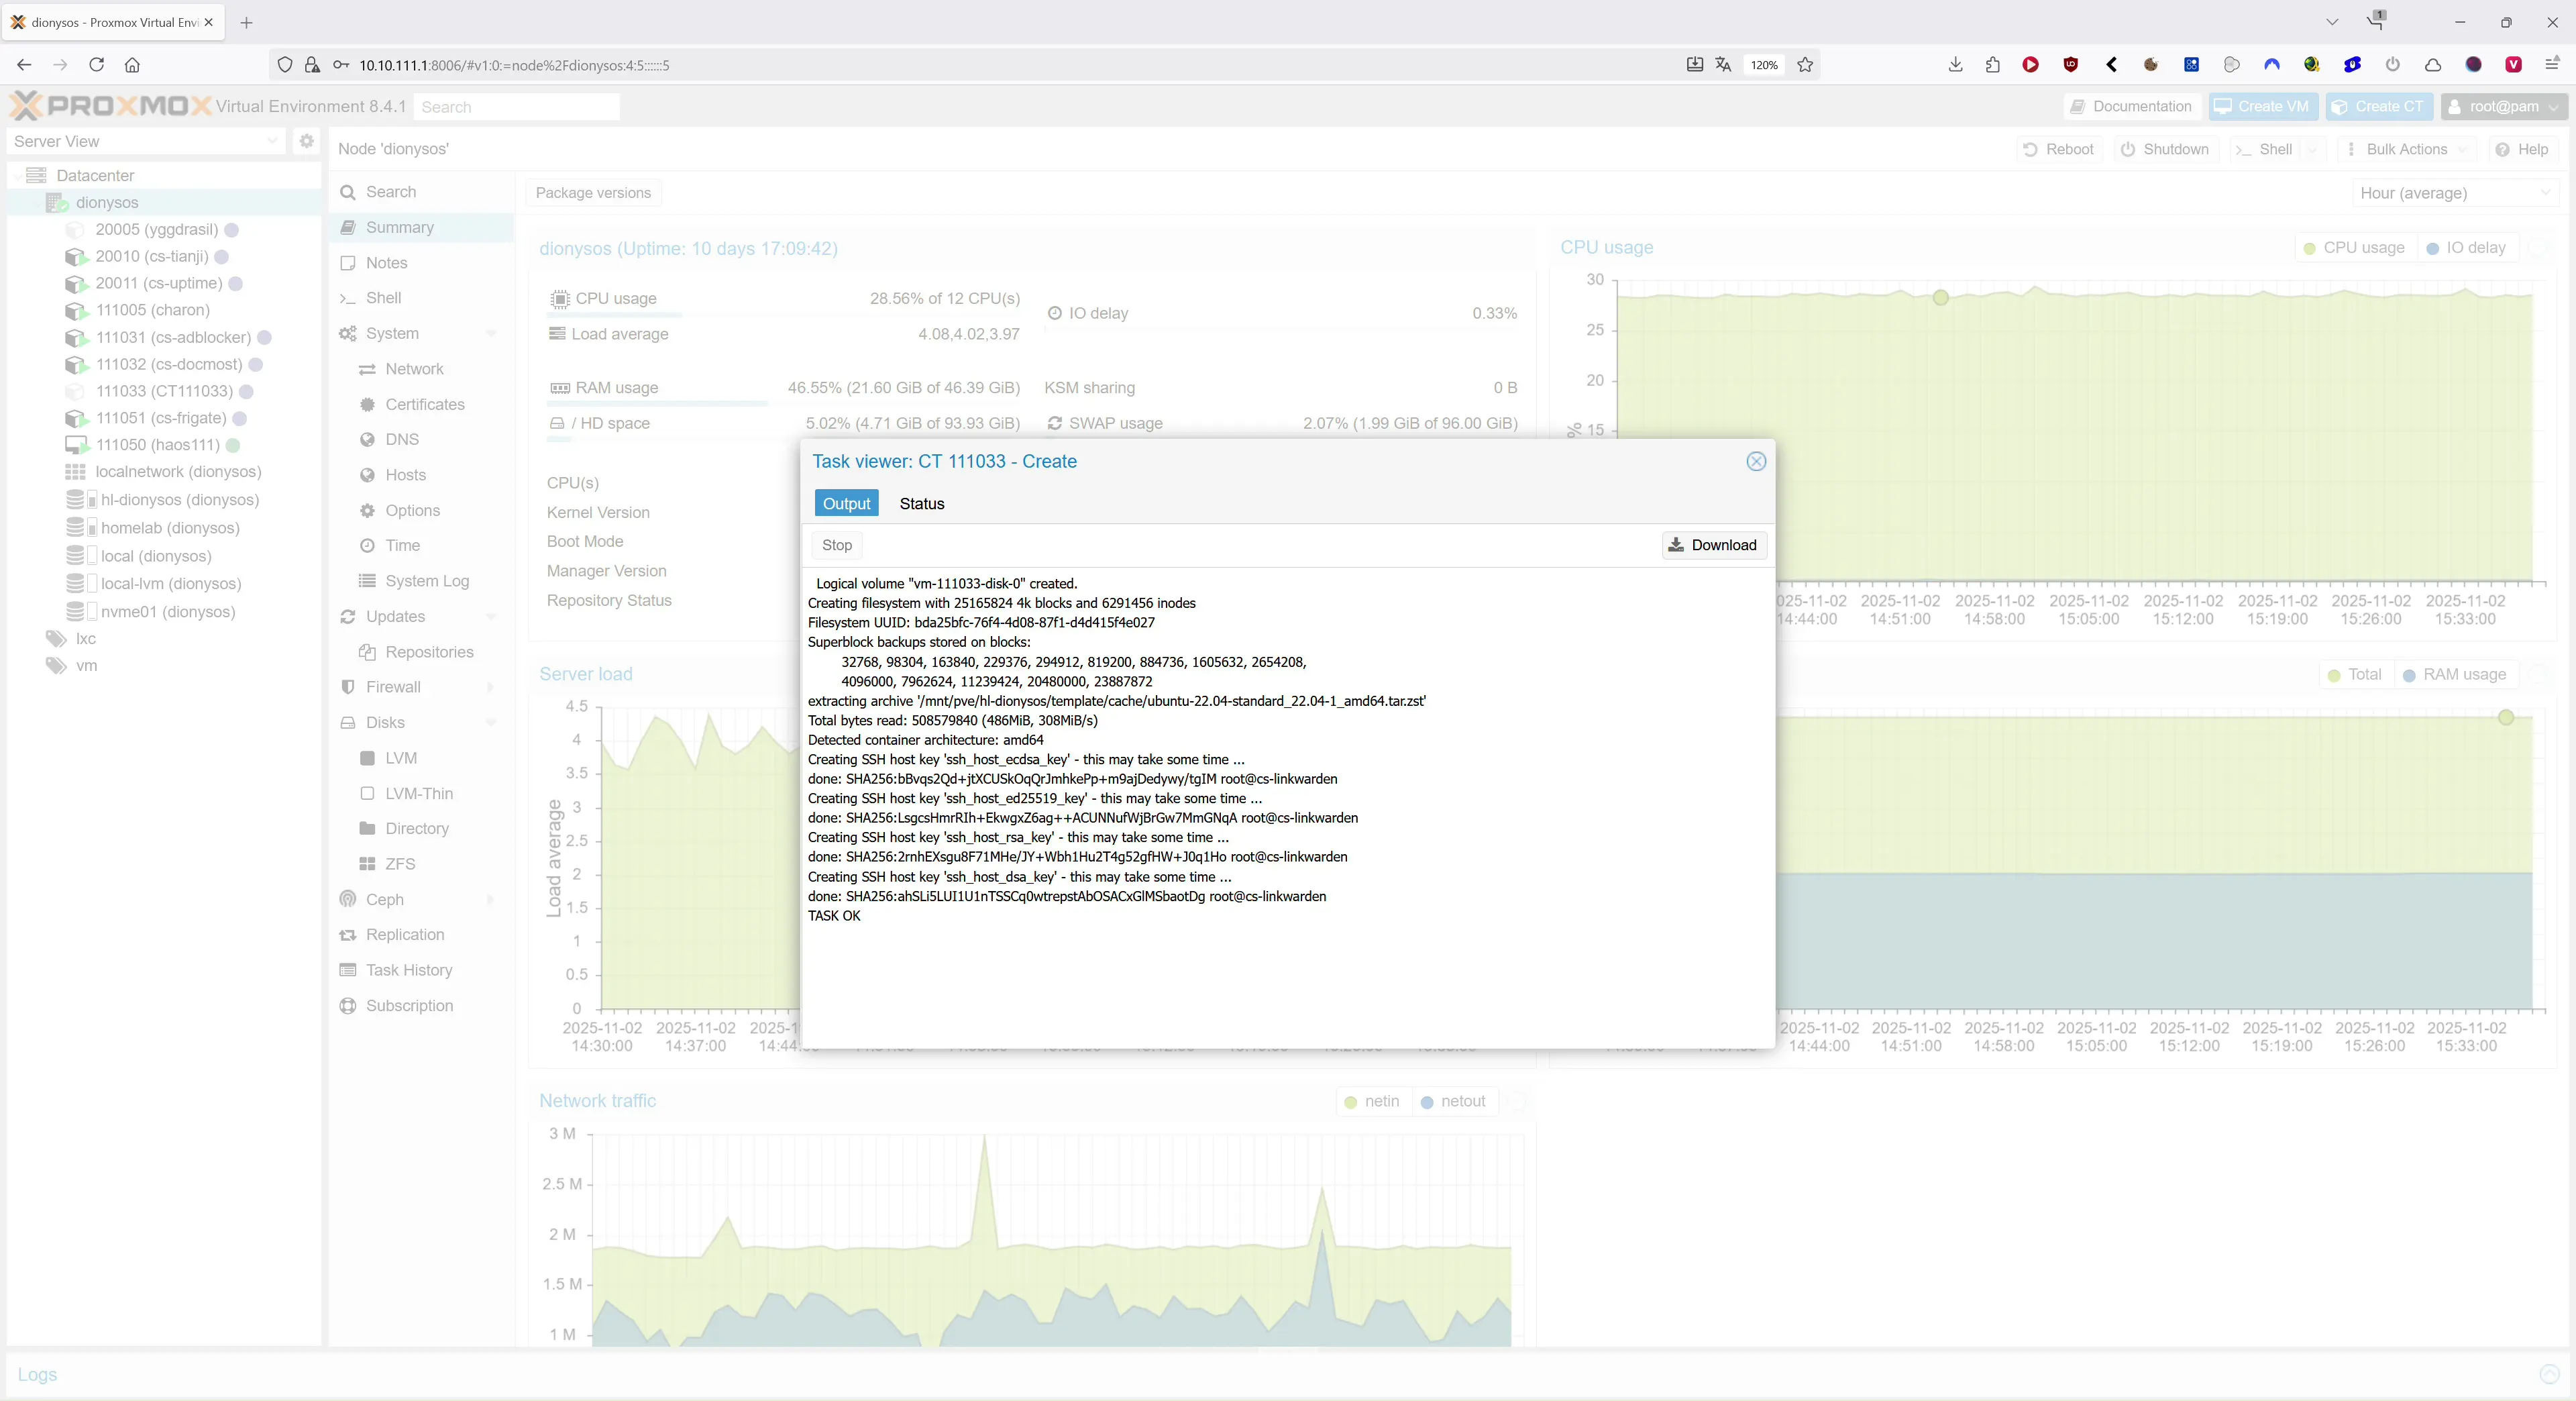
1) Create the LXC Container
- Template: Ubuntu 22.04
- CPU: 2 cores, RAM: 2 GB, Swap: 4 GB, Disk: 96 GB
- Network: static IP or DHCP
- Important: enable nesting in LXC options
- Optional for Docker in LXC: a privileged container is simpler. Unprivileged works too – keep nesting on and avoid tweaking security profiles unless you must.
2) Update the Base System
sudo apt update
sudo apt upgrade -y
sudo apt install -y zip bzip2 gzip unzip htop git wget curl nano
Optional: enable a colored prompt and bash completion in ~/.bashrc for convenience.
3) Install Docker inside LXC
curl -fsSL https://get.docker.com -o get-docker.sh
sudo sh get-docker.sh

# add your user to the docker group if you are not using root
# sudo usermod -aG docker $USER
# newgrp docker
Tip: I do not disable AppArmor by default. Only adjust security profiles when they are the proven cause of an issue. In almost all cases nesting is enough for Docker in LXC.
4) Deploy Linkwarden with Docker Compose
Create a working folder and fetch the files:
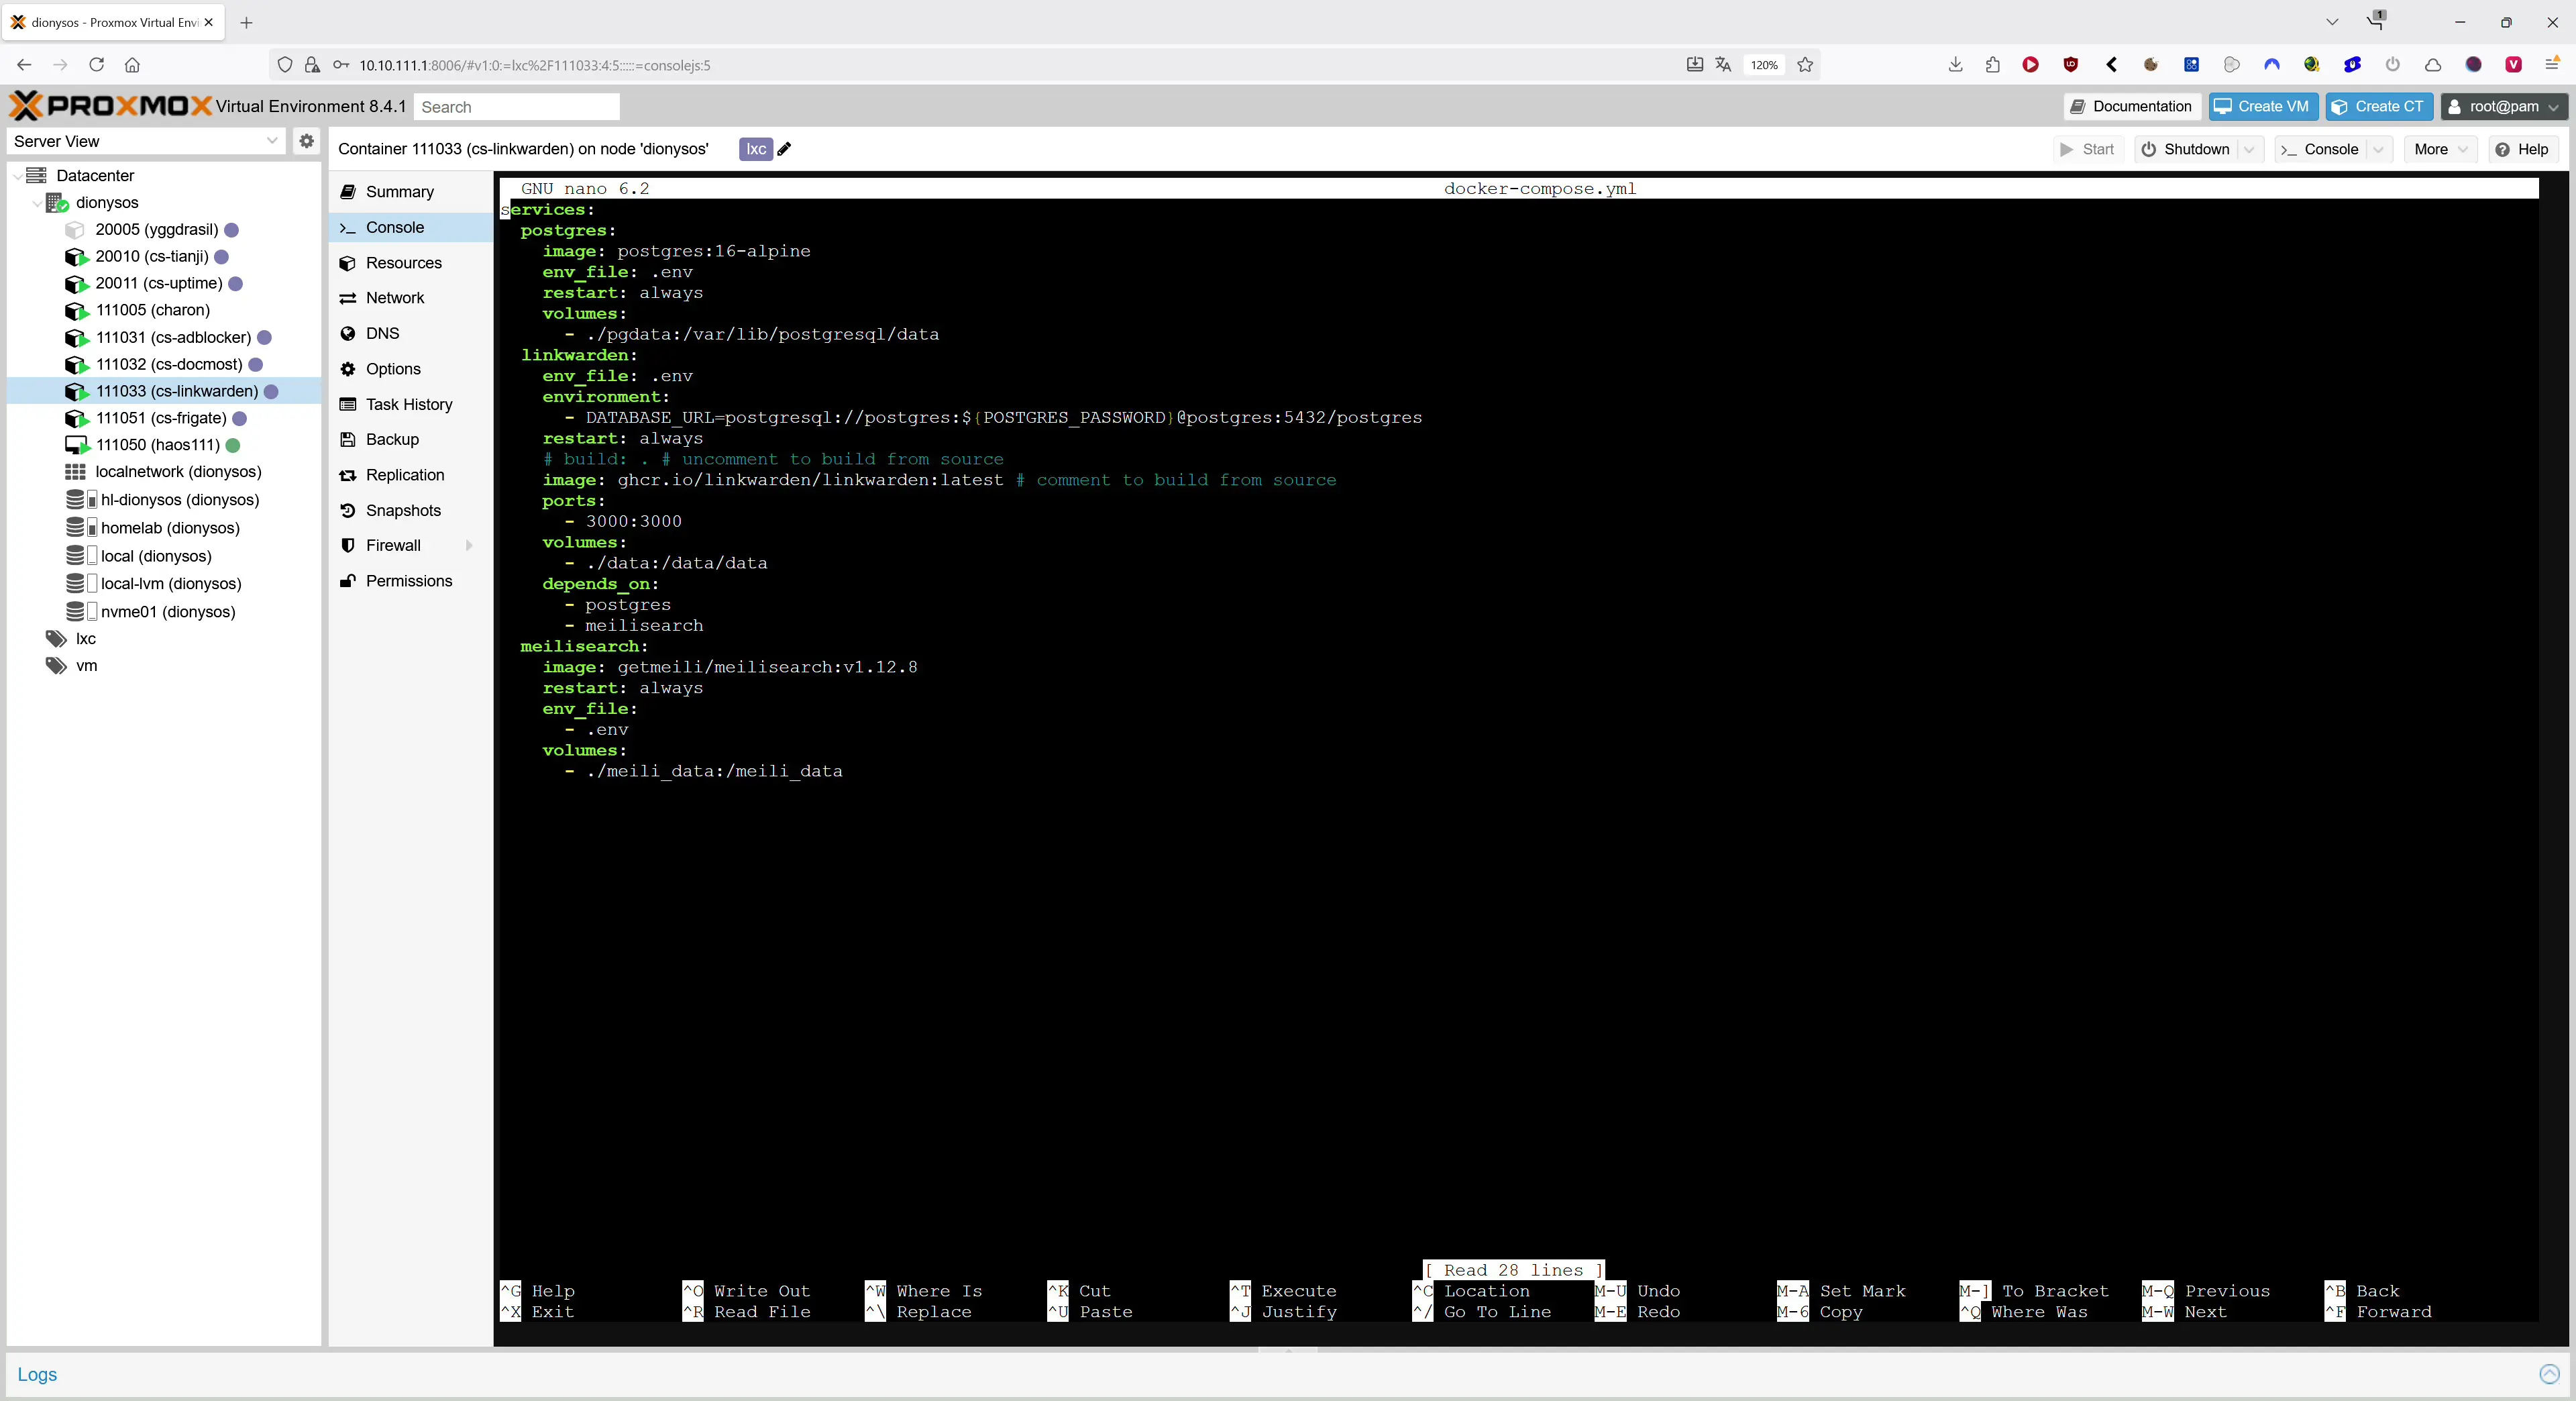
Create a working folder and fetch the files:
mkdir ~/linkwarden && cd ~/linkwarden
curl -O https://raw.githubusercontent.com/linkwarden/linkwarden/refs/heads/main/docker-compose.yml
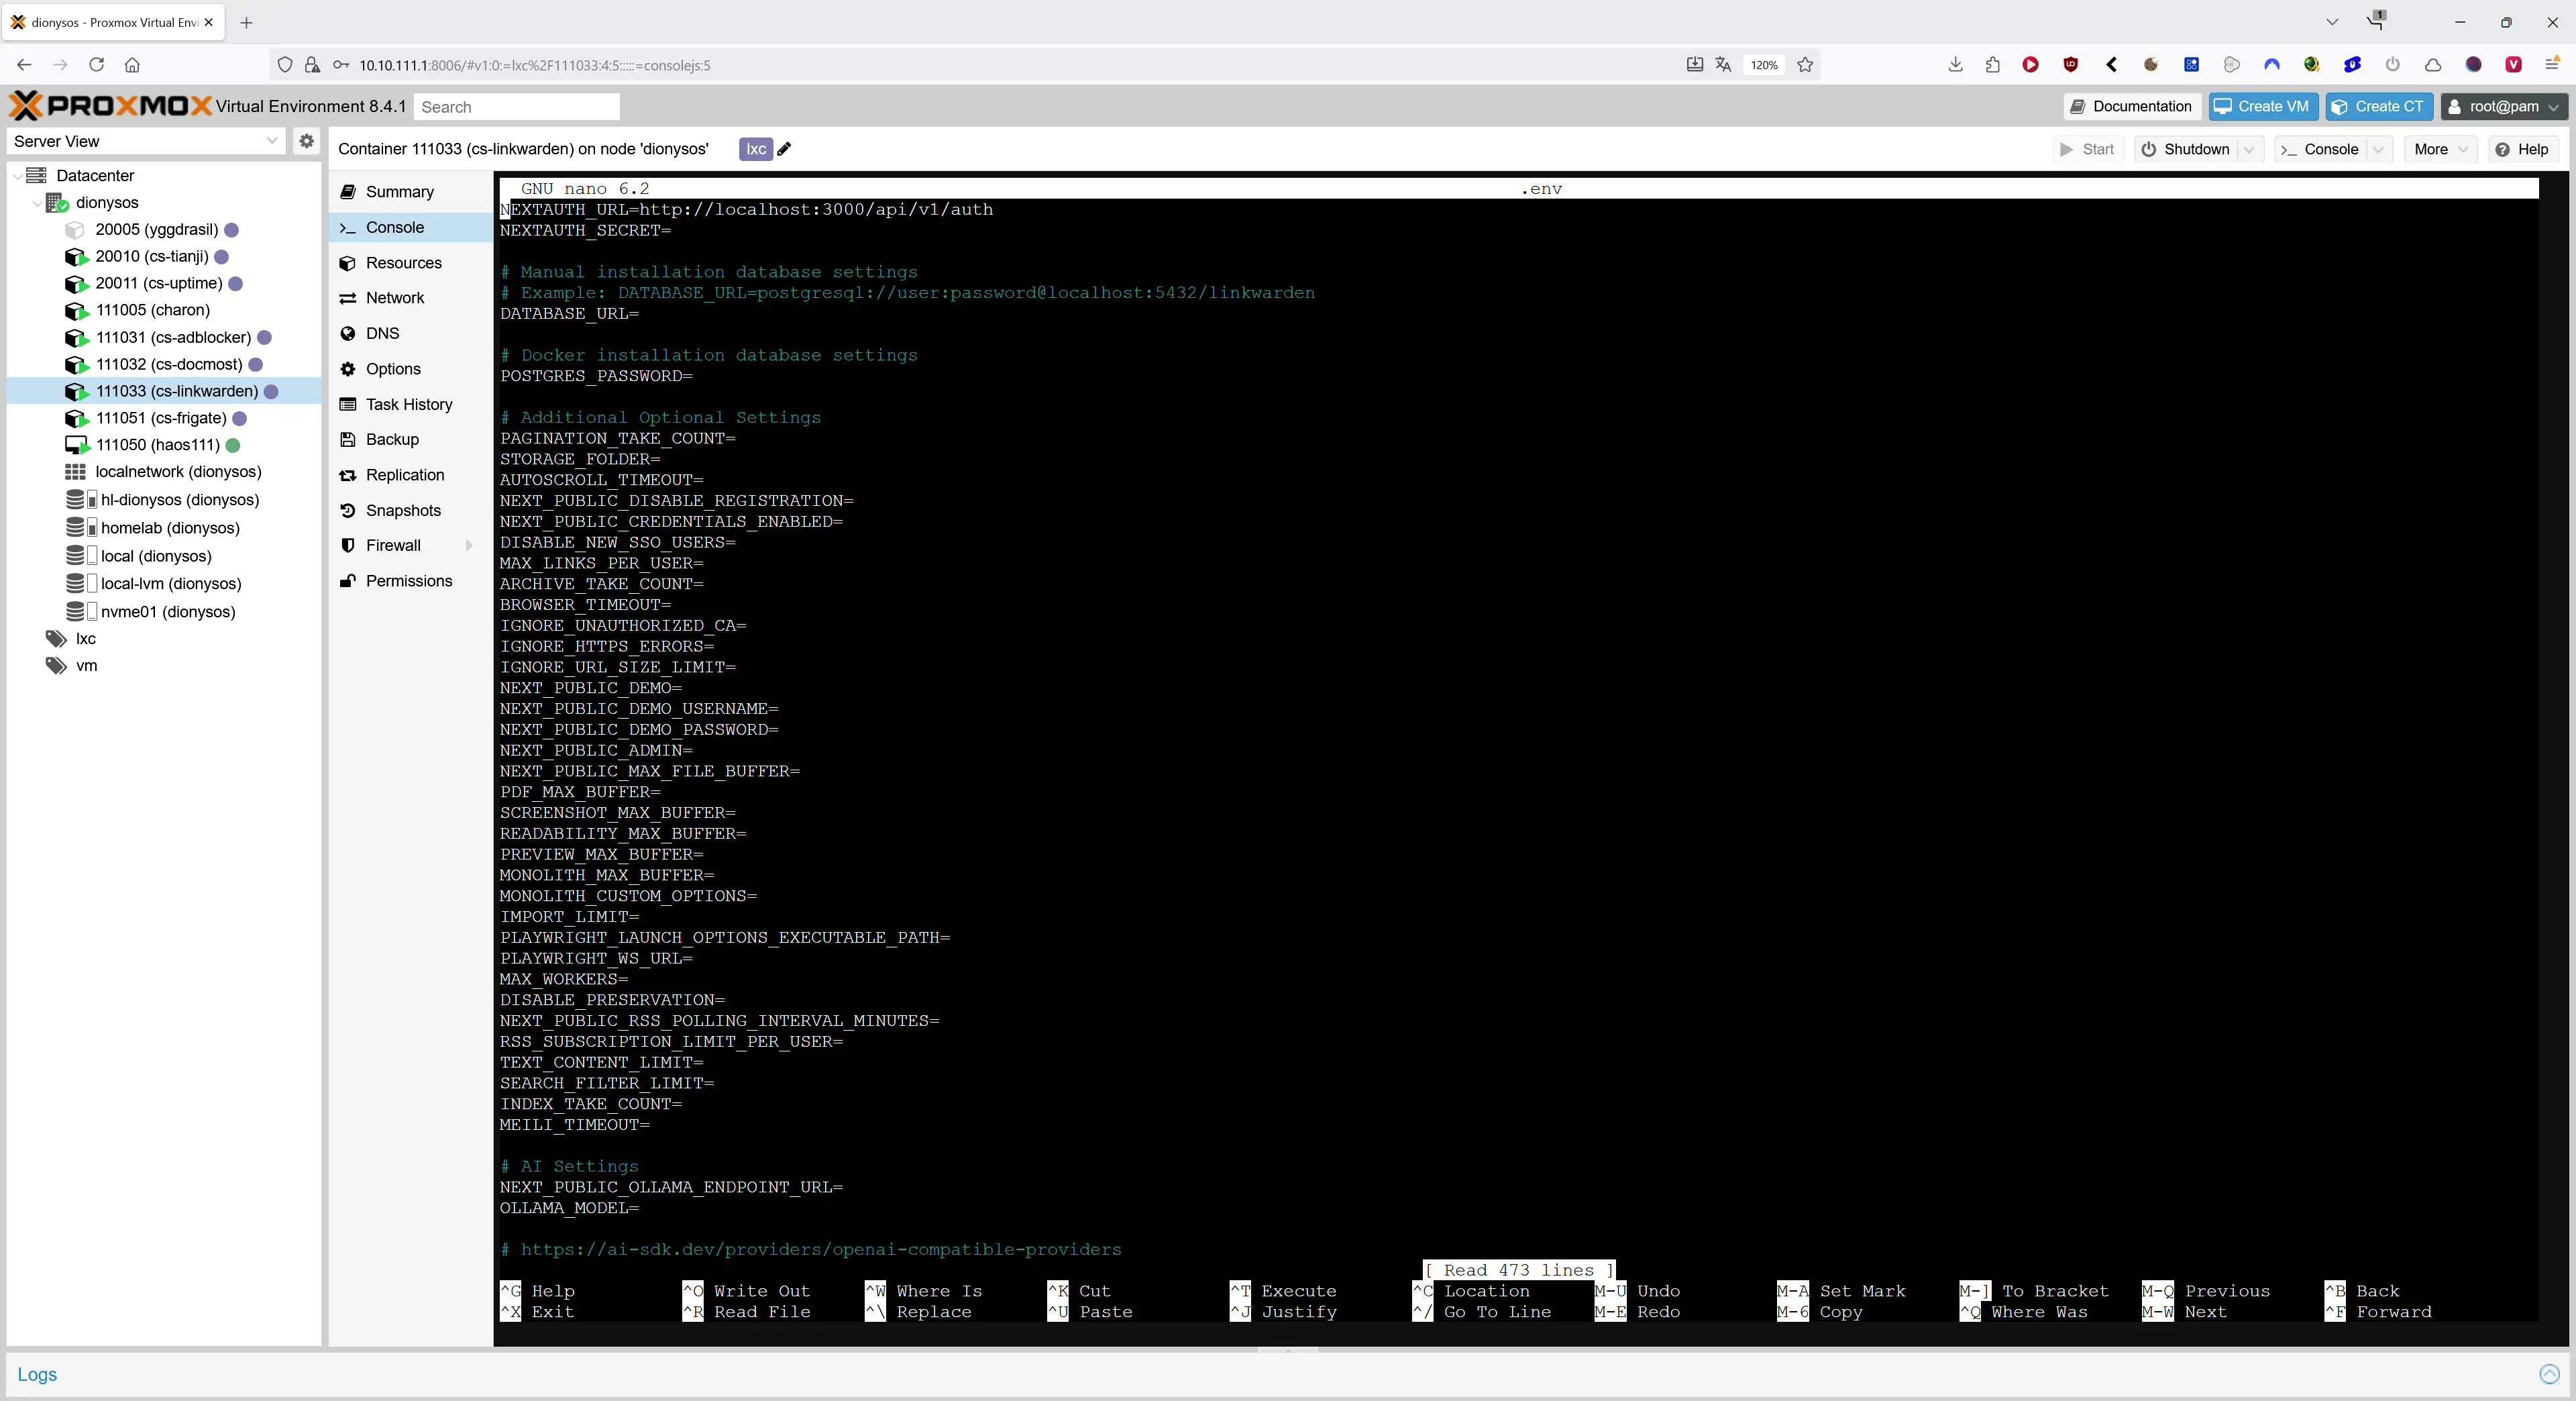
curl -L https://raw.githubusercontent.com/linkwarden/linkwarden/refs/heads/main/.env.sample -o .env
Set the important variables in .env:
# security
NEXTAUTH_SECRET=VERY_STRONG_SECRET
POSTGRES_PASSWORD=STRONG_DB_PASSWORD
MEILI_MASTER_KEY=VERY_STRONG_MEILI_KEY

# base URL when using a reverse proxy
# NEXTAUTH_URL=https://links.yourdomain.tld
# NEXT_PUBLIC_APP_URL=https://links.yourdomain.tld

# close registration after creating your first account
# NEXT_PUBLIC_DISABLE_REGISTRATION=true

# optional local AI tagging
# NEXT_PUBLIC_OLLAMA_ENDPOINT_URL=http://ollama:11434
# OLLAMA_MODEL=phi3:mini-4k
Start the stack:
docker compose up -d
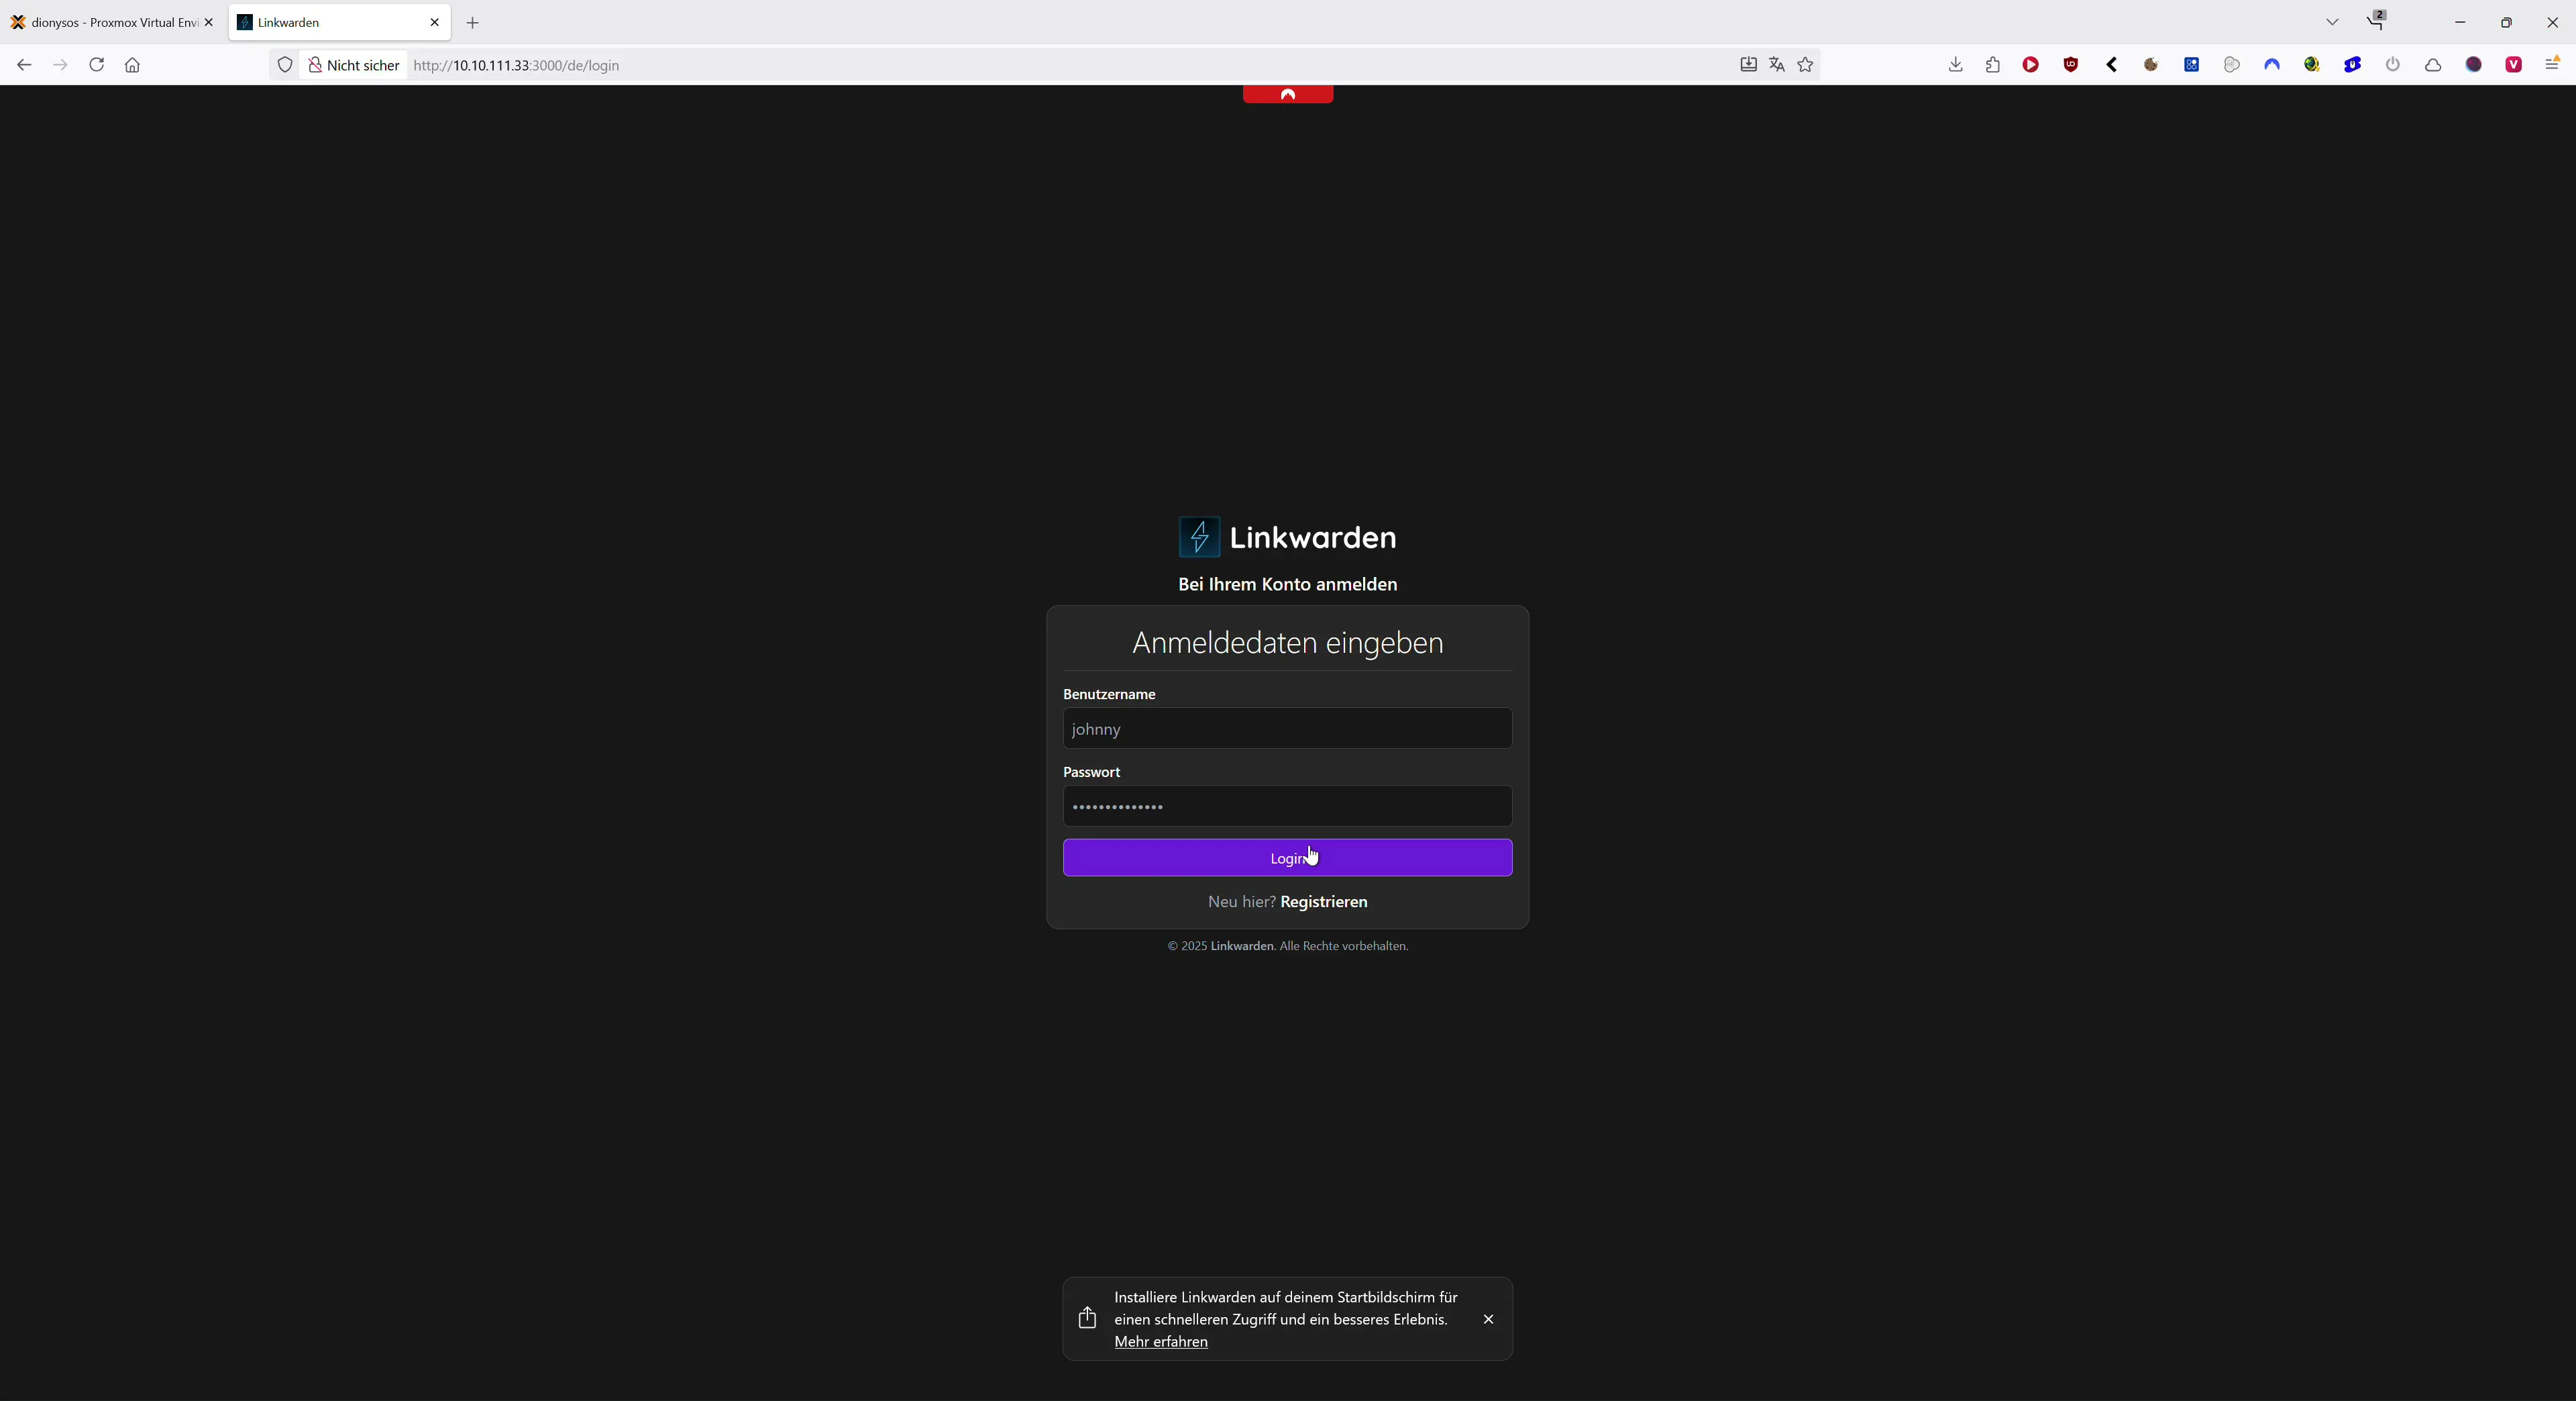
Open the container or reverse proxy URL, register the first user and then disable registration if the instance should remain private.
5) Reverse Proxy and HTTPS
Linkwarden works very well behind Nginx Proxy Manager, Caddy or Traefik. Make sure NEXTAUTH_URL and NEXT_PUBLIC_APP_URL point to the public HTTPS URL exactly. Issue certificates and enable HSTS if you want strict transport security.
6) Backups
Back up two things regularly:
- The data directory with archives
- The PostgreSQL database
Example cron-friendly database dump:
docker exec -t linkwarden-postgres pg_dump -U postgres postgres \
  | gzip > /backup/linkwarden_$(date +%F).sql.gz
Also back up the volume that stores screenshots, PDFs and HTML. If storage grows fast you can switch the Compose configuration to an S3 compatible backend or object storage, or increase the LXC disk. Alternatively, back up the entire LXC periodically with Proxmox – manual or via cron.
Practical Tips and Troubleshooting
- Import performance – large bookmark imports need time to generate screenshots and PDFs. Let the container work and avoid restarts during the first pass.
- Search shows no results – verify that Meilisearch is running and that
MEILI_HOSTandMEILI_MASTER_KEYare set correctly. Restart the stack so the index gets built. - Login issues behind a proxy – usually
NEXTAUTH_URLandNEXT_PUBLIC_APP_URLare missing or point to HTTP instead of HTTPS. - Growing storage – screenshots and PDFs add up. Define which collections really need full archival and move old archives to object storage.
- Security – disable open registration when private, use strong passwords, enable 2FA on your reverse proxy, do not reuse your admin account for daily work, encrypt offsite backups.
- Updates – take a quick backup, then
docker compose pullanddocker compose up -d. If you change a lot, keep a small personal changelog. The simplest safety net is a fresh Proxmox LXC backup before upgrading.
Pros and Cons of Self-Hosting Linkwarden
Pros
- Full data ownership and control
- Built-in archiving protects against link rot
- Modern UI, strong search, convenient browser extensions
- Team features and an API for automation
- Optional AI tagging locally with Ollama or via external services
Cons
- Storage needs grow with every link due to screenshots and PDFs
- The stack of Docker, Postgres and Meilisearch needs clean backups
- First mass imports can be CPU and time intensive
- Docker in LXC requires nesting and sometimes minor tuning
Glossary
- Proxmox VE – virtualization platform for running VMs and LXC containers
- LXC – lightweight Linux containers that share the host kernel
- Docker – container runtime for packaging and running applications
- Docker Compose – YAML based tool to define and run multi-container stacks
- Meilisearch – fast search engine used for Linkwarden’s advanced search
- Ollama – local LLM runtime that can power AI tagging
- PWA – progressive web app that installs like a native app
- RSS – syndication format that lets you subscribe to updates and feeds
- API key – token used to authenticate scripts or external tools against Linkwarden
- Reverse proxy – gateway like Nginx Proxy Manager, Caddy or Traefik that terminates HTTPS and forwards traffic to containers
- HSTS – strict transport security to enforce HTTPS in browsers
- Object storage – S3 compatible storage for large amounts of files and archives
- Swap – disk space used as overflow when RAM is full
- Index – data structure built by Meilisearch for fast full-text search