- Was ist Recuva?
- Wie funktioniert Recuva?
- Welche Daten lassen sich mit Recuva retten?
- Wie hoch sind die Chancen, Daten zu retten?
- Mit welchen Geräten funktioniert Recuva?
- Kosten & Versionen
- Alternativen zu Recuva
- Tipps für Laien & Privatpersonen
- Anleitung: Daten mit Recuva wiederherstellen
- Schritt 1: Recuva herunterladen und installieren
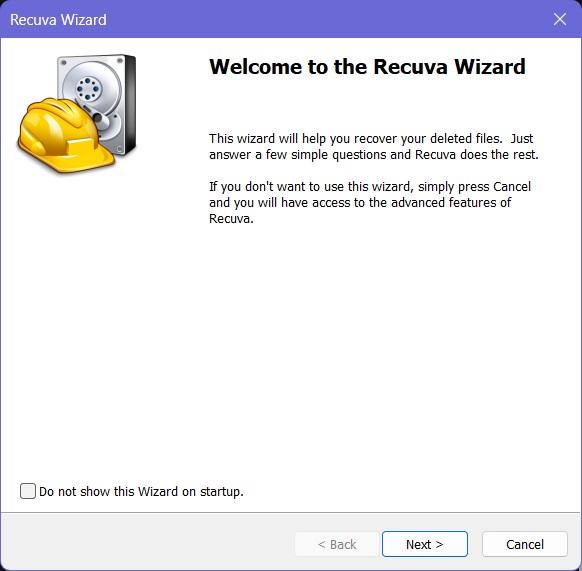
- Schritt 2: Recuva Wizard starten
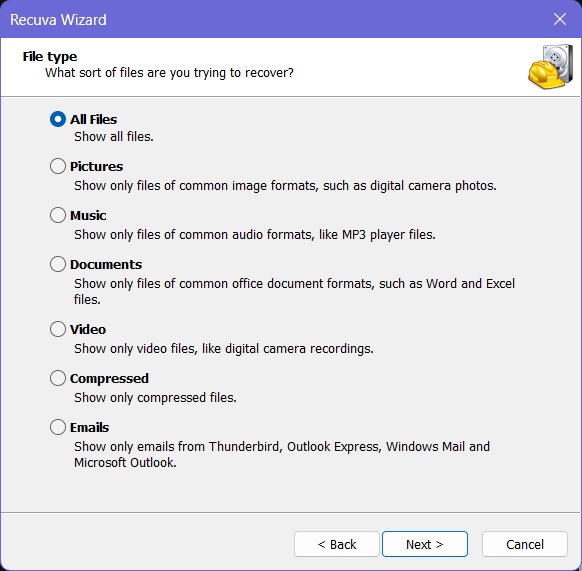
- Schritt 3: Dateityp auswählen
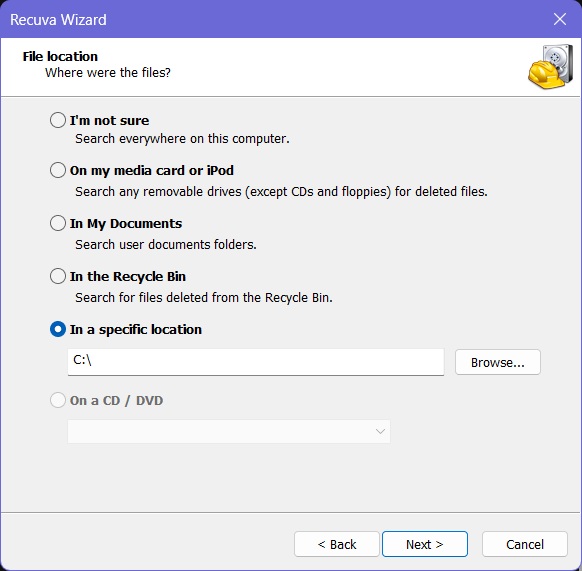
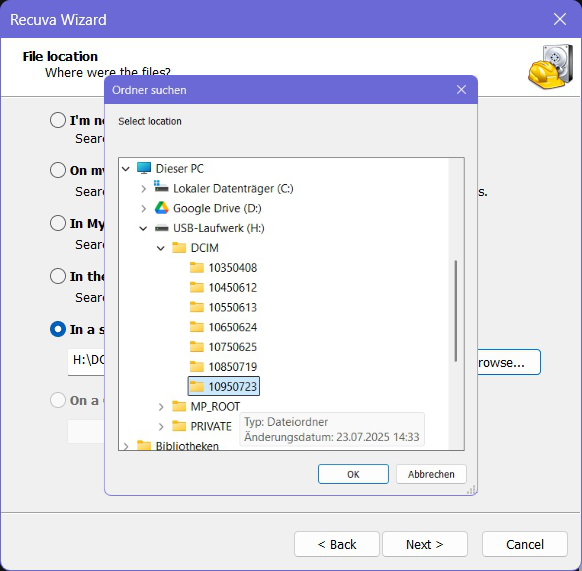
- Schritt 4: Speicherort auswählen
- Schritt 5: Scan starten
- Schritt 6: Ergebnisse prüfen
- Schritt 7: Dateien wiederherstellen
- Schritt 8: Überprüfung & Sicherung
What is Recuva?
Recuva is a file recovery tool developed by Piriform (known for CCleaner). It allows users to restore accidentally deleted files from hard drives, USB sticks, memory cards, or external storage devices. The software is lightweight, free to use, and very beginner-friendly. In addition to the free version, there is also a Professional version with extra features such as virtual hard drive support, automatic updates, and premium support.
How Does Recuva Work?
When files are deleted, they are not immediately erased from the storage device. Instead, the space they occupied is marked as “free” until new data overwrites it. Recuva scans these free spaces and attempts to reconstruct the original files.
There are two scanning modes:
- Quick Scan: Finds recently deleted files within minutes.
- Deep Scan: A more thorough search that can take hours on large drives but often recovers older or harder-to-find files.
After scanning, Recuva displays a list of recoverable files along with a status indicator:
- 🟢 Green = high chance of successful recovery
- 🟡 Yellow = partially damaged file
- 🔴 Red = severely damaged or overwritten
What Files Can Recuva Recover?
Recuva supports a wide range of file types, including:
- Images (JPG, PNG, RAW formats like ARW, CR2, NEF, etc.)
- Videos (MP4, AVI, MOV, etc.)
- Documents (Word, Excel, PDF, and more)
- Music files (MP3, WAV, FLAC)
- Emails (Outlook, Thunderbird, Windows Mail)
- Compressed archives (ZIP, RAR)
Additionally, Recuva can securely delete files, making them unrecoverable — useful when selling or giving away storage devices.
What Are the Chances of Successful Recovery?
Recovery success depends largely on how quickly you act:
- Very high, if files were recently deleted and not yet overwritten.
- Moderate, if the drive has been used after deletion (e.g., new photos saved on a memory card).
- Low, if files are fragmented or deliberately overwritten.
Rule of thumb: The sooner you run Recuva and the less you use the affected drive, the better your chances.
Supported Devices and File Systems
Recuva works with:
- Windows PCs: Windows XP through Windows 11 (32-bit & 64-bit).
- External drives: USB sticks, external hard drives, SSDs.
- Memory cards: SD, microSD, CompactFlash (from cameras, smartphones, etc.).
- iPods and MP3 players (older models with file system access).
Supported file systems include FAT12/16/32, exFAT, NTFS, ext2, ext3, ext4. A portable version of Recuva is also available, making it easy to run from a USB stick without installation.
Pricing & Versions
- CCleaner Professional Plus (~$60): Includes Recuva Professional plus additional CCleaner tools.
- Recuva Free: Free, includes all basic recovery features.
- Recuva Professional (~$25): Adds support for virtual hard drives, automatic updates, and premium support.
Alternatives to Recuva
Other popular recovery tools include:
- TestDisk & PhotoRec (open-source, powerful but less user-friendly).
- EaseUS Data Recovery Wizard (paid, very user-friendly, good recovery rate).
- Stellar Data Recovery (professional tool, good for damaged drives).
- Disk Drill (Windows & macOS, simple interface, preview option).
For beginners, however, Recuva is often the best first choice since it’s free, lightweight, and easy to use.
Tips for Beginners & Home Users
- Save recovered files to a different drive to avoid overwriting data.
- Stop using the drive immediately once you notice file loss.
- Try Quick Scan first, then Deep Scan if needed.
- For critical data (e.g., business servers, physically damaged drives), consider professional recovery services.
Step-by-Step Guide: How to Recover Files with Recuva
Step 1: Download and Install Recuva
- Download Recuva from the official website: https://www.ccleaner.com/de-de/recuva
- Install the software on a different drive than the one you want to recover files from (e.g., install on C:\ if recovering from D:\ or a memory card).
- Launch the program after installation.
Step 2: Start the Recuva Wizard
On the first launch, the Recuva Wizard will open.
- Click Next to begin the guided setup.
Step 3: Select File Type
Choose the type of files you want to recover:
- Pictures, Music, Documents, Videos, Emails, or Compressed files
- All Files (recommended if you’re not sure what’s missing)
Step 4: Choose File Location
Specify where the files were located before deletion:
- Entire computer – if you’re unsure
- Recycle Bin – for files recently emptied from the bin
- Memory card/USB drive – for photos, videos, or documents
- A specific folder – if you know the exact location
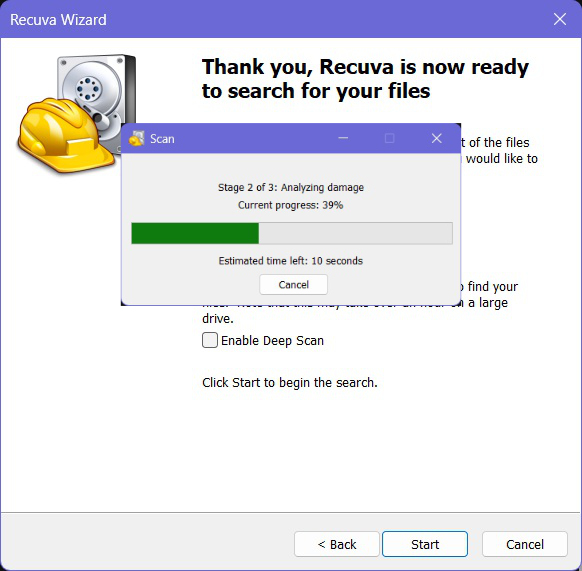
Step 5: Start the Scan
- Optionally enable Deep Scan if the quick scan doesn’t find results (note: this may take hours).
- Click Start to begin scanning.
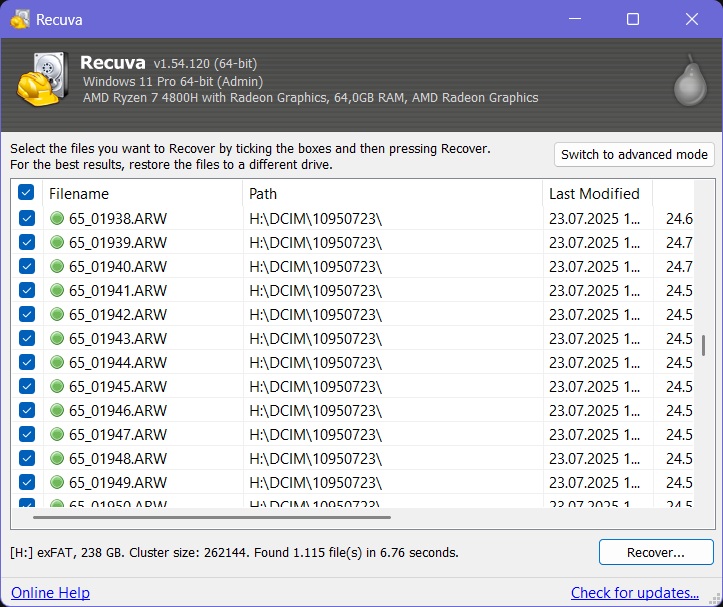
Step 6: Review Results
After scanning, Recuva will display all found files.
- Files are color-coded by recovery status:
- 🟢 Green = excellent chance of recovery
- 🟡 Yellow = partially damaged
- 🔴 Red = heavily damaged or overwritten
- Select the files you want to recover.
Step 7: Recover Files
- Important: Save the recovered files to a different drive to avoid permanent data loss. For example, recover files from a memory card to your PC’s hard drive.
- Click Recover.
Step 8: Verify & Backup
- Backup your data to a safe location (e.g., external drive, NAS, or cloud storage).
- Open the recovered files to confirm they work.


