- Custom Lens Cap for the Sony ZV-1 – 3D Printed with Tinkercad
- Why Design Your Own Lens Cap?
- Designing the Model in Tinkercad
- 3D Printing with the Creality K1 Max
- Download the 3D Model on Thingiverse
- Practical Test and Everyday Use
- Tinkercad – Perfect for Beginners
- Ideas for Modifications and Upgrades
Custom Lens Cap for the Sony ZV-1 – 3D Printed with Tinkercad
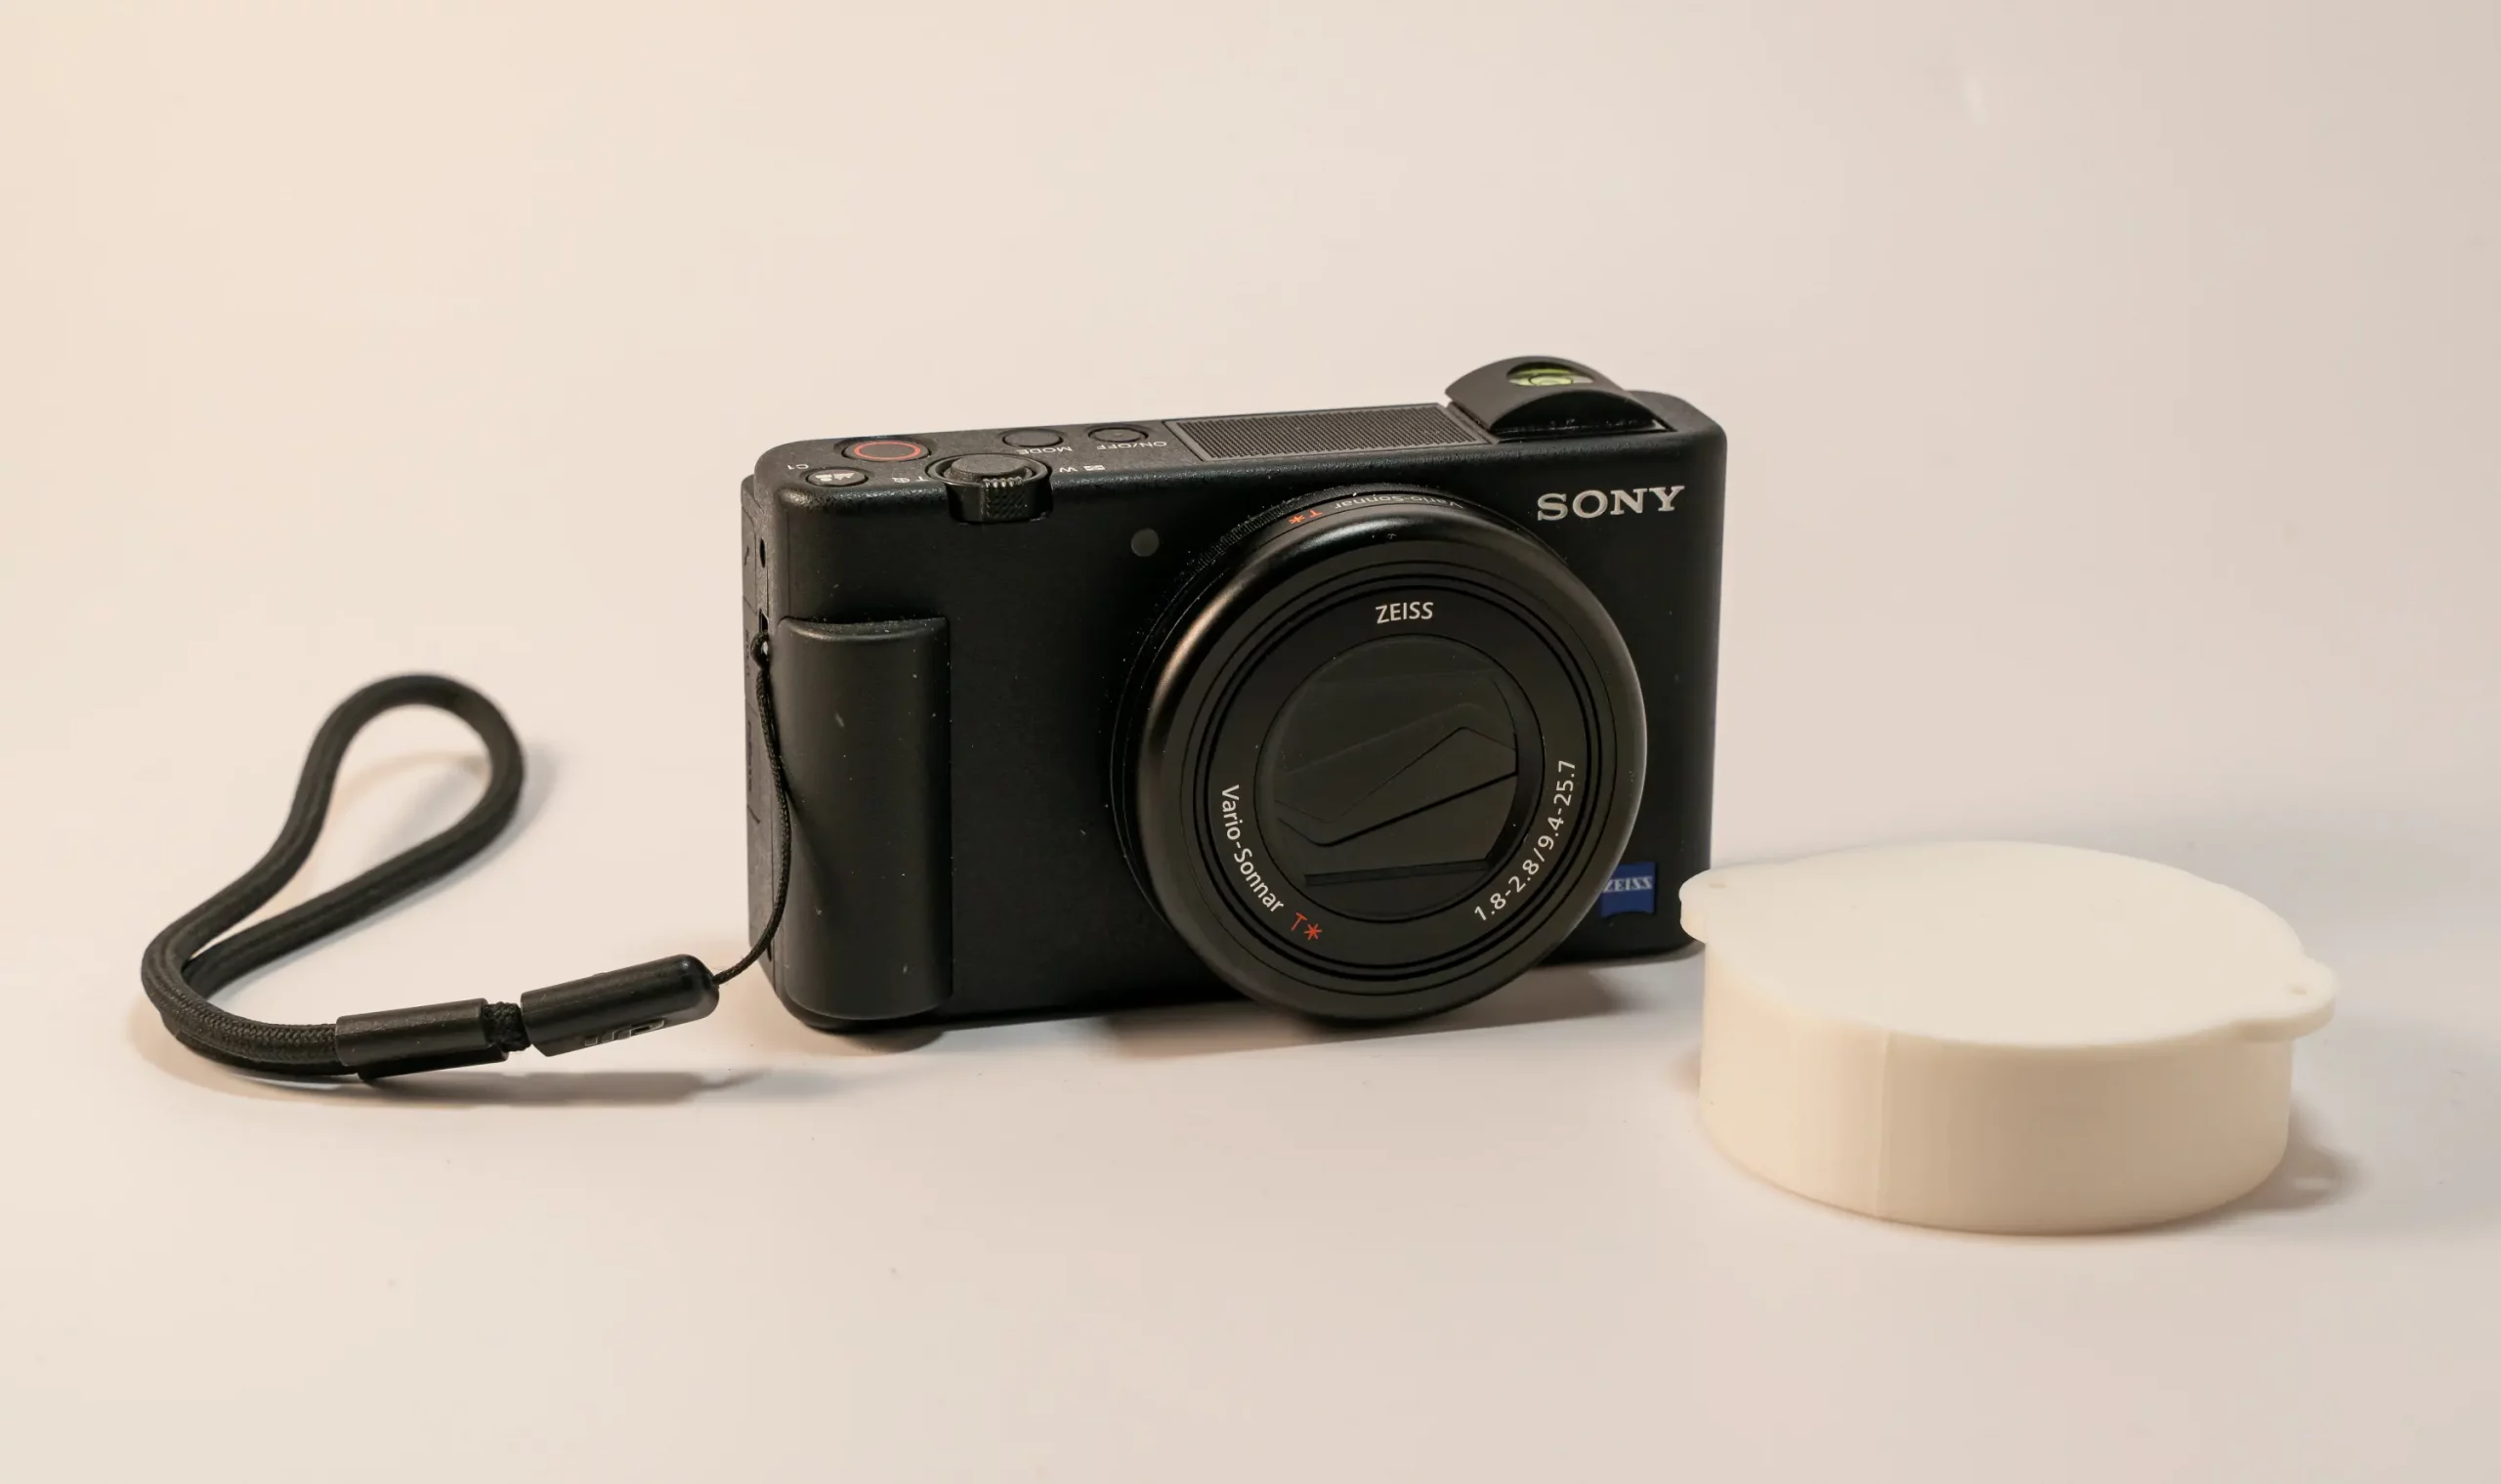
A few months ago, I bought a Sony ZV-1 (*) – a compact camera that’s perfect for travel, vlogging, and everyday photography. Since I often carry it in my backpack or jacket pocket, I was always a bit worried that the built-in lens shutter might open accidentally and scratch the delicate front lens.
While you can buy aftermarket lens caps for the ZV-1 (*), many of them are expensive or don’t fit quite right. That’s why I decided to design my own protective lens cap using Tinkercad, a free and browser-based 3D modeling tool that’s ideal for simple design projects.
Why Design Your Own Lens Cap?
The Sony ZV-1 is a great all-round compact camera, but it lacks a traditional removable lens cap. Instead, it uses an automatic mechanical shutter that opens when the camera powers on and closes when it’s turned off. This mechanism works well for casual use, but when stored loosely in a bag, it can open accidentally – especially if something presses against it.
Designing your own lens cap offers several advantages:
- Better protection: Keeps the lens completely covered during transport.
- Low cost: 3D printing filament is cheaper than replacement lens covers.
- Custom fit: You can adjust the dimensions, shape, and features to your liking.
- Added functionality: You can add small loops or tabs to attach a cord or tether.
If you already own a 3D printer, this is a simple yet rewarding DIY project that gives your camera extra protection and a personal touch.
Designing the Model in Tinkercad

Tinkercad is perfect for beginners and quick projects. It works by combining basic geometric shapes such as cylinders and cubes into more complex designs.
Here’s how I created my Sony ZV-1 lens cap model:
- Create two cylinders:
- The outer cylinder has a diameter of 60 mm, the inner one 57 mm.
- The smaller cylinder is used as a cut-out for the lens cavity, while the larger one forms the outer shell.
- Wall and base thickness:
- The walls are 3 mm thick, and the base is 2 mm – strong enough to be durable without wasting filament.
- Add grip tabs:
- On both sides, I added small flat tabs to make it easier to remove the cap.
- Each tab also has a small hole, allowing a cord or strap to be attached so the cap won’t get lost.
- Smooth the edges:
- Rounded edges not only make the design more comfortable to handle but also improve the overall look.
The finished design is simple, sturdy, and works great for everyday use.
3D Printing with the Creality K1 Max
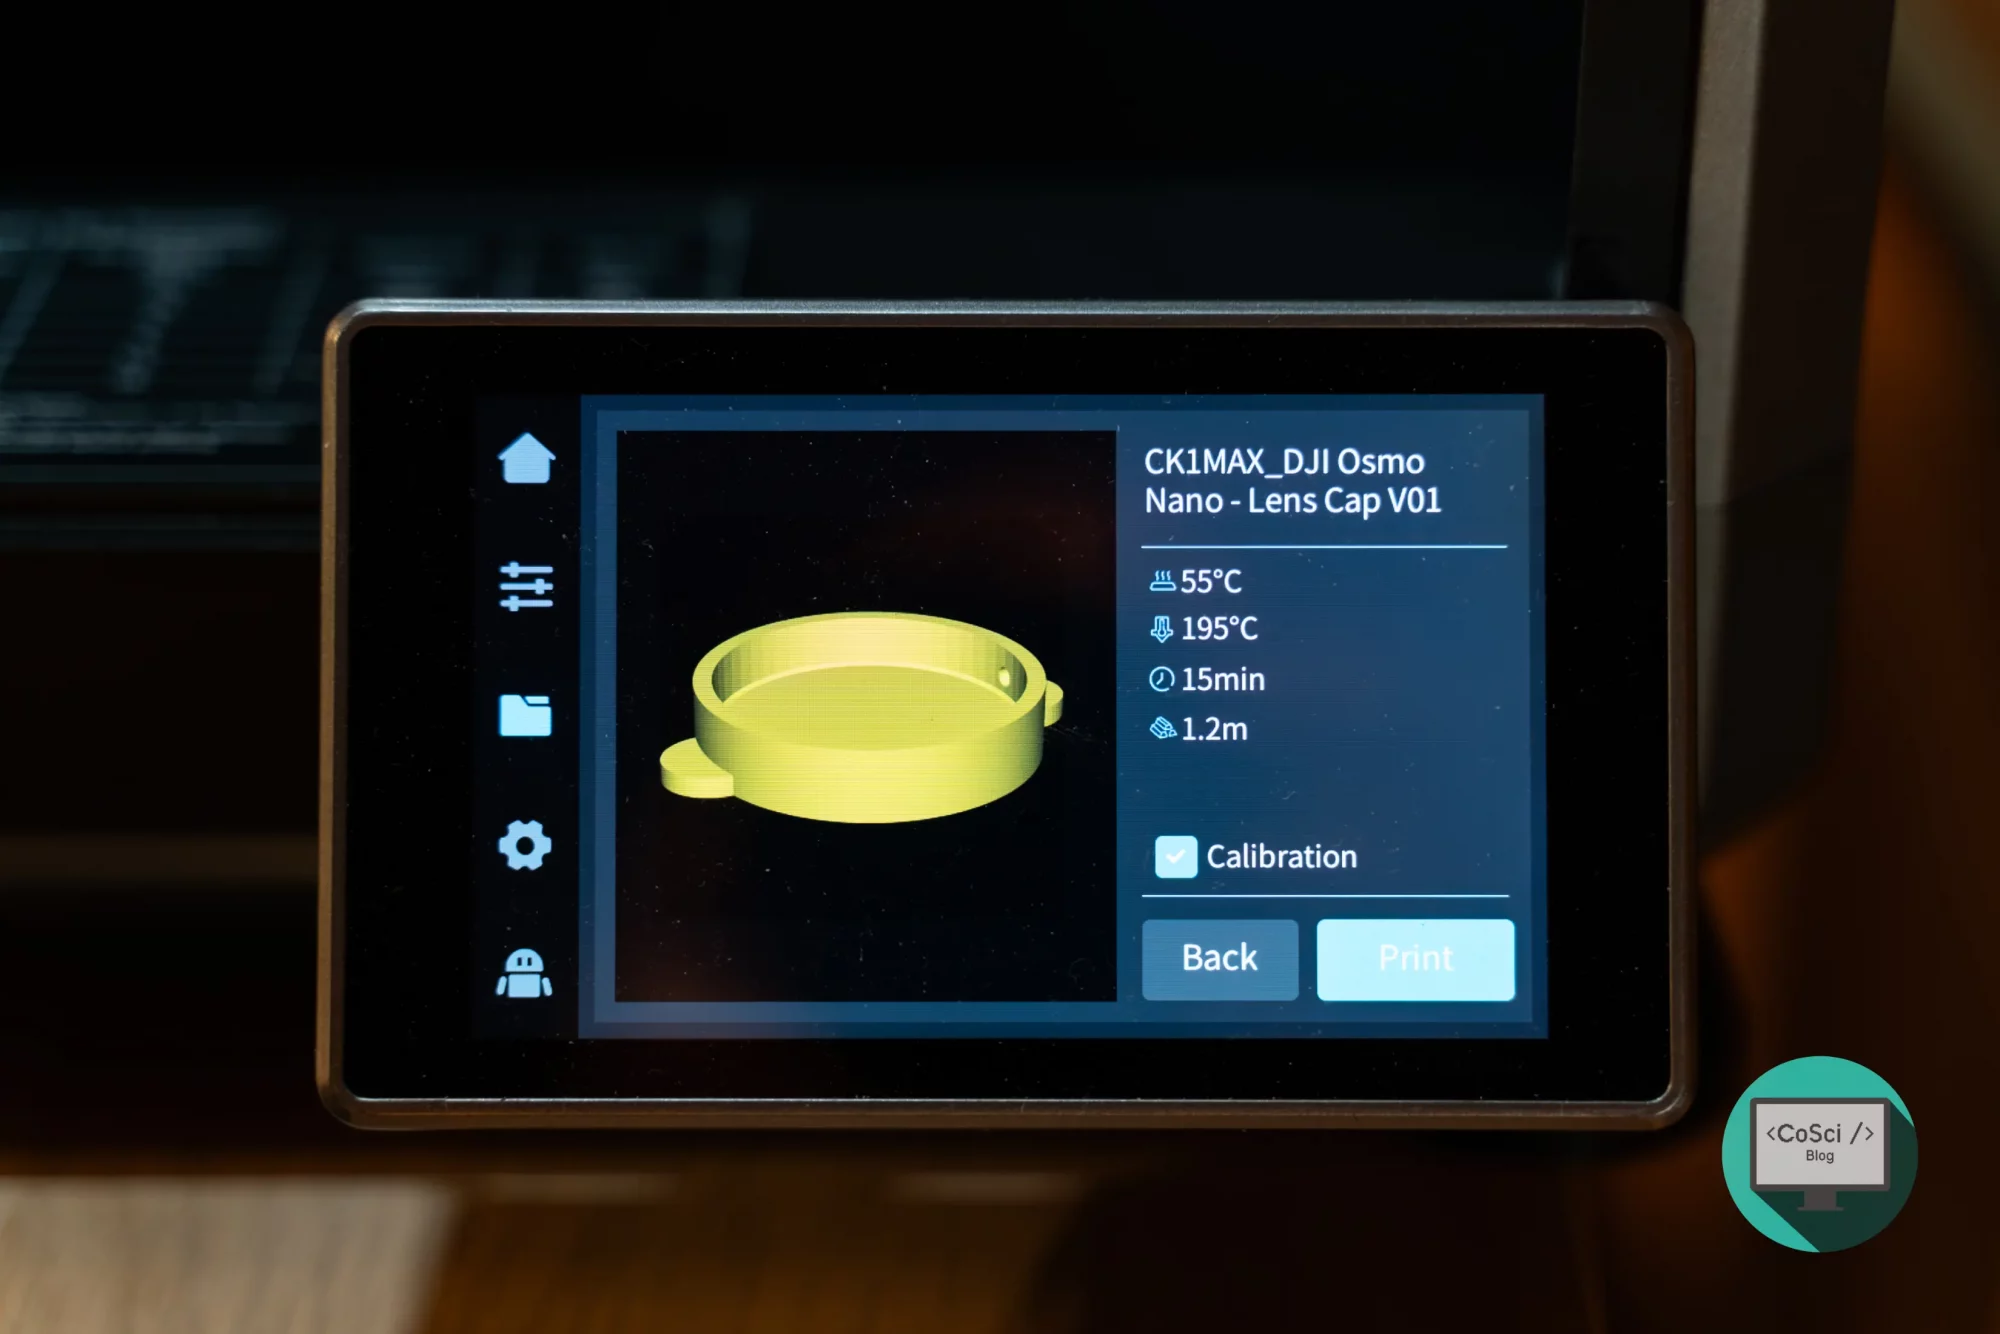
I printed the cap using my Creality K1 Max 3D-Drucker (*) with the following settings:
- Layer height: 0.2 mm
- Print speed: ≈ 160 mm/s
- Infill: 40 %
- Material: Hyper PLA by Creality (*)
The print finished in about 39 minutes, and the result was very clean – the cap fits the camera perfectly, not too tight and not too loose.
A small tip: depending on your printer calibration and filament shrinkage, you may need to slightly adjust the inner diameter. For my second test print, I increased it by +0.2 mm for a smoother fit.
Download the 3D Model on Thingiverse
To make it easy for others to try this project, I’ve uploaded the finished model as a free download on Thingiverse.
You can grab the ready-to-print STL file and start printing right away:
👉 Download the Sony ZV-1 Lens Cap on Thingiverse
👉 Download the Sony ZV-1 Lens Cap on Thingiverse (link with affiliate promotion)
👉 Download the Sony ZV-1 Lens Cap on Thingiverse (direct link to Thingiverse)
The Thingiverse page also includes preview images, and you can upload your own printed version (“Make”) to share how it turned out on your printer or with different filaments.
If you’re searching for similar designs, you’ll find this model under keywords like “3D printed Sony ZV-1 lens cap” and “Tinkercad camera accessory STL.”
Practical Test and Everyday Use
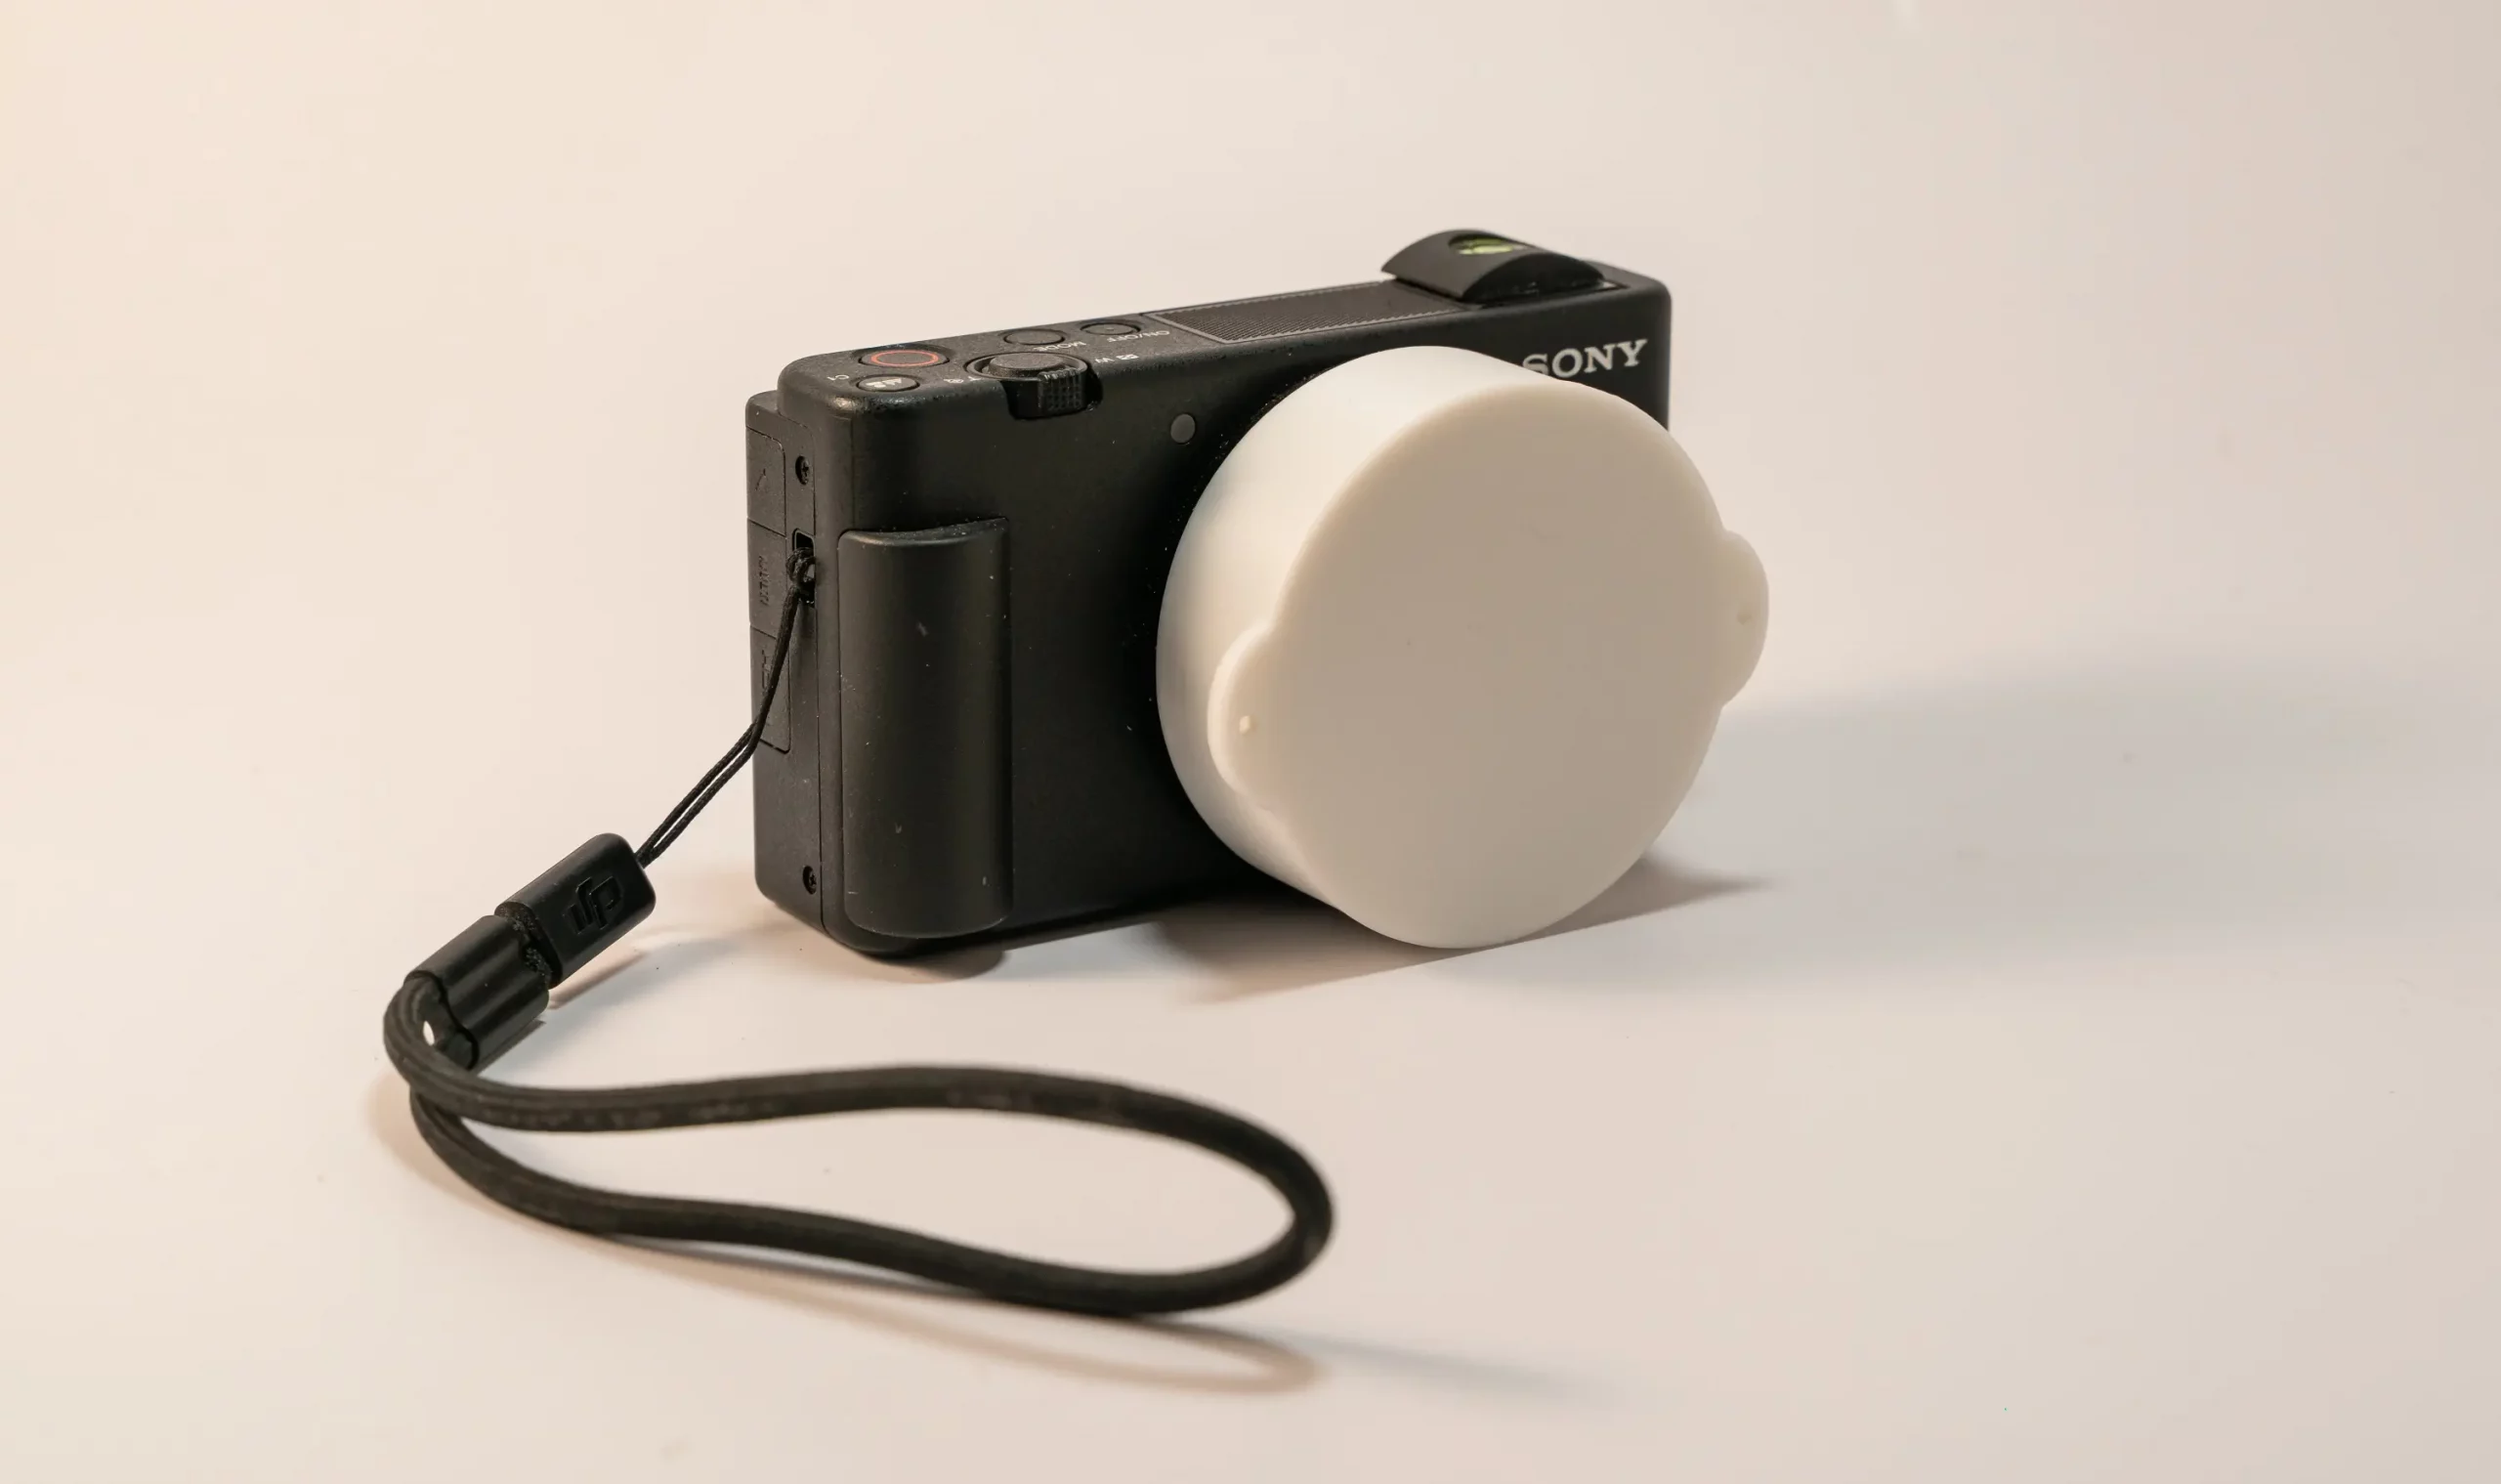
After several weeks of use, the 3D-printed lens cap has proven itself perfectly in daily life.
It fits snugly, stays in place even when the camera moves around in my bag, and can be removed easily using the side tabs.
I attached a thin cord through one of the holes and looped it to the camera’s wrist strap – this way, I can quickly take the cap off when shooting and don’t have to worry about losing it.
The cap is printed in PLA, which is great for everyday use. However, if you frequently shoot outdoors or in hot environments (like inside a car on a sunny day), PETG or ABS may be better choices. They’re more heat-resistant and durable over time.
Tinkercad – Perfect for Beginners
I often use Tinkercad when I want to design something quickly without complicated CAD software. It’s intuitive and runs entirely in your browser.
A few reasons why it’s perfect for beginners:
- No prior CAD experience required
- Simple browser-based interface
- Easy export to .STL or .OBJ formats for 3D printing
- Combine or cut shapes easily with the Group and Hole tools
If you’ve ever wanted to create your own 3D-printed camera accessories, Tinkercad is an excellent place to start.
Ideas for Modifications and Upgrades
If you want to customize or improve the design, here are some ideas:
- Add a logo or text engraving: Import your own SVG file and emboss your name or logo onto the cap.
- Flexible version: Print the cap in TPU to make it slightly elastic and improve the grip.
- Other cameras: The same method works for similar models like the Sony ZV-E10 or RX100 series.
- Inner padding: Add a thin layer of felt or foam inside the cap to prevent scratches.
This project is also a great learning exercise if you want to get comfortable with 3D modeling and understand how to work with tolerances and dimensions.
(*) Affiliate Links